 luk
luk- Overview
- Materials needed
- Tools needed
- Build
Overview
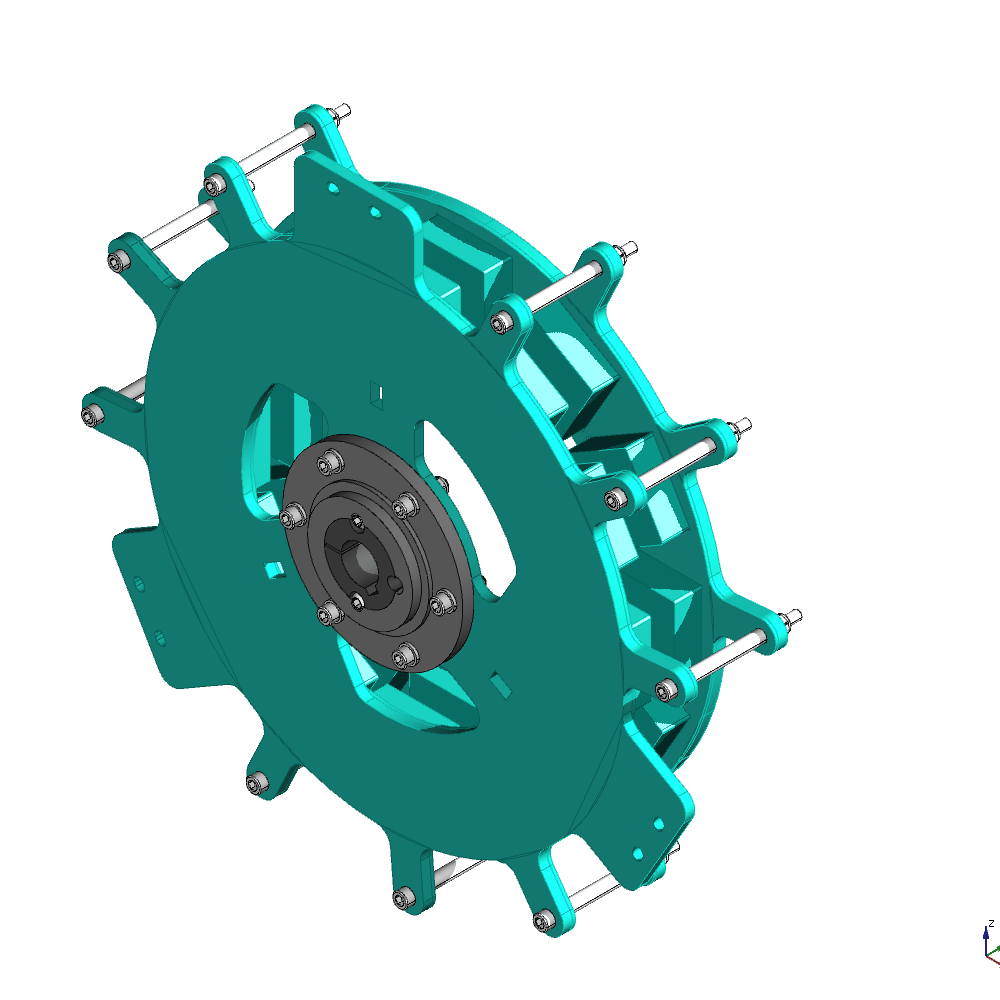
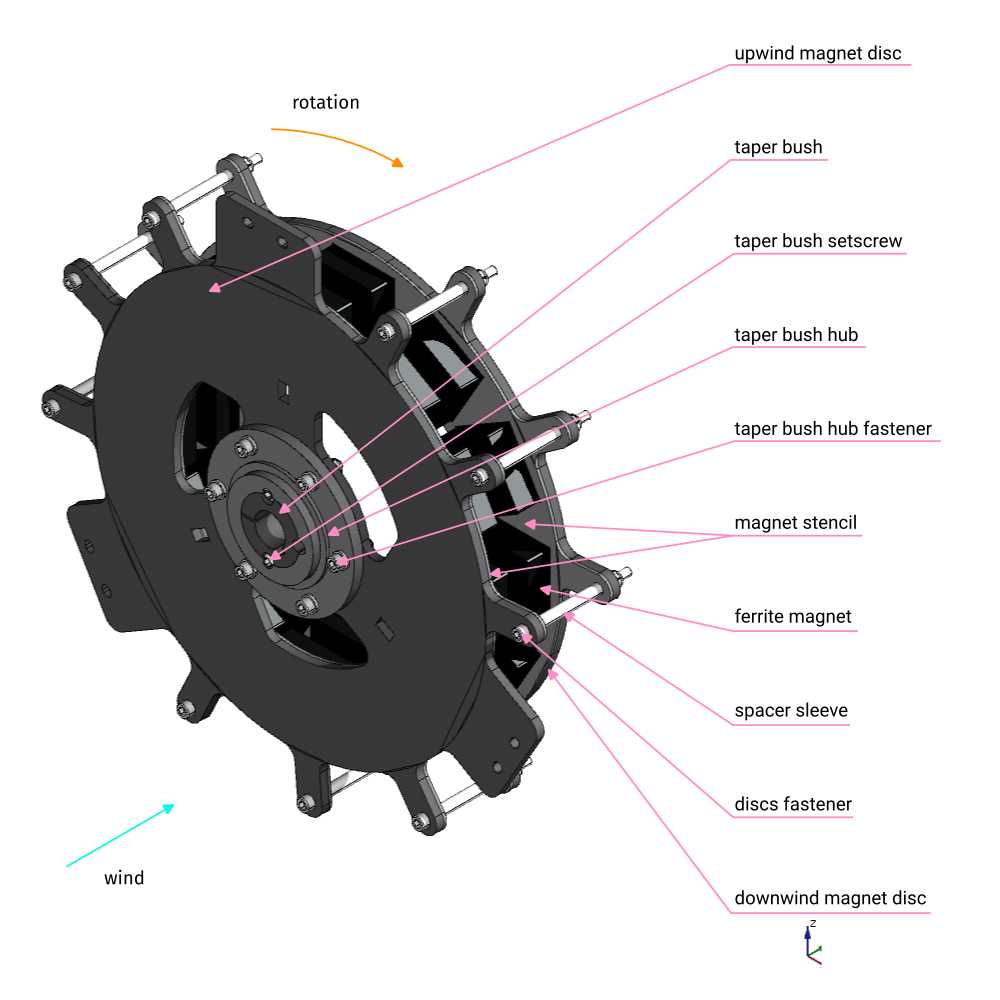
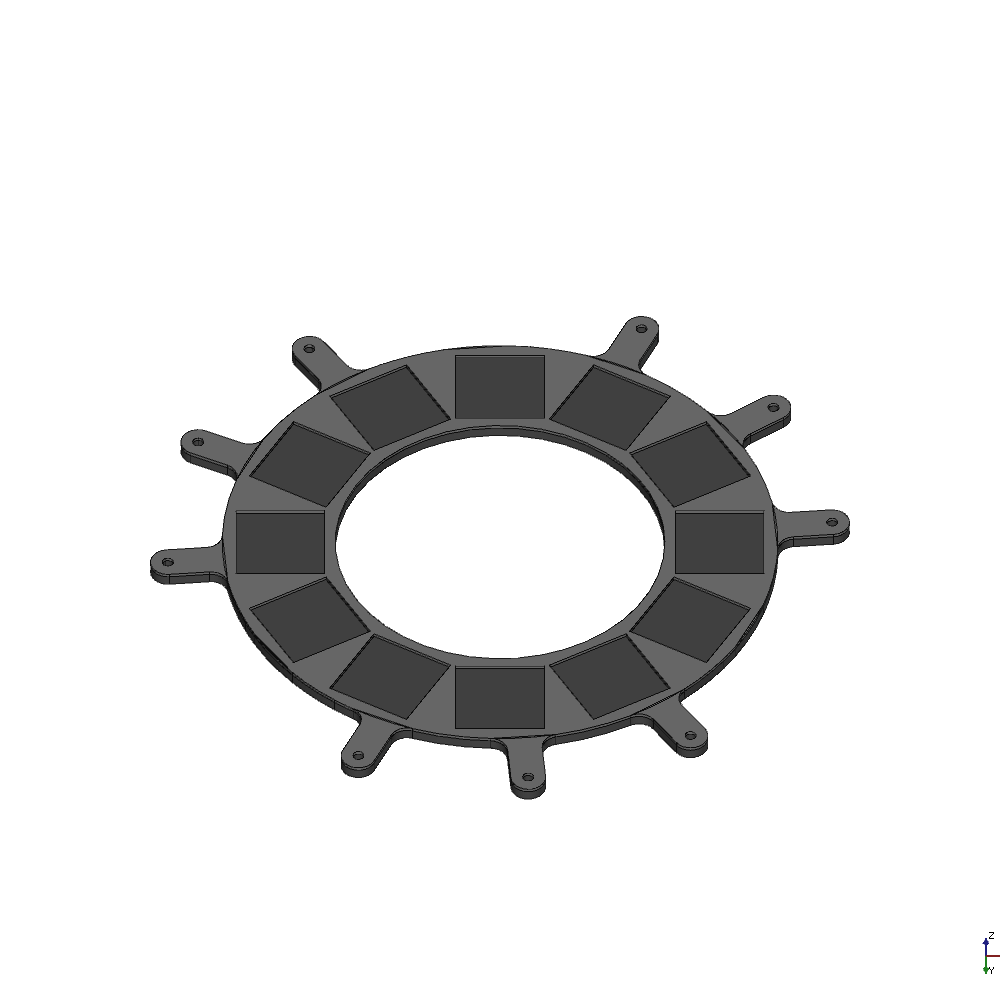
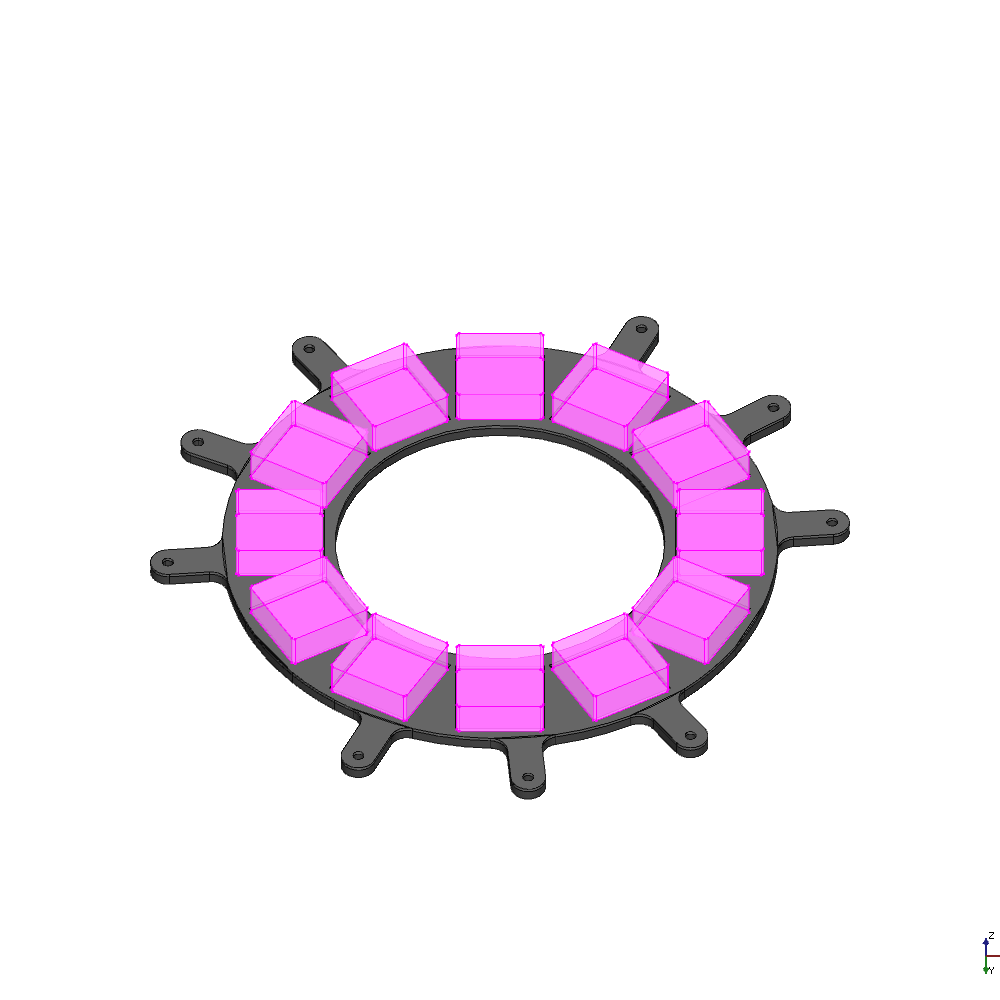
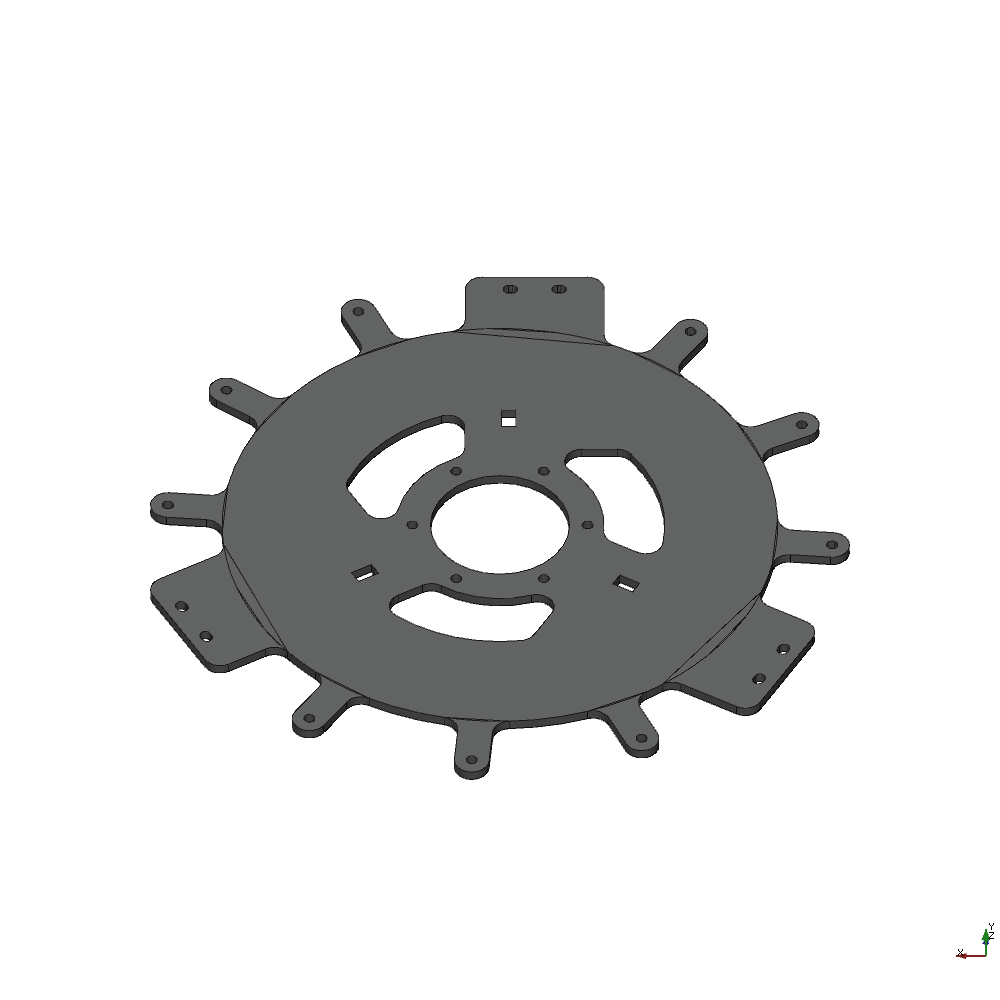
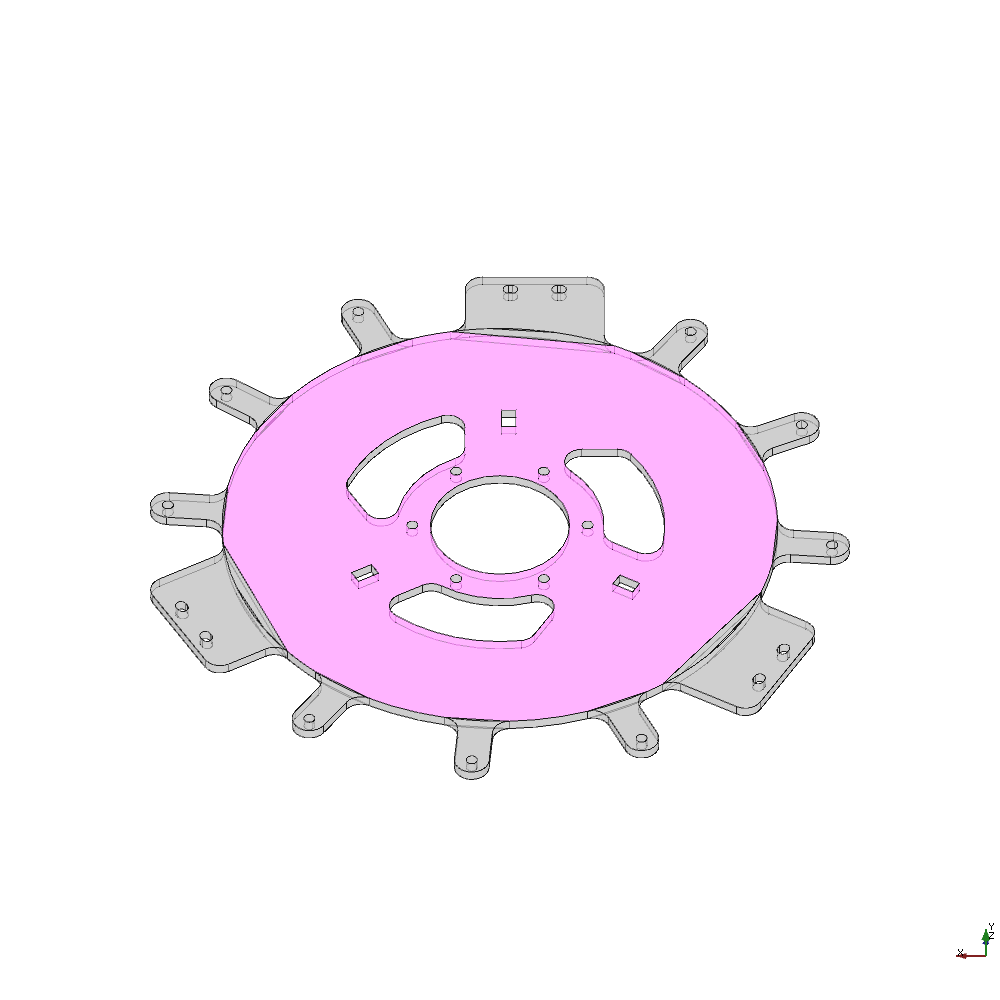
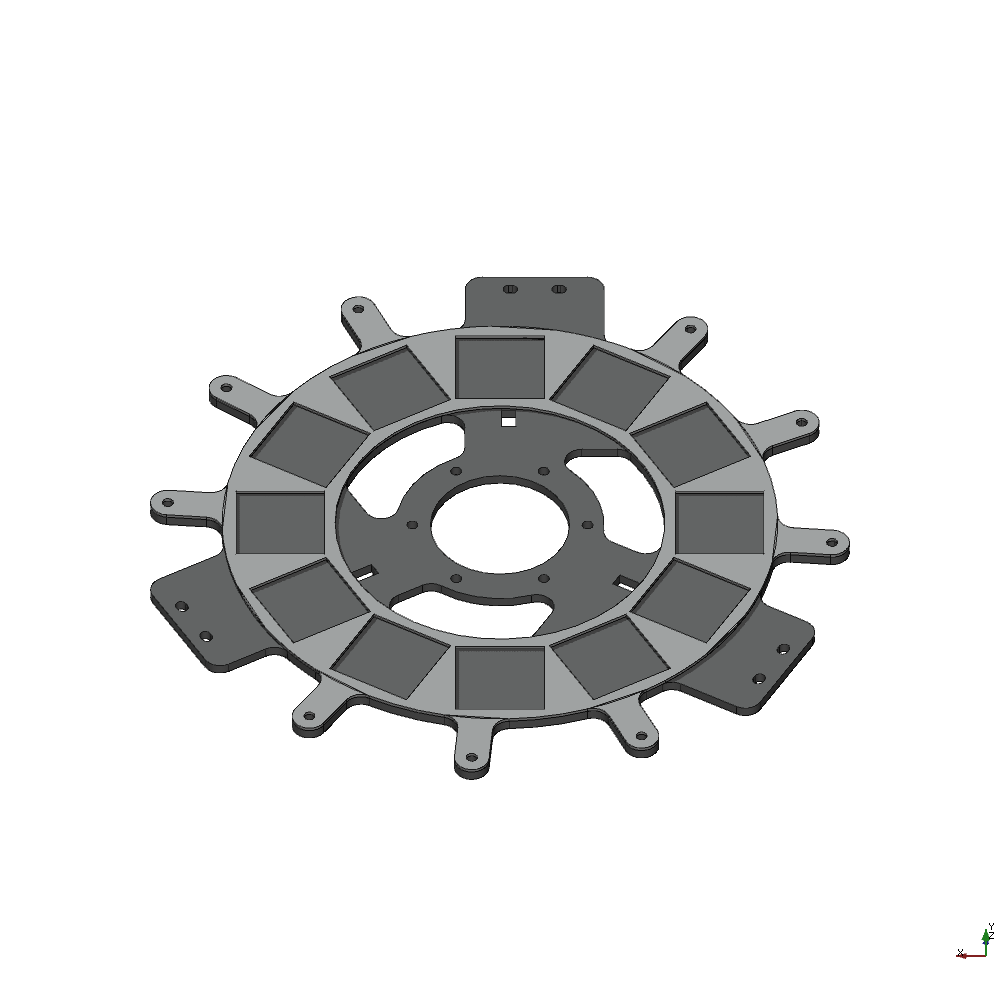
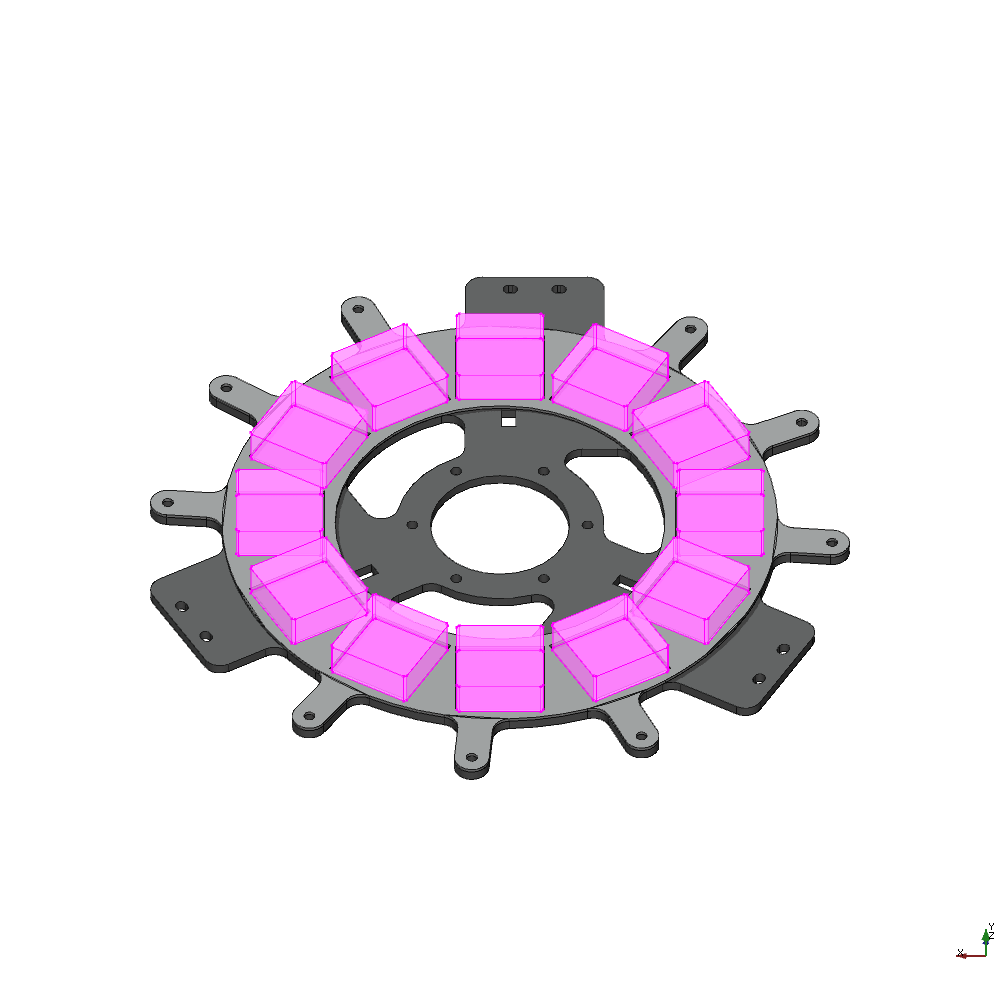
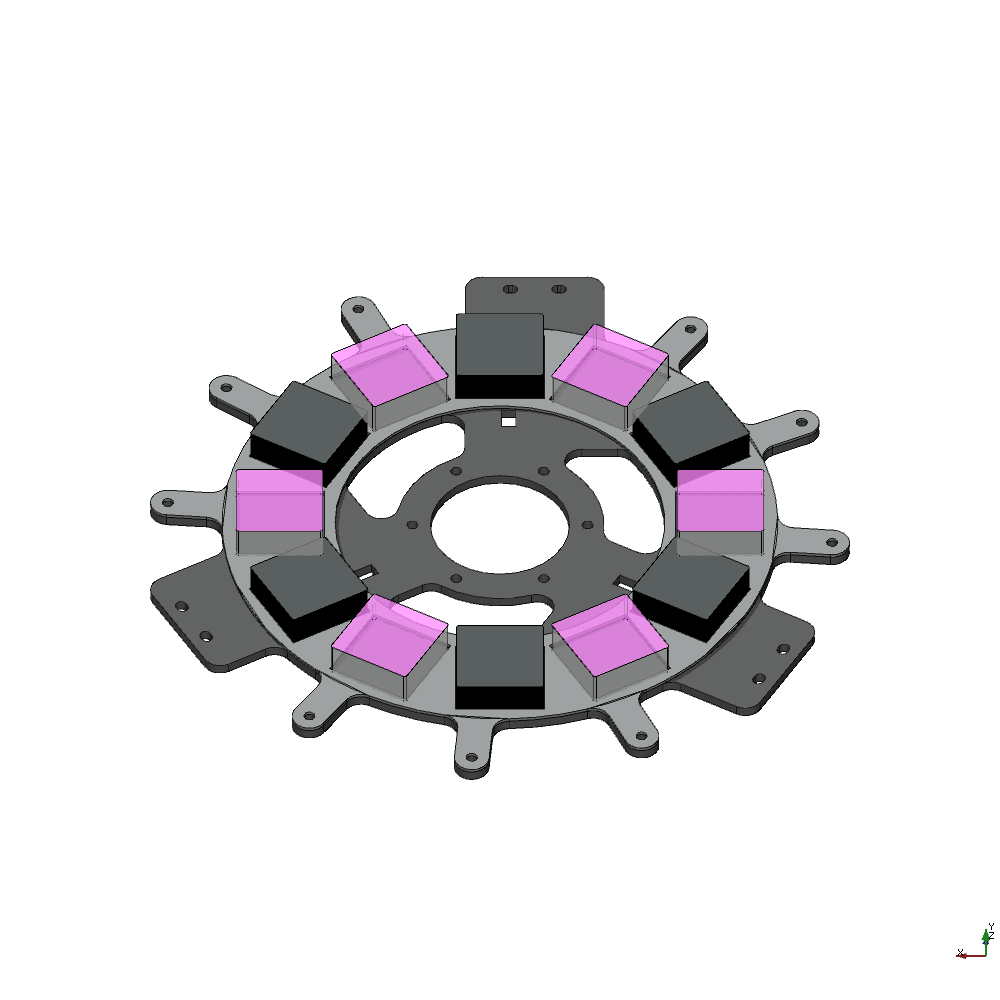
The Alternator Rotor is the rotating part of our Axial Flux Permanent Magnet Generator (AFPMG). It is a double-sided design with the Stator in the middle. Both discs are identical in the arrangement of the magnets, 12 magnets are glued to each disc in a circular pattern, alternating in polarity. When mounted together, the opposing magnets have reversed polarity to create a magnetic flux. The discs differ in their general design, with the Upwind Magnet Disc providing mounting surfaces and holes for attaching the Blades and Taper Bush. The Taper Bush clamps the shaft orthogonally to the alternator rotor.
Materials needed
| Pos. | Name | Units | TsDC-ID | Reference |
|---|---|---|---|---|
| 2 | alternator rotor | 1 | ASM-MEC | |
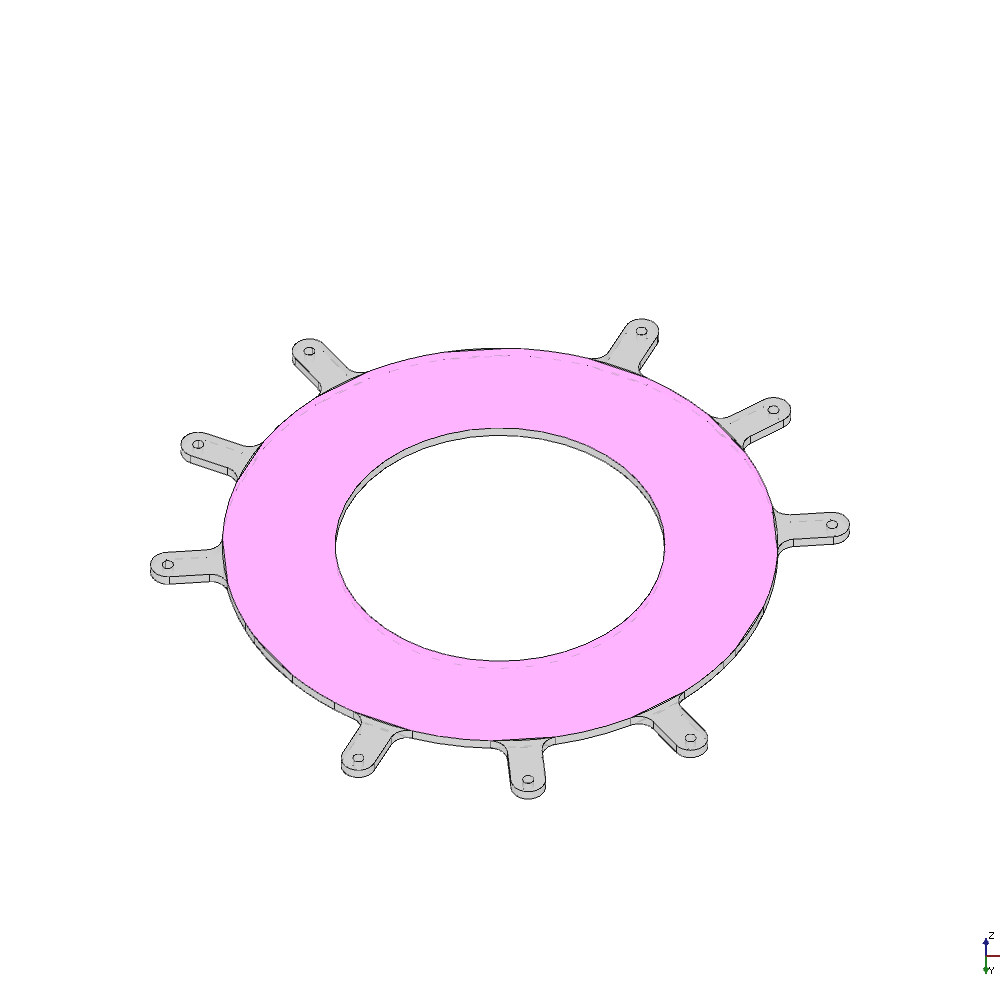
| 2.01 | upwind magnet disc | 1 | COM-MAN | Laser part, steel S235 or S355, 6 mm thick, no surface treatment, UpwindMagnetDiscSlotNut.dxf |
| 2.08 | magnet stencil | 2 | COM-MAN | Laser part, aluminium/stainless steel, 2 mm thick, MagnetStencil.dxf |
| 2.09 | ferrite magnet | 24 | COM-BUY | Ferrit Magnet 50 x 50 x 20 mm |
| 2.14 | downwind magnet disc | 1 | COM-MAN | Laser part, steel S235 or S355, 6 mm thick, no surface treatment, DownwindMagnetDisc.dxf |
| 2.15 | two component epoxy adhesive | 2 | COM-BUY | Two-component epoxy adhesive, min. 45 min hardening time |
| 2.16 | exterior metal paint | 1 | COM-BUY | 200 ml |
Tools needed
Build
Downwind Magnet Disk
1.Clean all metal components used in this assembly
Use acetone for cleaning and protective clothing during this assembly.
2.Prepare Downwind Magnet Disk,
Place the Downwind magnetic disc on your workbench, and don't forget to put a piece of cardboard or similar underneath.

3. Prepare the glue
Before mixing the two component epoxy, check that you have all the components for the next steps.
3.Completely moisten the Downwind Magnet Disk with epoxy adhesive
3. Place the Magnet Stencil
To ensure the stencil is perfectly placed, use a few screws to secure it to the magnetic disc before placing the magnets.
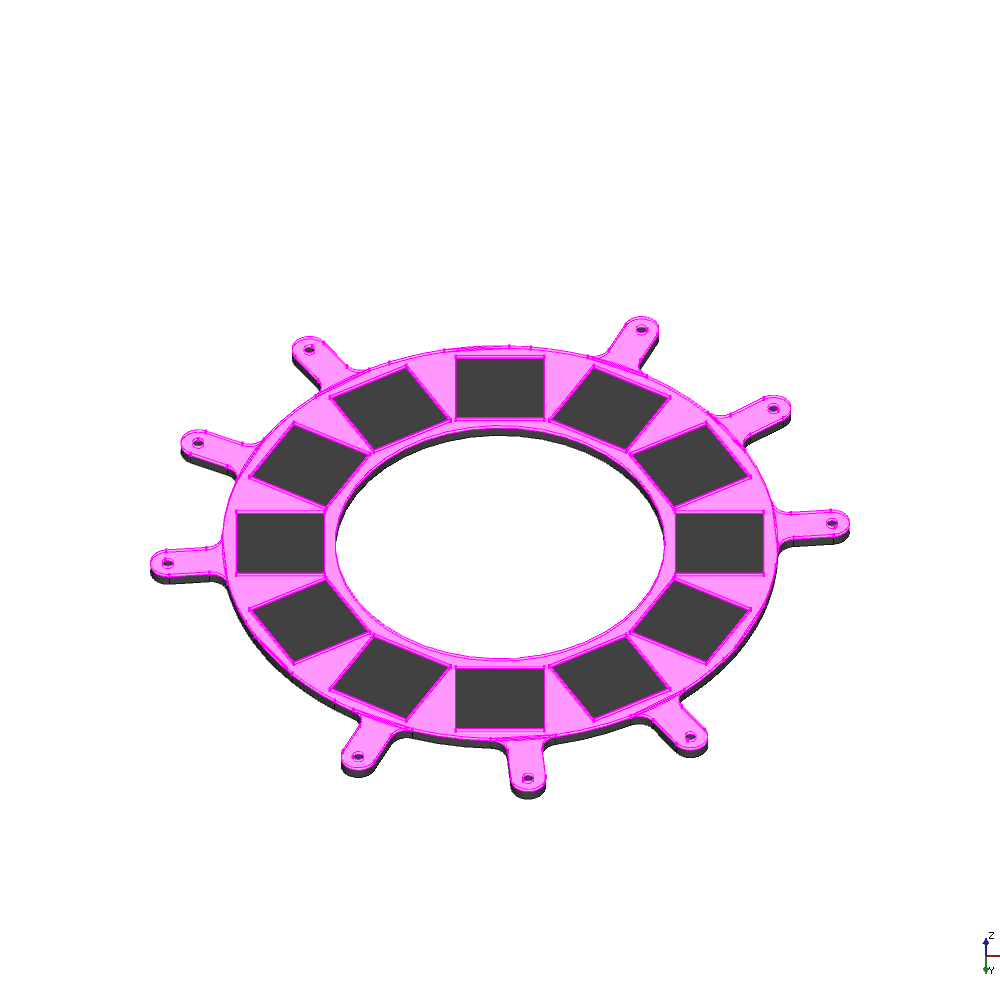
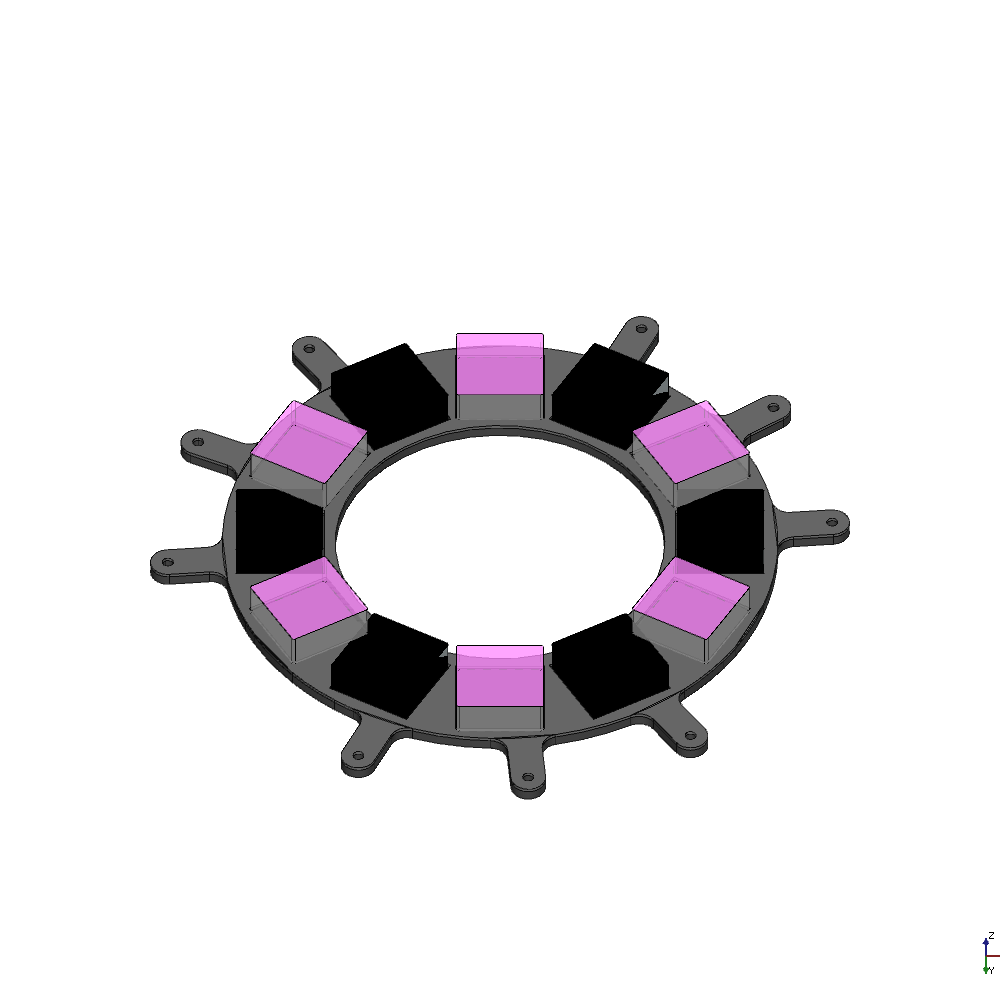
4. Place the Magnets
Place the magnets on the disc in alternating polarity. Always check the polarity of the next magnet with the one that has already been glued. To do this, hold the next magnet in your fist and then run your hand over the glued magnet to feel the polarity in your arm.
Upwind Magnet Disk
Repeat the above procedure with the Upwind Magnet Disk.
1.Clean all used components
2.Prepare Upwind Magnet Disk
3.Completely moisten the Downwind Magnet Disk with epoxy adhesive
3. Place the Magnet Stencil

4. Place the Magnets
This time check the position of the first magnet with one of the glued Downwind Magnet Disk for the first magnet you place. As mentioned above, the opposite magnet must have the reverse polarity to create the desired magnetic flux. Once the first magnet is in place, repeat the process while alternating the polarity.
Paint all components
Use the exterior metal paint to paint the two discs, hang them up before painting.

