- Overview
- Materials needed
- Tools needed
-
Build
- 1. Setup your Coil Winder
- 2. Wind the coils
- 3. Weigh and measure the resistance of every single coil
- 4. Draw a template
- 5. Arrange the coils
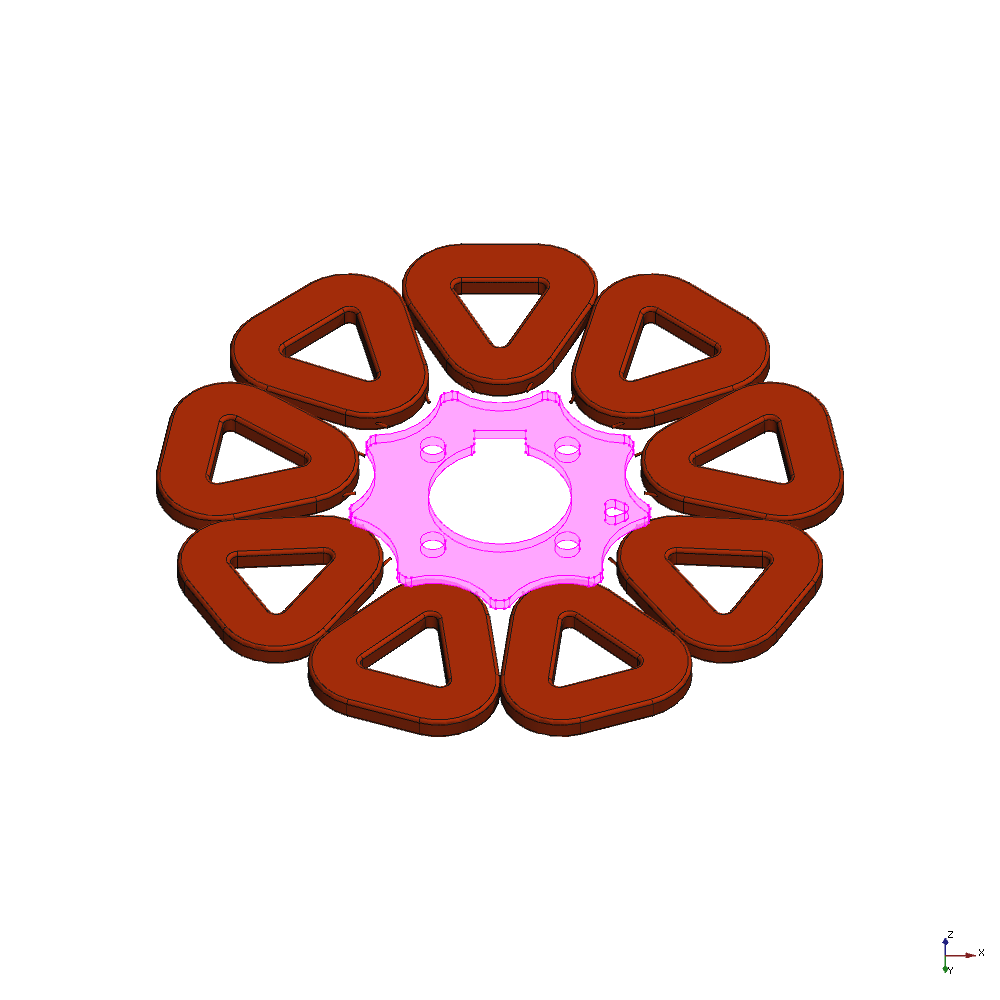
- 6. Place the Mounting Inlay
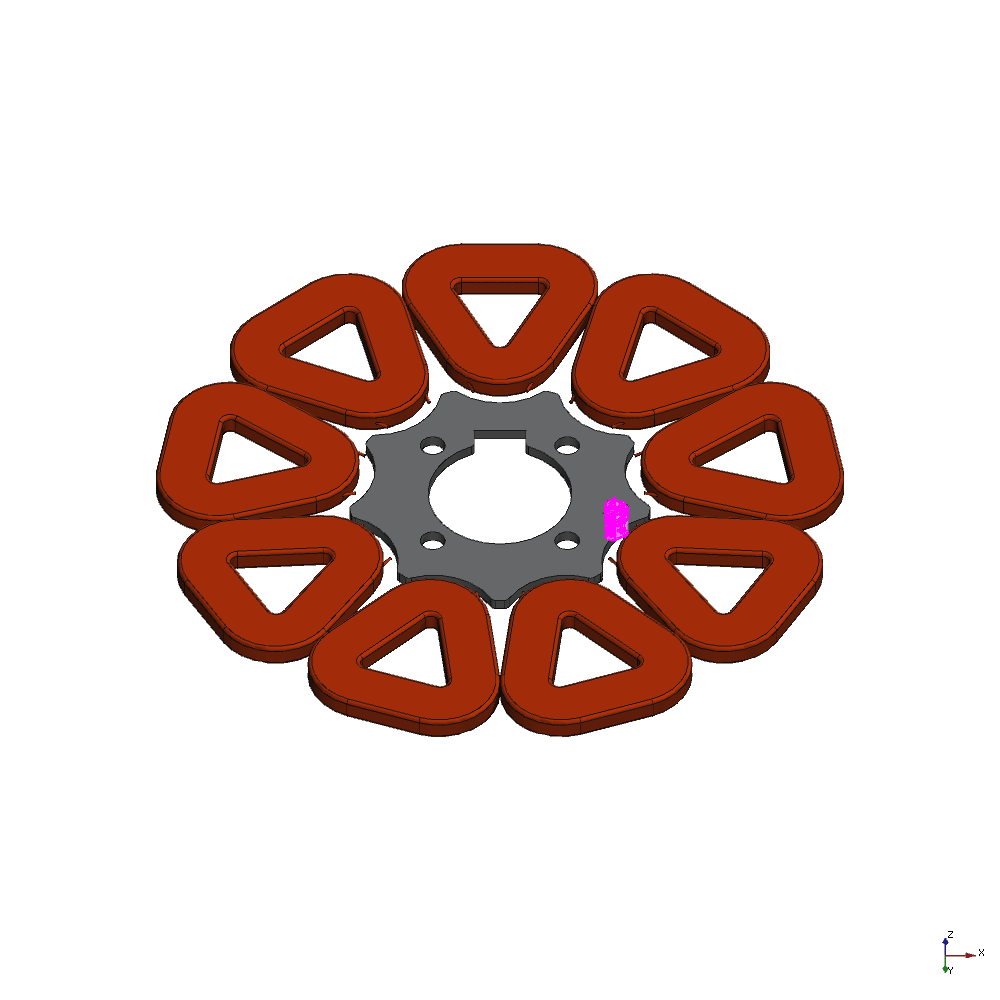
- 7. Place the Electric Plug
- 8. Wire and solder the coils in wye (star) configuration
- 9. Measure the resistance of every string
- 10. Cut the Fibreglass Cloth
- 11. Cast the coil circuit and mounting plate
- 12. Paint the Alternator Stator
Overview
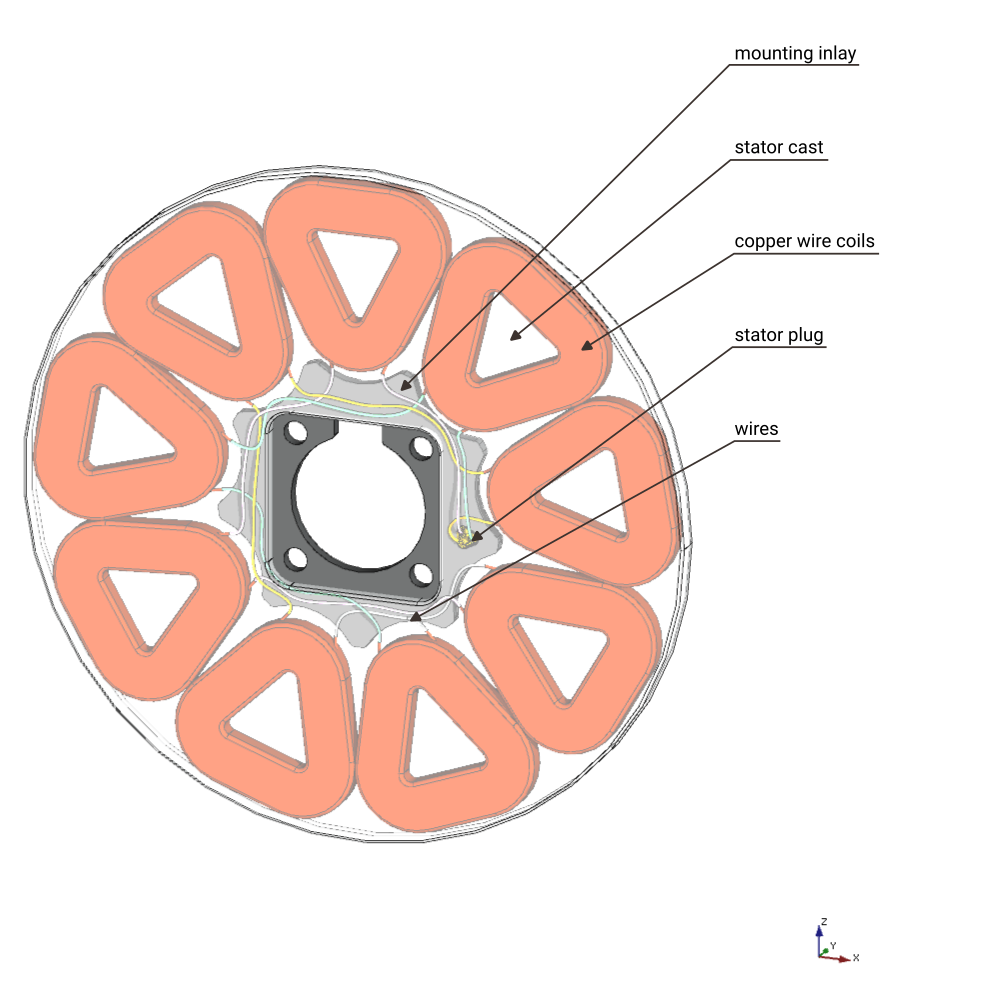
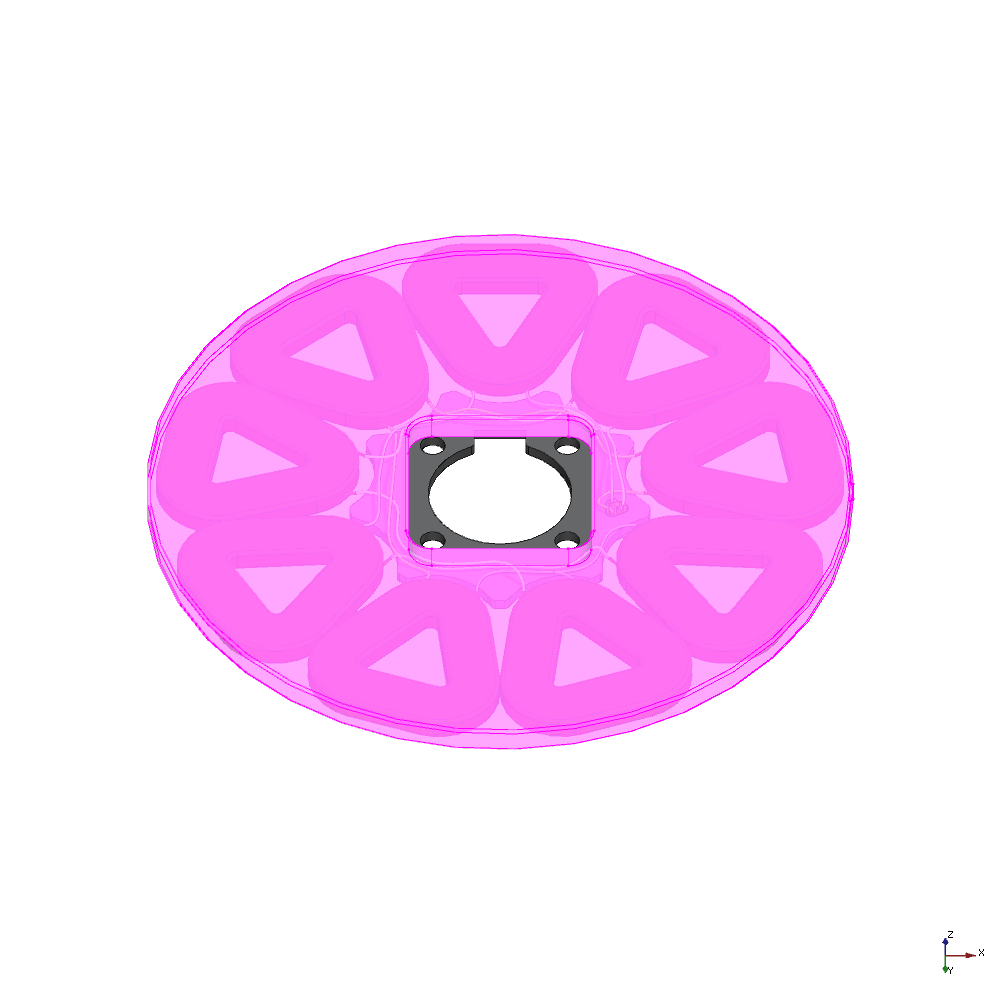
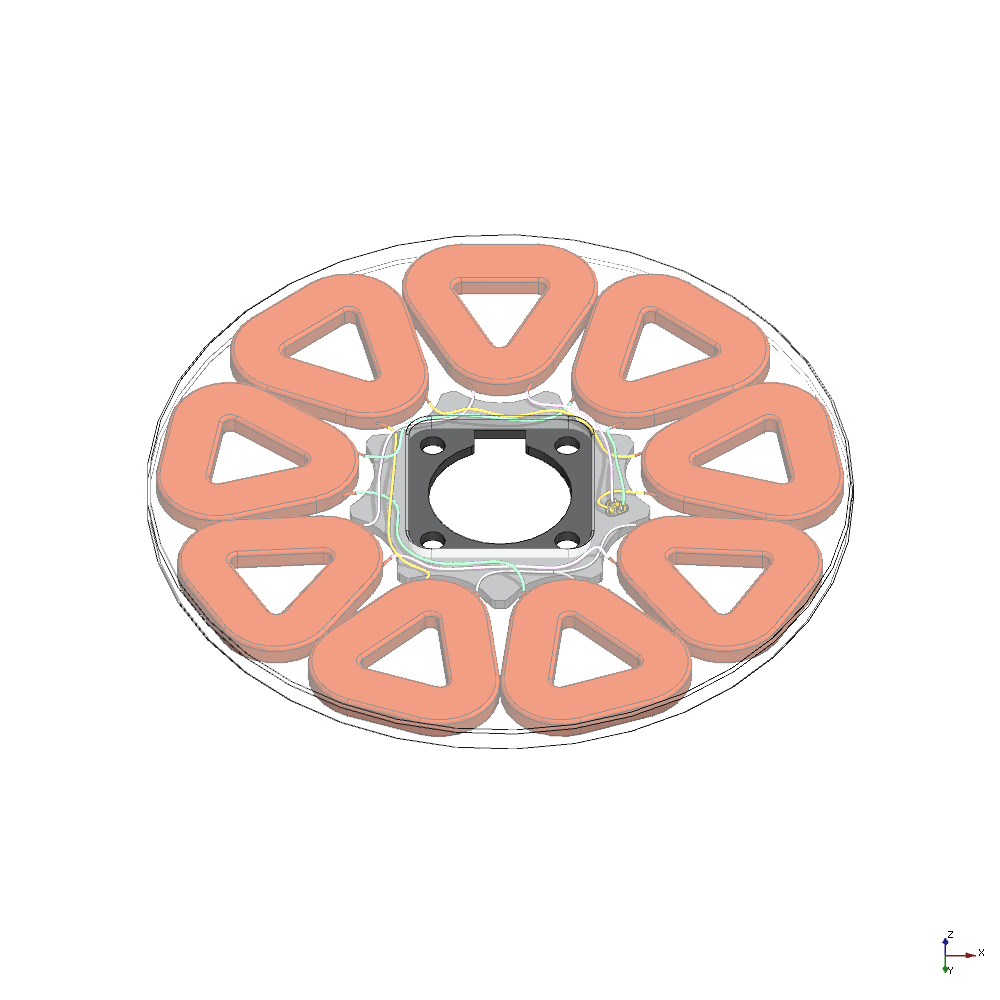
The stator is located between the magnetic discs and consists of a coil circuit cast in resin. The nine coils are all identical in shape, number of turns and weight and are connected in a three-phase star circuit and finally soldered to a plug. For assembly, a mounting plate is also cast into the stator.
For the following step's a Coil winder and a Vacuum infusion stator mould/Casting stator mould is required. As we do not provide the manuals for the construction and use of these tools, we refer to other manuals. You should familiarise yourself with these tools and procedures before building the stator.
Materials needed
Tools needed
Build
1. Setup your Coil Winder
Winding the coils requires a Coil Winder. There are several building plans available on how to build a coil winder, have a look at the tools section. The coil winder needs to have the right dimensions, more specifically the cheek pieces and the spacer. To get the right dimensions have a look at our CAD model. We recommend a manual coil winder.
2. Wind the coils
Once you have set up your Coil Winder, start making the first coil. Our coils have a single wire of 90 turns. Follow the instructions on "Winding a coil" Page 76 at "2F Wind Turbine Construction Manual" by Hugh Piggott. Instead of letting the tail of the wires facing the 'outside' let them face the center of the stator circle.
3. Weigh and measure the resistance of every single coil
All coils must be similar in order to have a constant load. To achieve this, use a scale to compare the weight of the coils and measure the resistance with a multimeter.
4. Draw a template
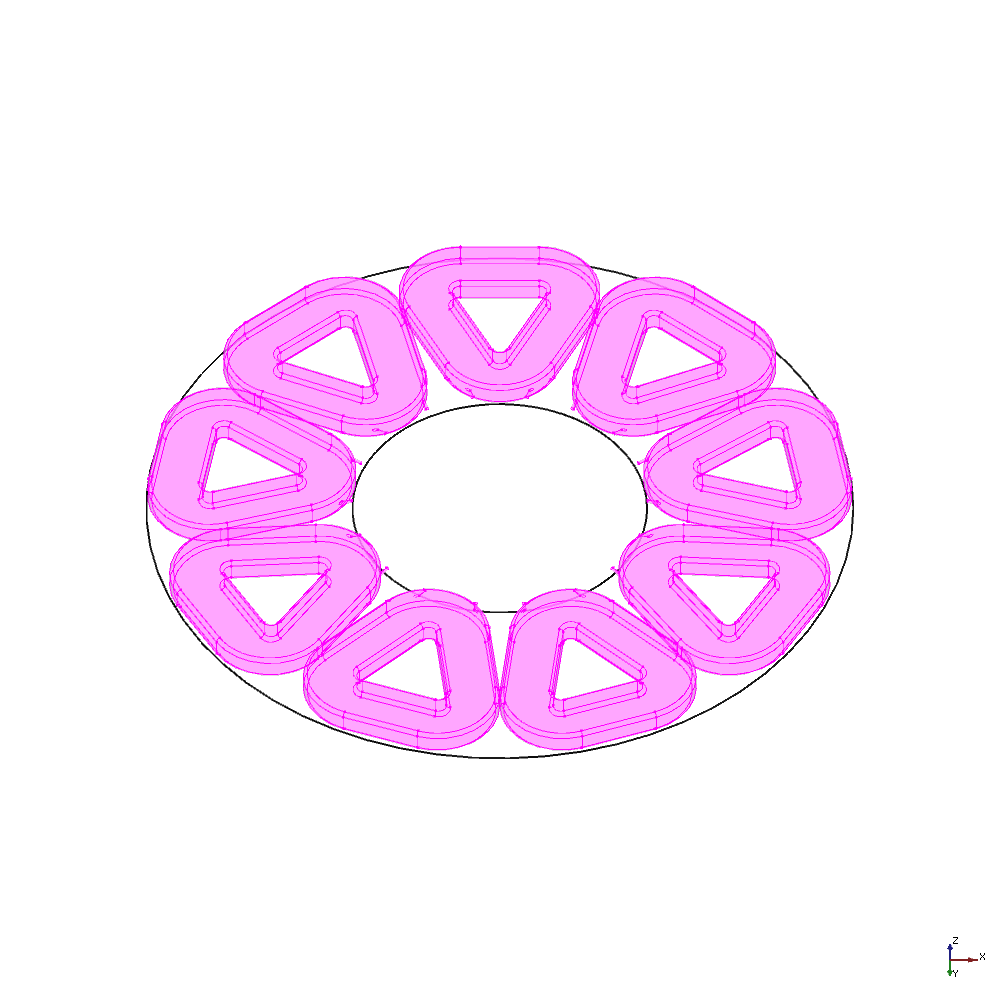
Take a cardboard or thin plywood and draw two circles starting from a center point as shown below.

5. Arrange the coils
Place the coils on the template circles, note that all coils must be positioned so that the windings point in one direction.
6. Place the Mounting Inlay
7. Place the Electric Plug
8. Wire and solder the coils in wye (star) configuration
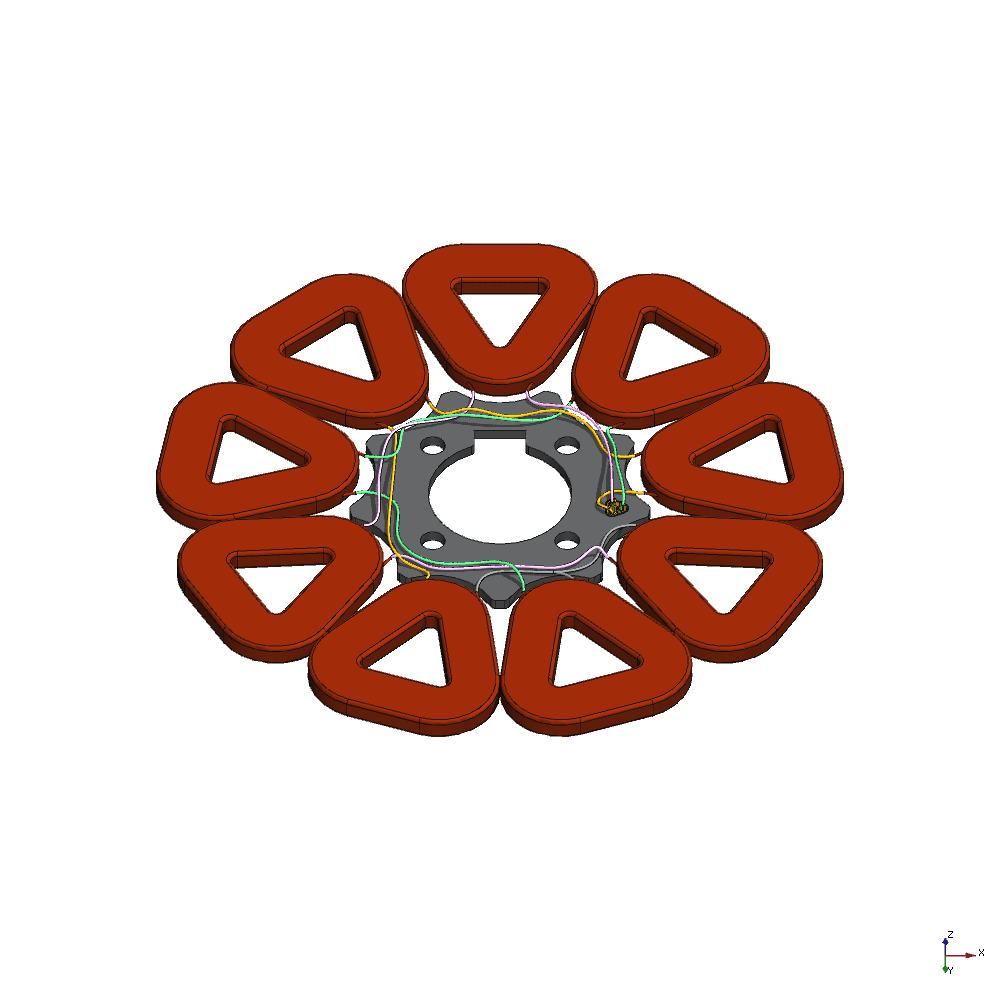
To connect the coils in start connection, the ends of the coil wires need to be stripped to solder them together. Also have some spare wire ready to connect the short wires of the coils. Every string of our three-phase circuit consists of three coils in a row, so every third one in the circle is connected. All phases are conected to one ‘neutral’ point, the endings are solderd to the Electric Plug
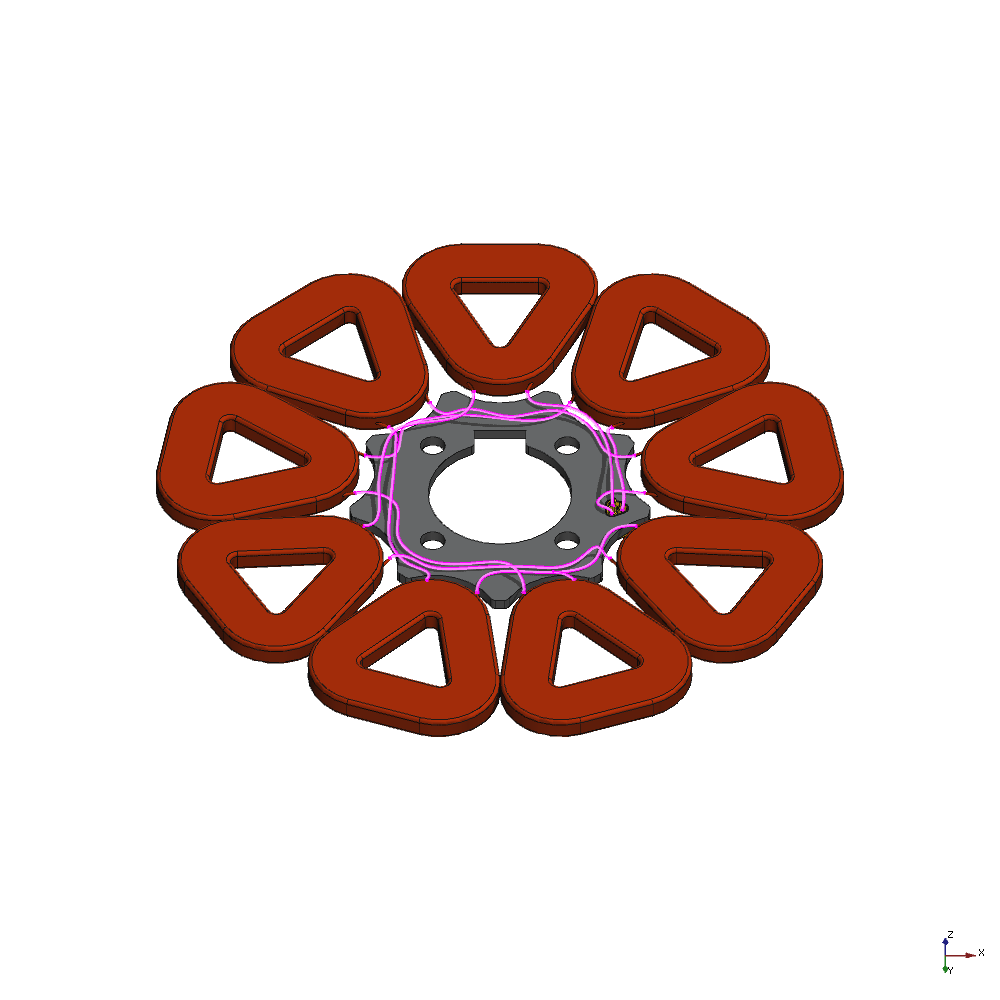
First we begin to solder the ‘neutral’ point of the configuration. Take the wire endings of three coils next to each other and solder them together.
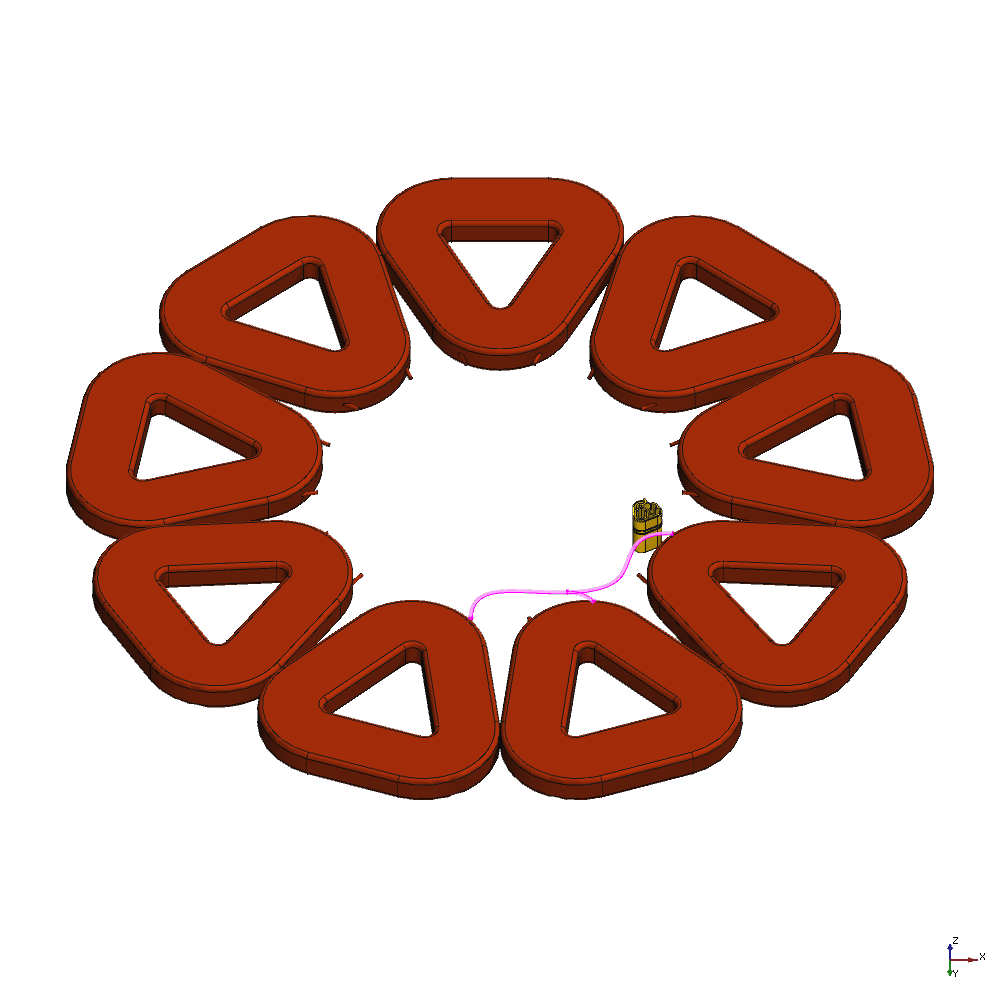
Create the first phase by solder every third coil to one 'string', solder the end to the Electric Plug.
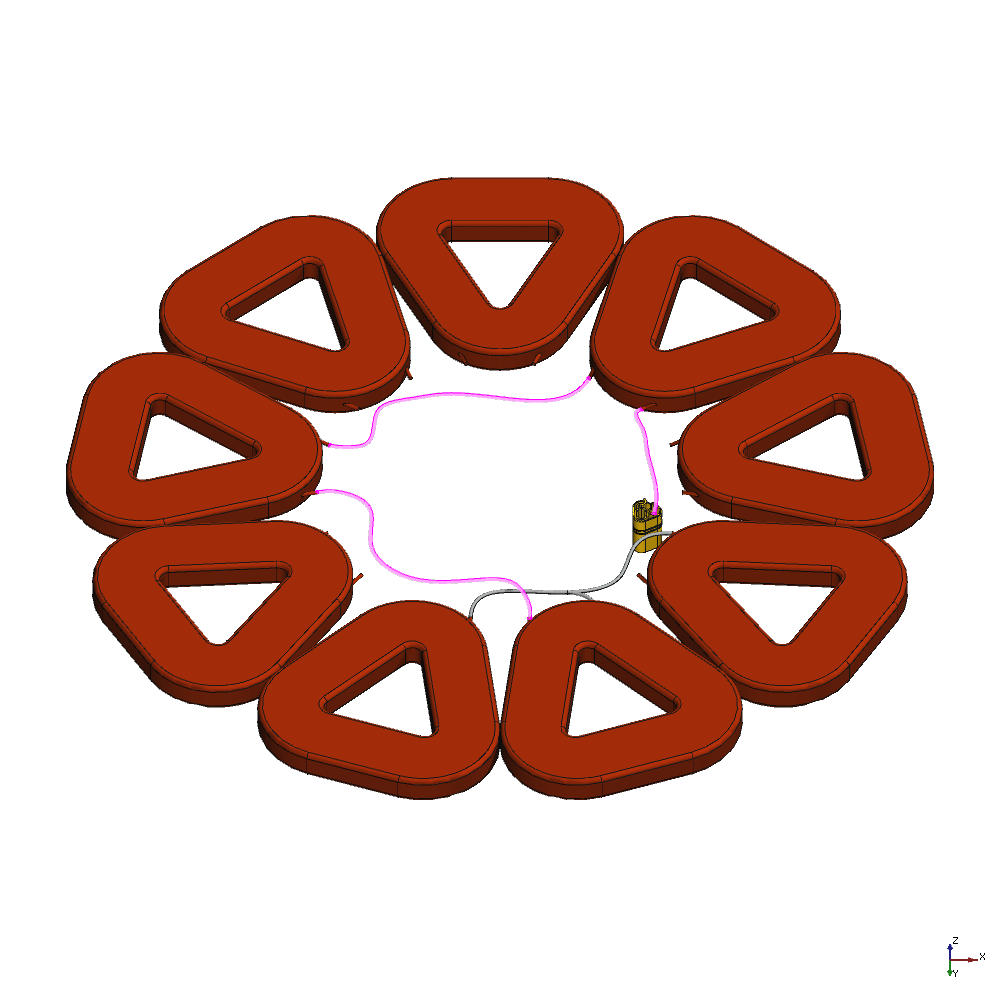
Repeat this process with the two other phases.
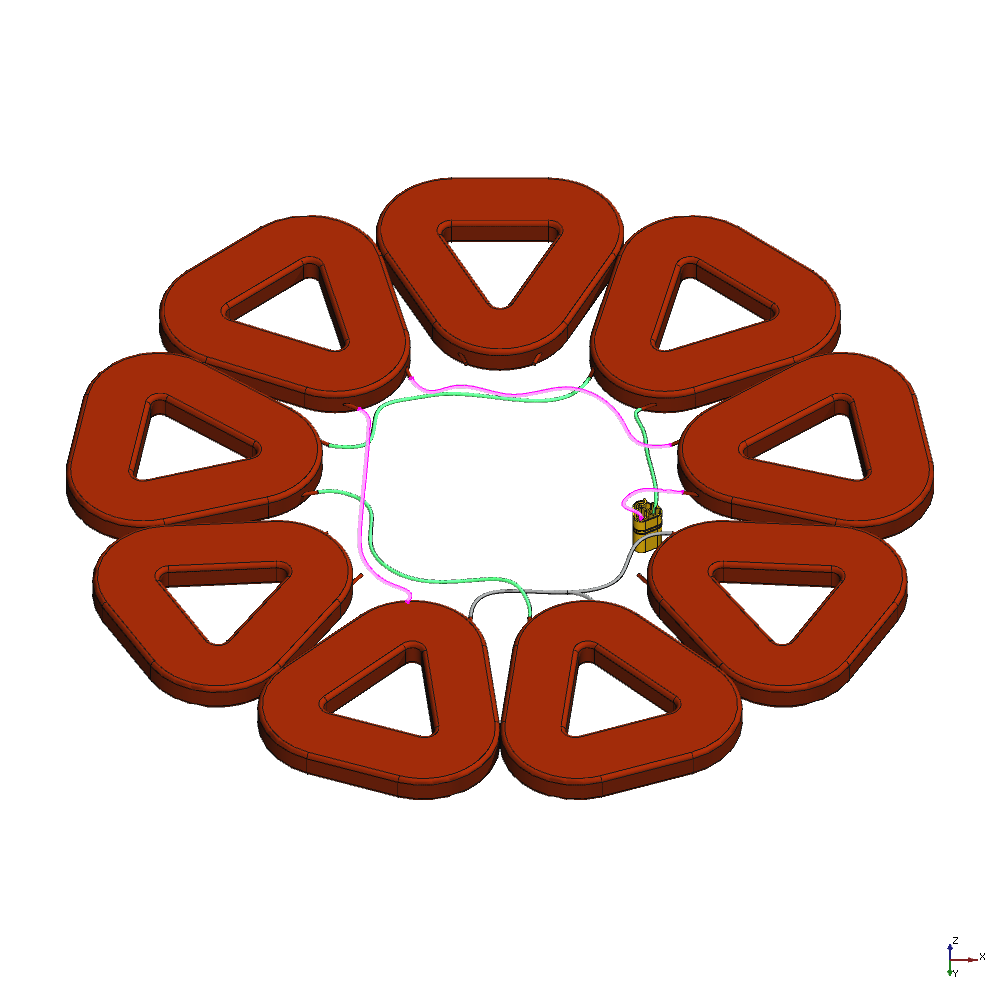
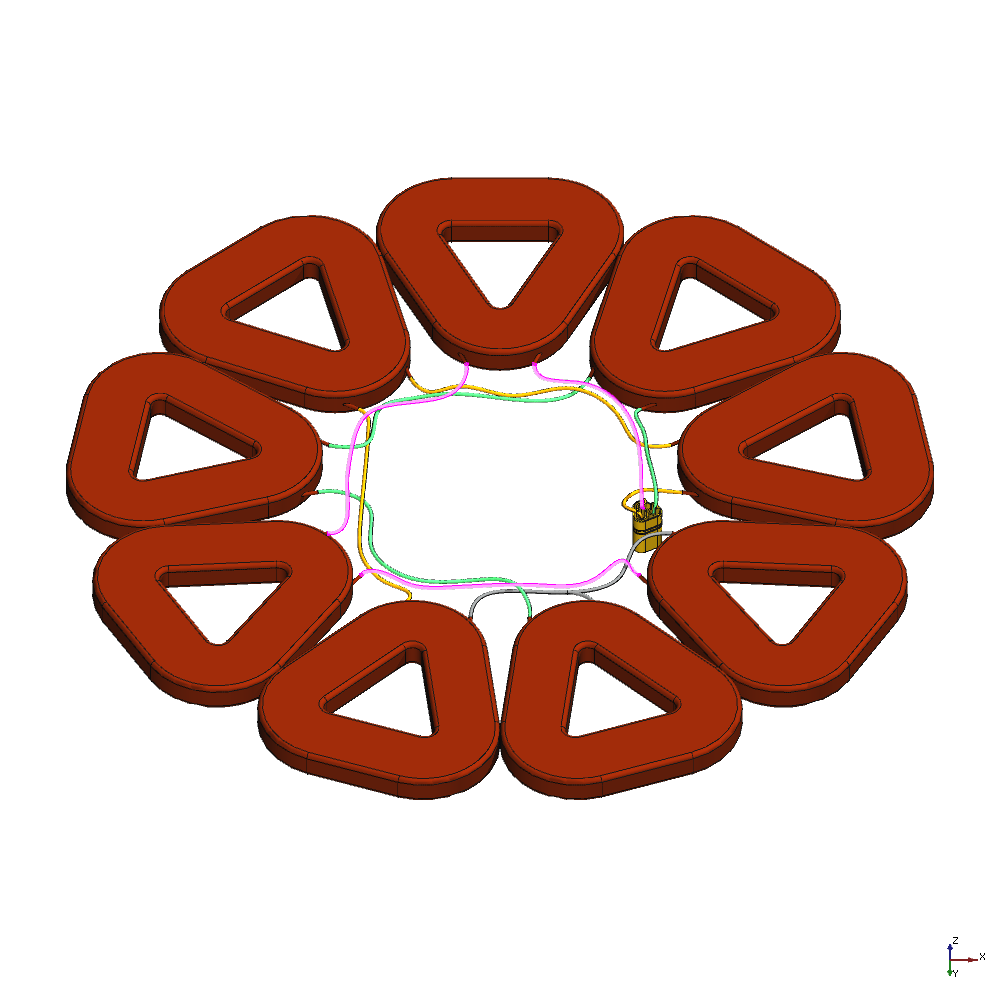
9. Measure the resistance of every string
Compare the resistance of the strings by measuring the resistance of every phase between the ‘neutral’ point and the plug. The measured resistance should be similar between all phases, if one hase too large deviations take a closer look at it.
10. Cut the Fibreglass Cloth
We use fibreglass cloth to support the cast. To cut out the two pieces use the Fibreglass Cloth Templates TODO as a template.
11. Cast the coil circuit and mounting plate
Once the wiring is complete the stator can be cast. The casting is done with a stator mould. You can either use a Vacuum infusion stator mould or a Casting stator mould, have a look at the Tools section for more information. The casting process is described in these manuals:
- "2F Wind Turbine Construction Manual", chapter "Casting the stator", page 91, by Hugh Piggott
- "Build A DIY Vacuum Injection Axial Flux Stator Mold", chapter "Using your new vacuum injection stator mold", page 17, by James Biggar/Renewable Systems Technology
12. Paint the Alternator Stator
Use the exterior metal paint to paint the stator, hang them up before painting.
