 Iman
ImanOverview
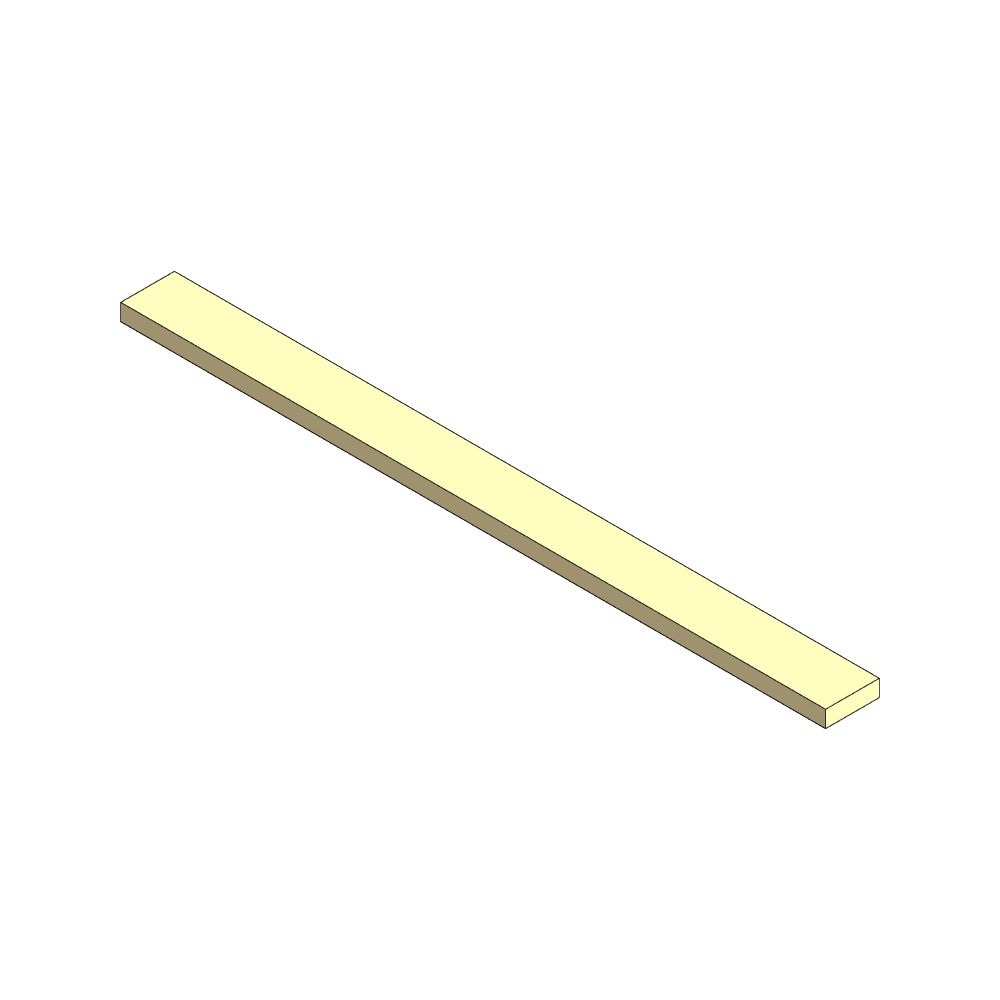
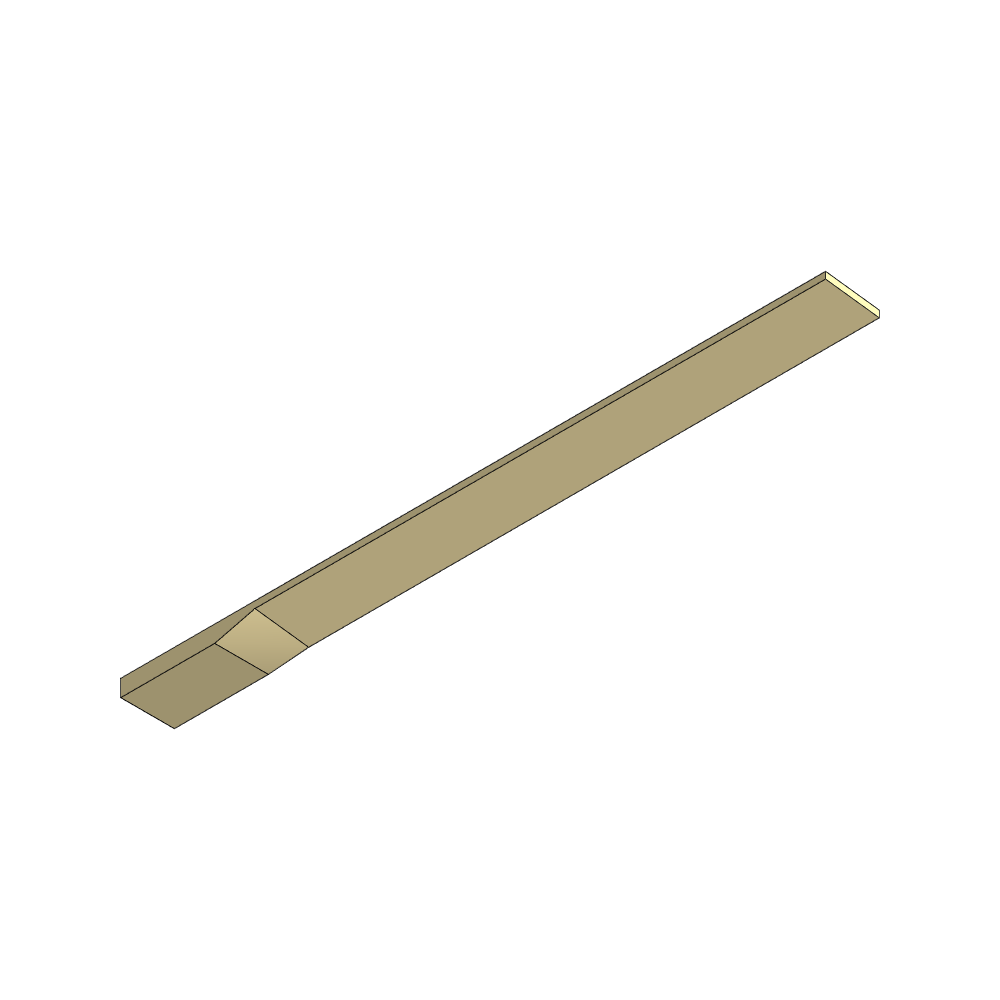
In this section we focus on carving the Rotor Blade by hand from a piece of wood. Use the CAD file to gain a better understanding of the diamensions as long as we didn't put numbers on the renderings.
This method is heavily inspired by Performance analysis and improvement of a small locally produced wind turbine for developing countries, section "Blade manufacturing manual for the new rotor design", p.111, by Nienke Hosman.
Following variables are used:
| Variables | mm |
|---|---|
| blade length R | 900 |
| wood length L | 1000 |
| blade width W | 80 |
| minimum wood thickness H | 25 |
| chord C | 80 |
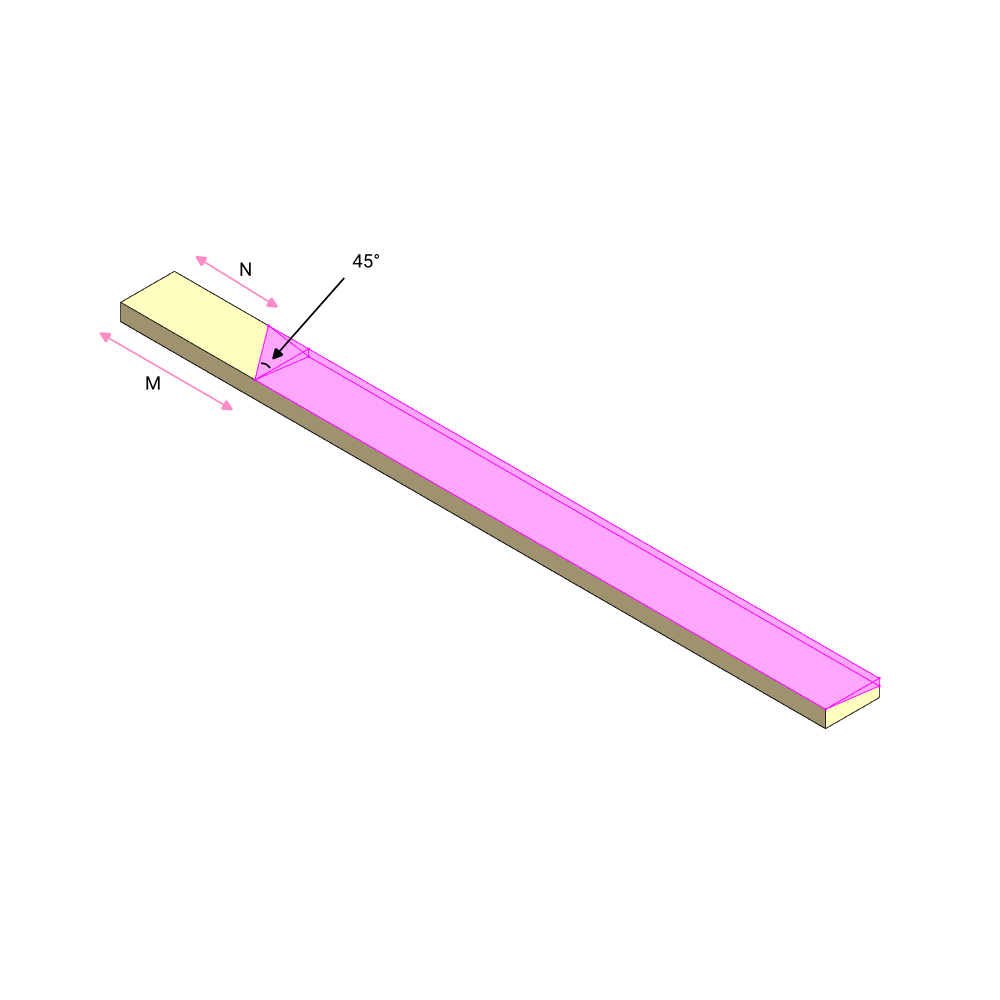
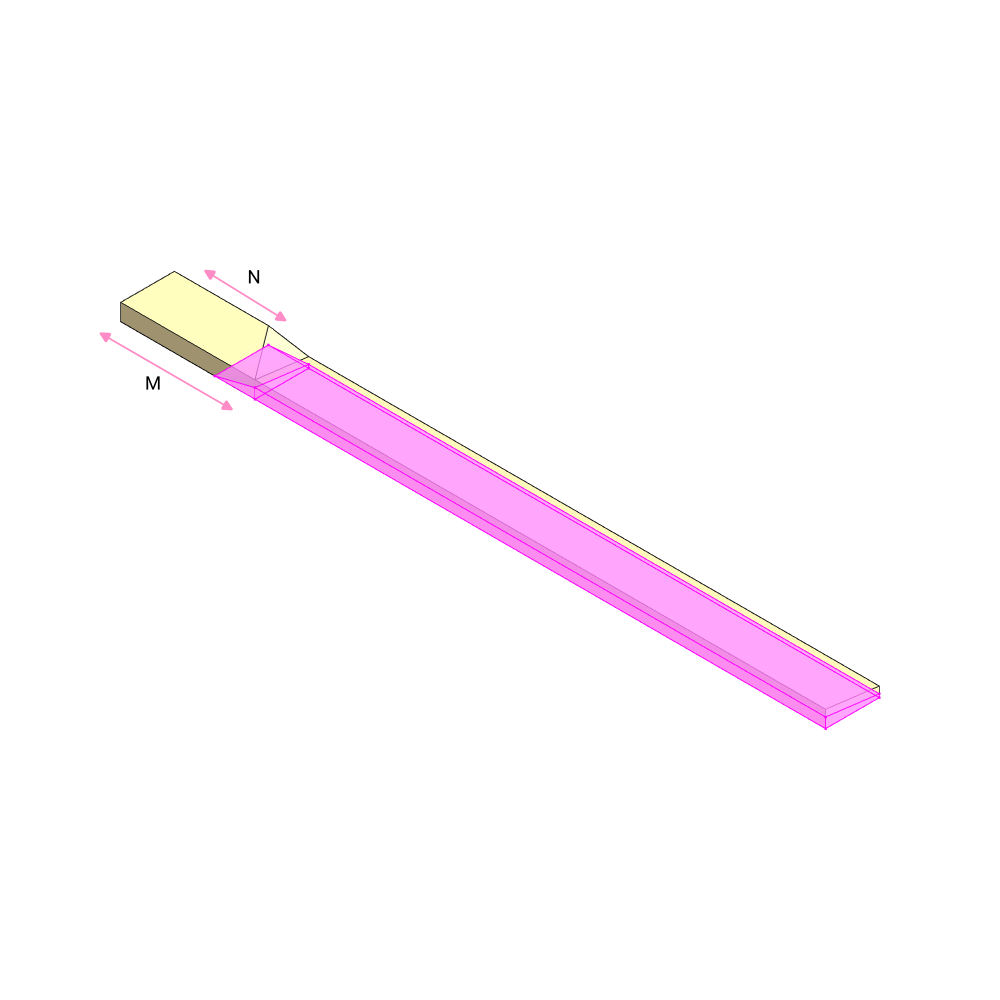
| M | 200 |
| N | 140 |
| B | 67 |
| A | 33 |
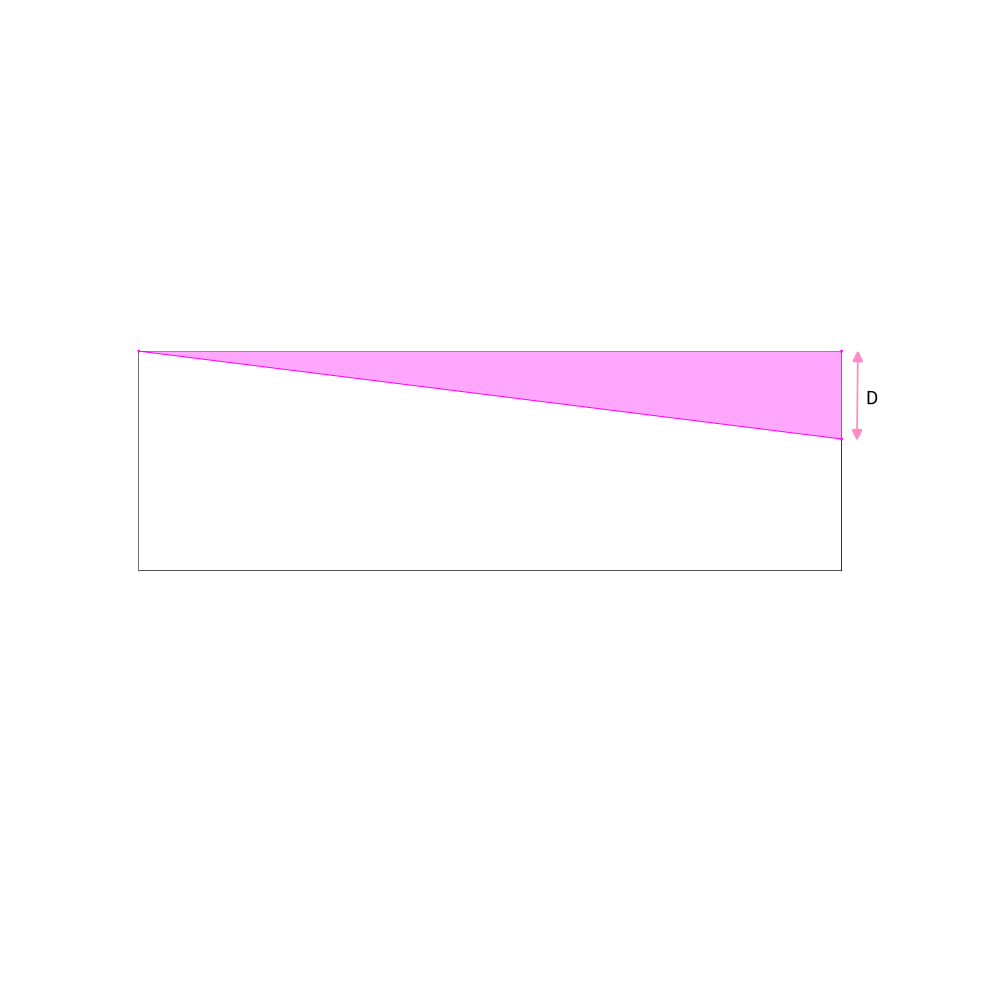
| D | 10 |
| E | 13 |
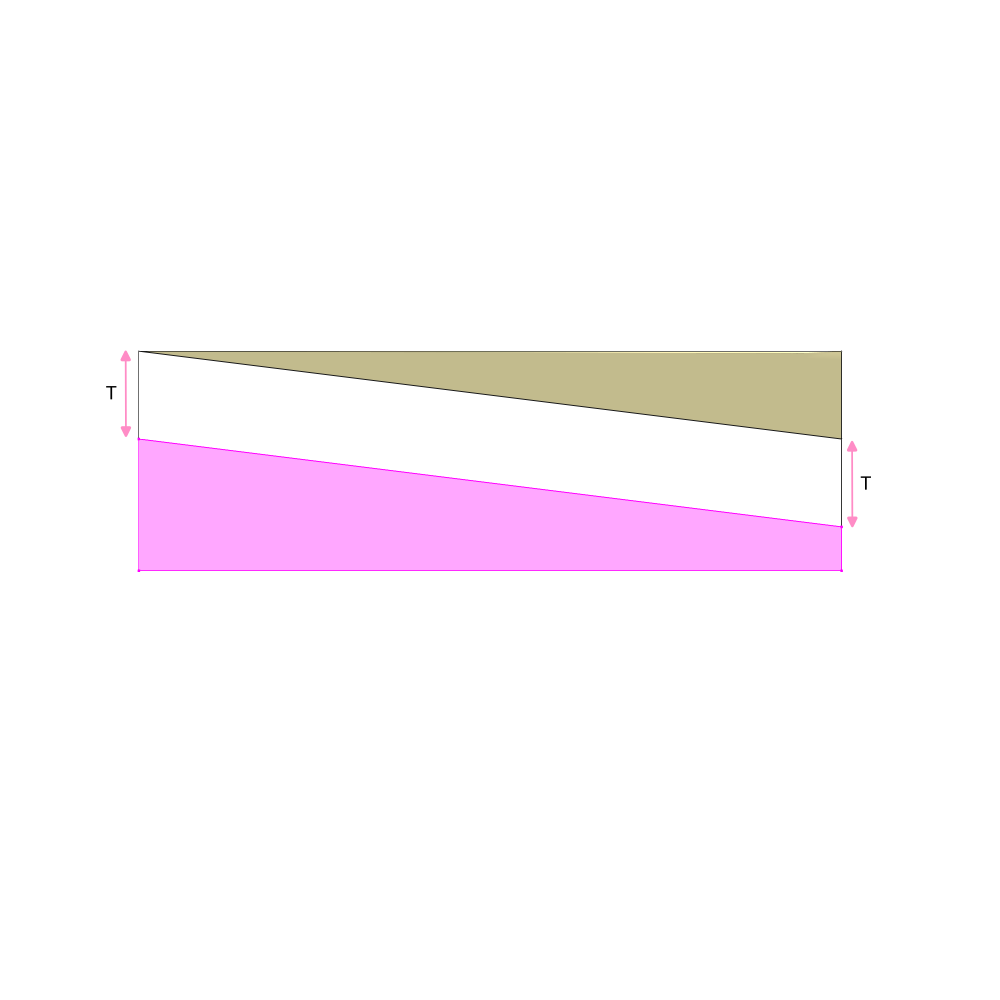
| airfoil thickness T | 10 |
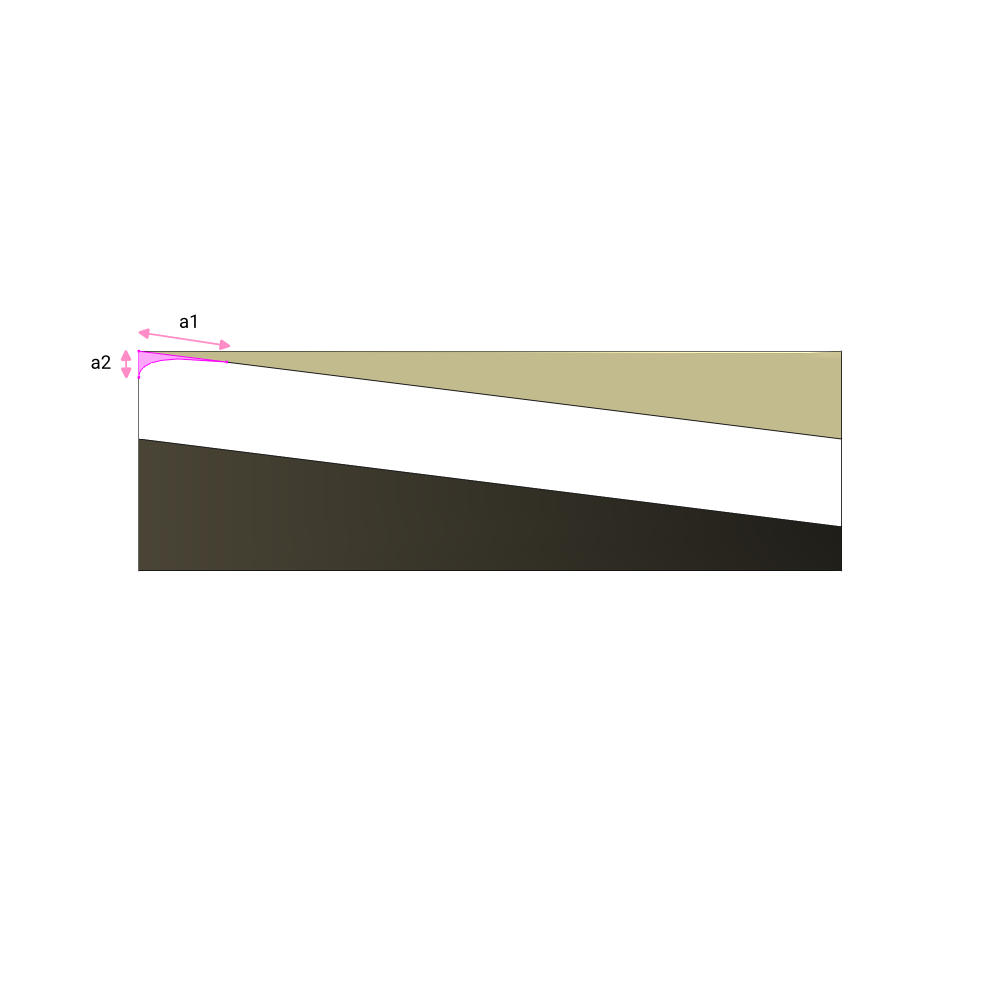
| a1 | 10 |
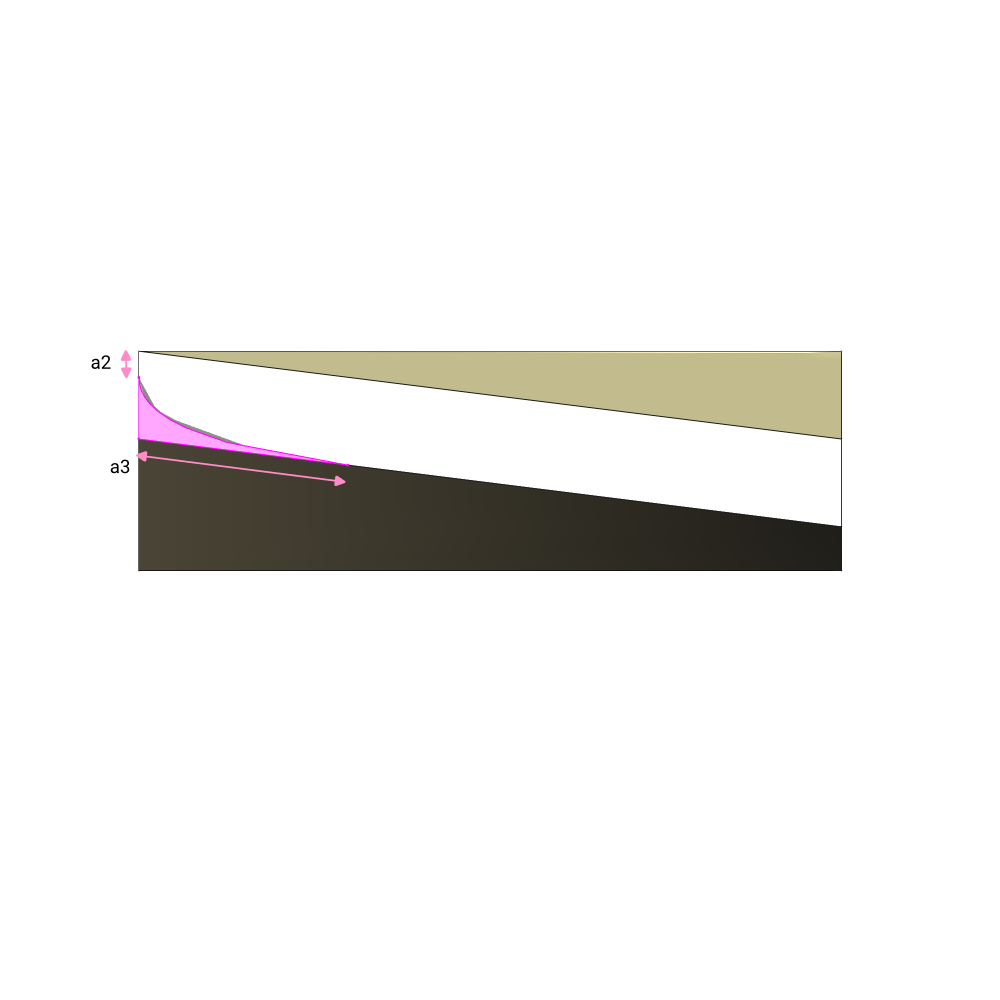
| a2 | 3 |
| a3 | 24 |
| blade angle θ | 7° |
Materials
See pos. 1 in the BOM, not all materials listed there may be required at this point.
Build
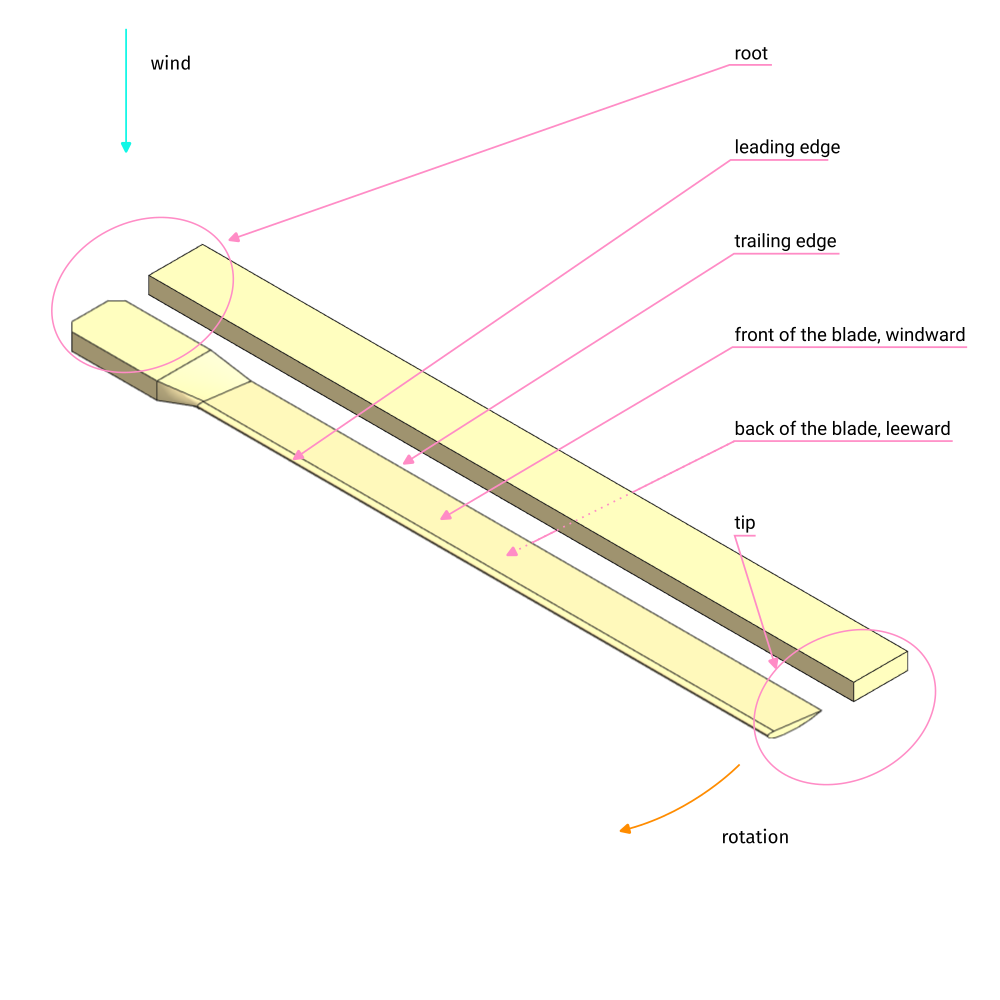
1. Define up- and downwind side of the blade
 View: Perspective
 View: Looking from blade tip to root
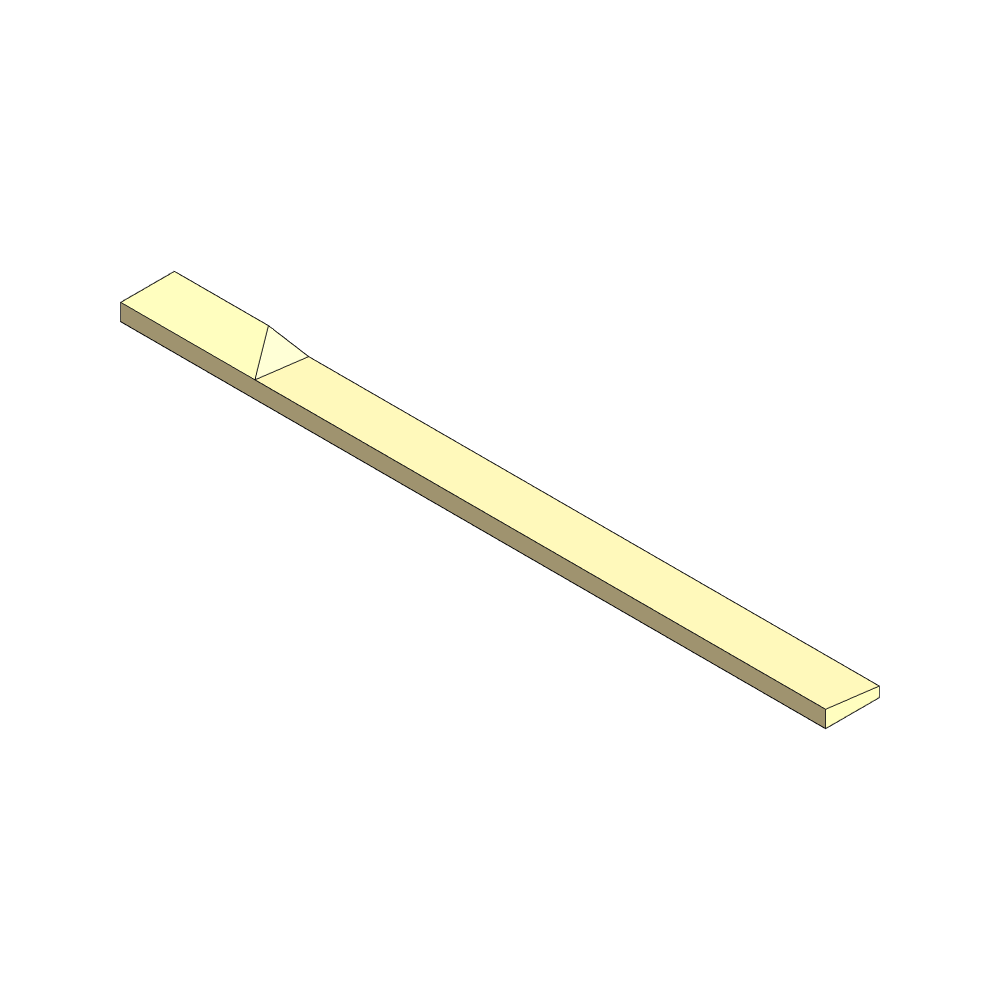
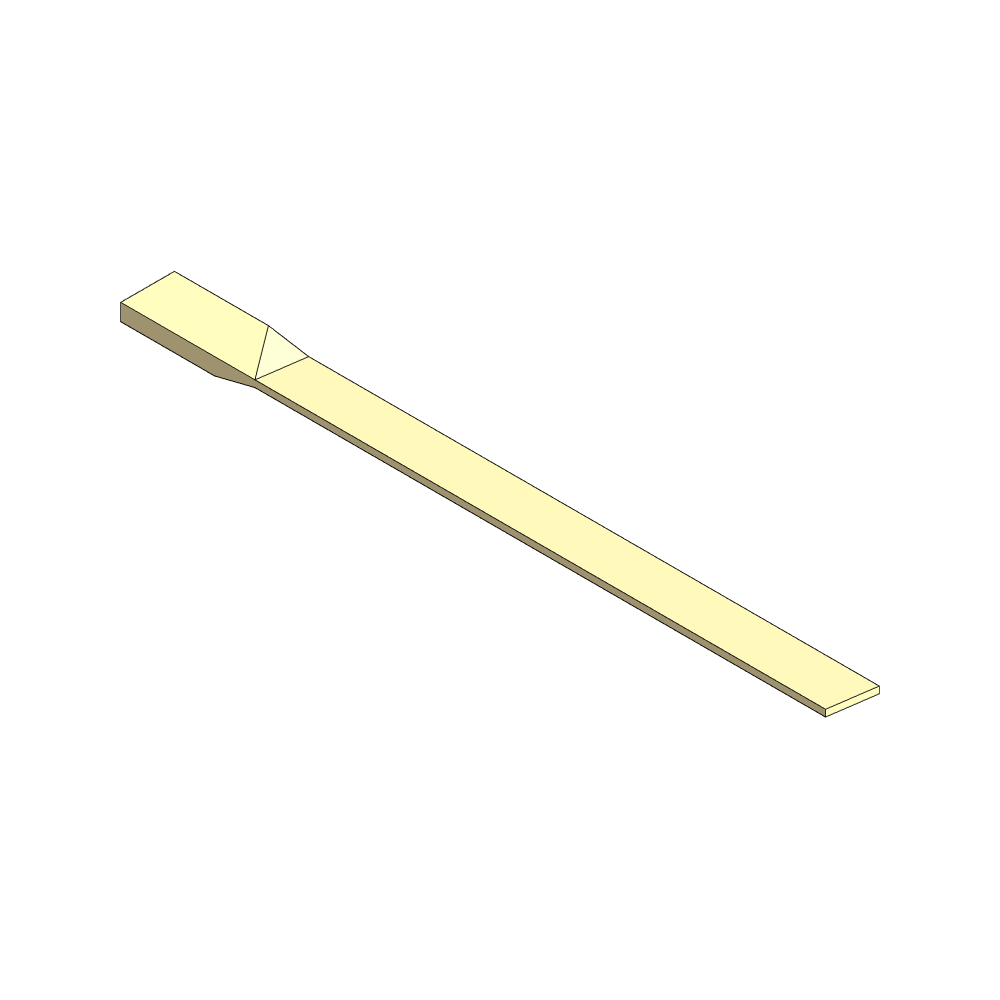
2. Carving the windward face
 View: Perspective
 View: Looking from blade tip to root
 View: Perspective
3. Carving the downwind side and blade thickness
 View: Perspective
 View: Looking from blade tip to root
 View: Perspective upwind side
 View: Perspective downwind side
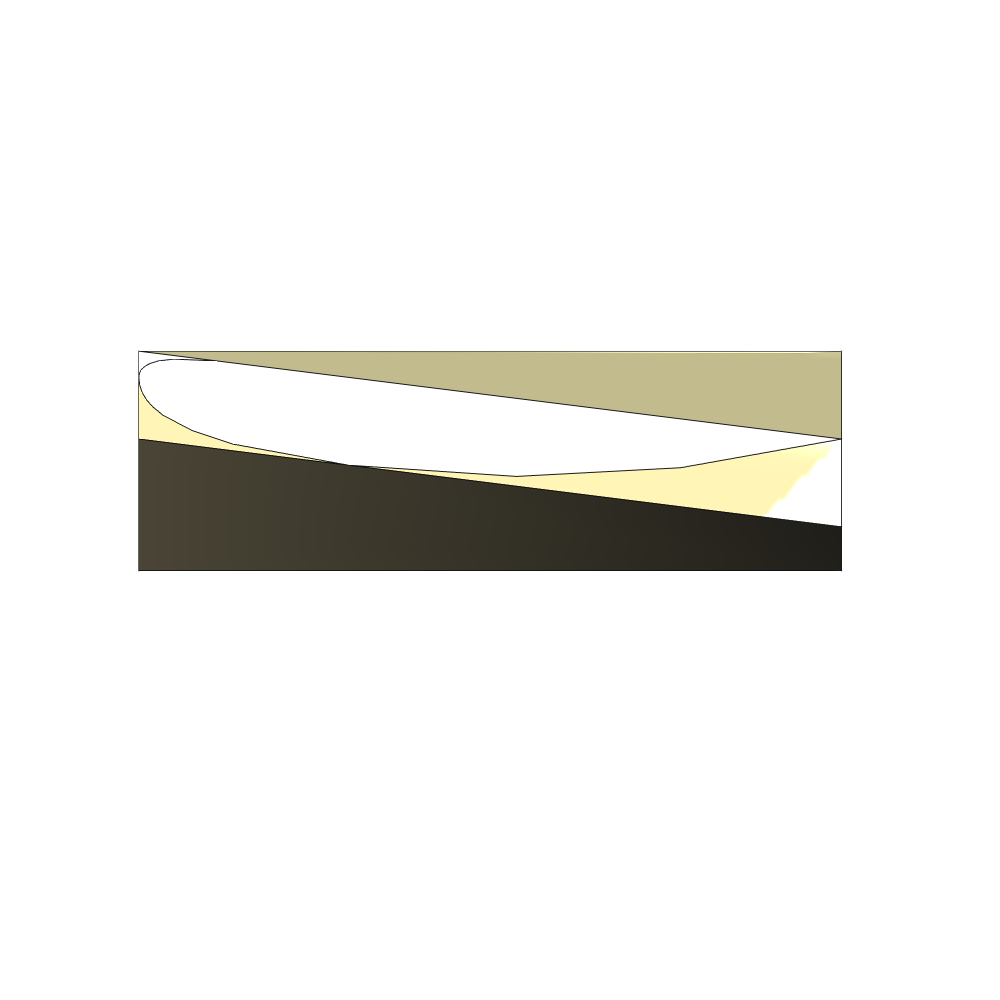
4. Carving the airfoil shape
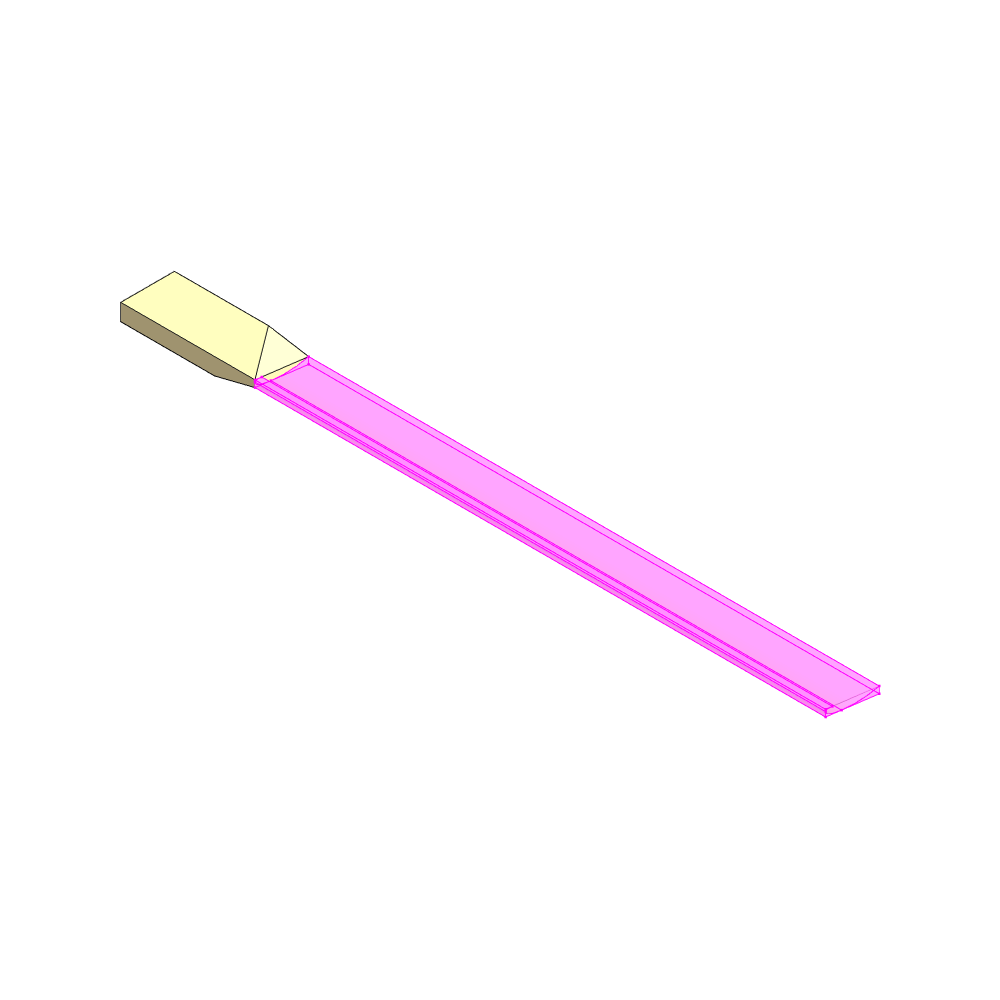 View: Perspective upwind side
 View: Looking from blade tip to root
 View: Looking from blade tip to root
 View: Looking from blade tip to root
 View: Looking from blade tip to root
 View: Perspective upwind side
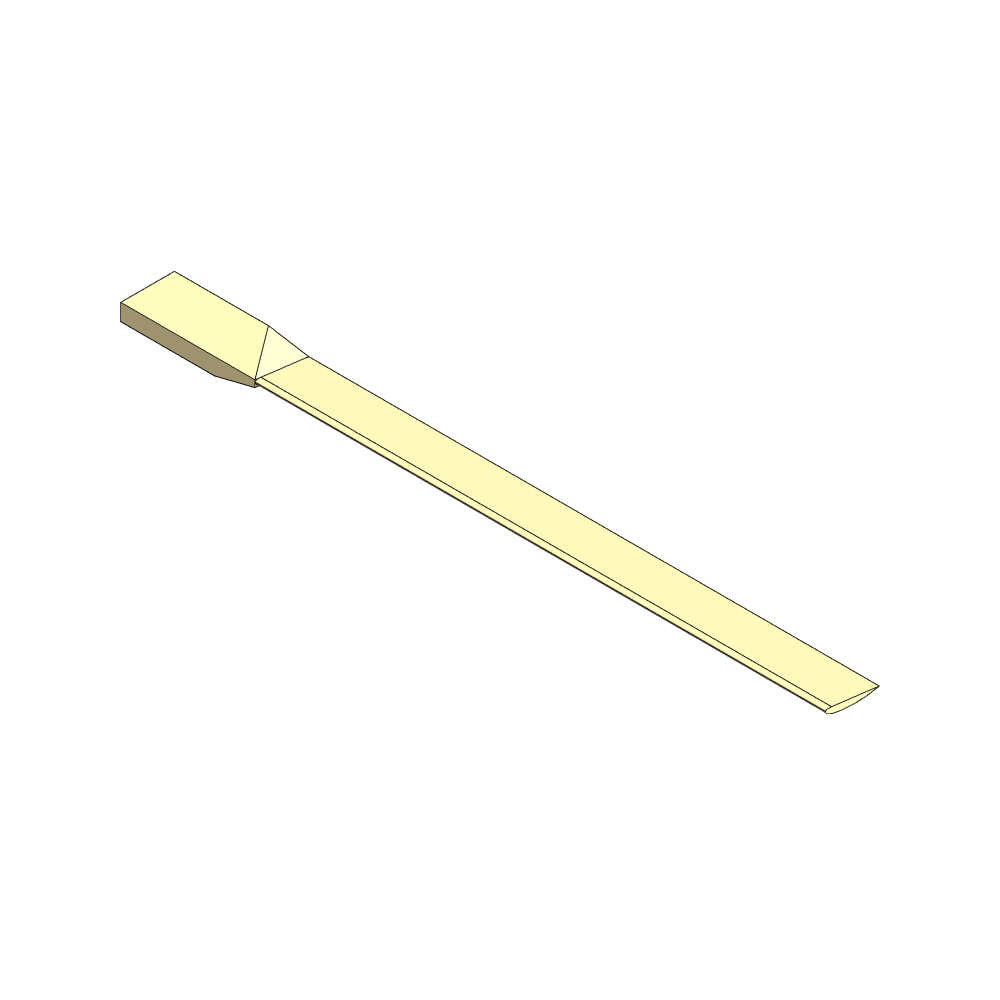
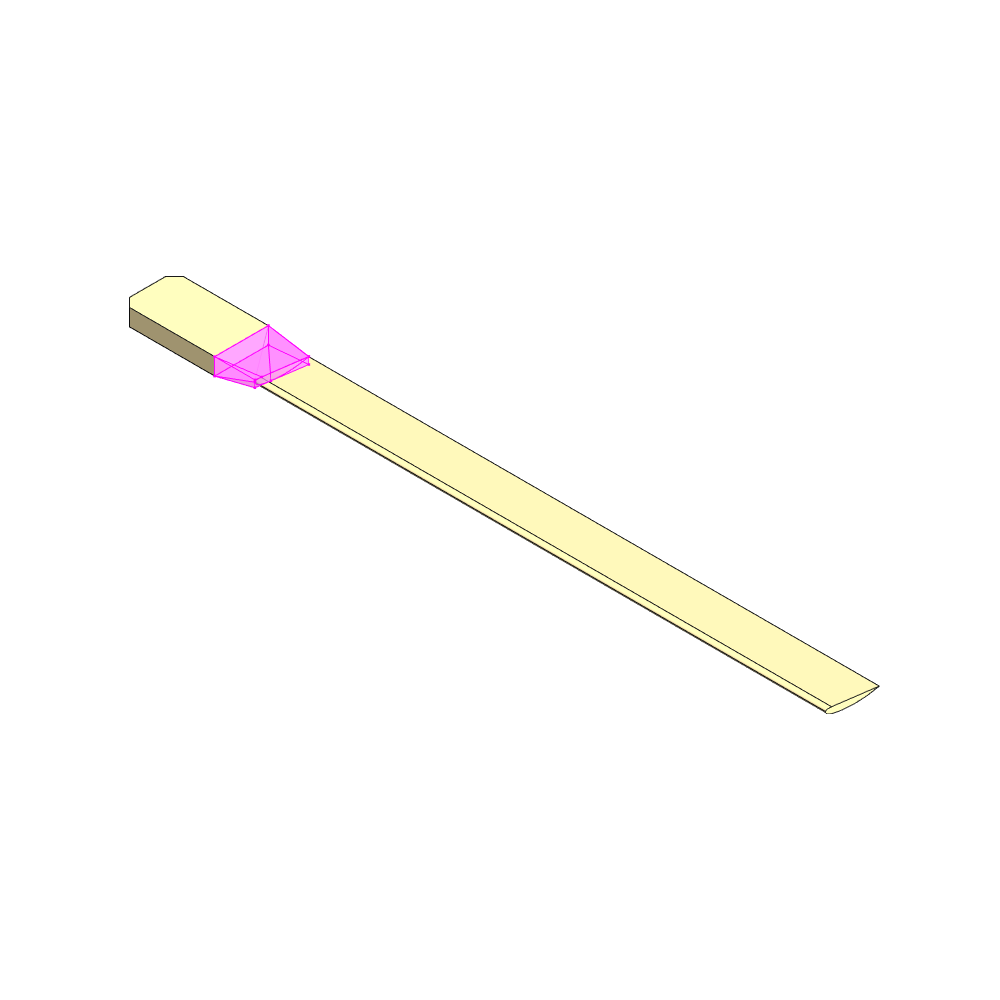
5. Cut the edges of the root
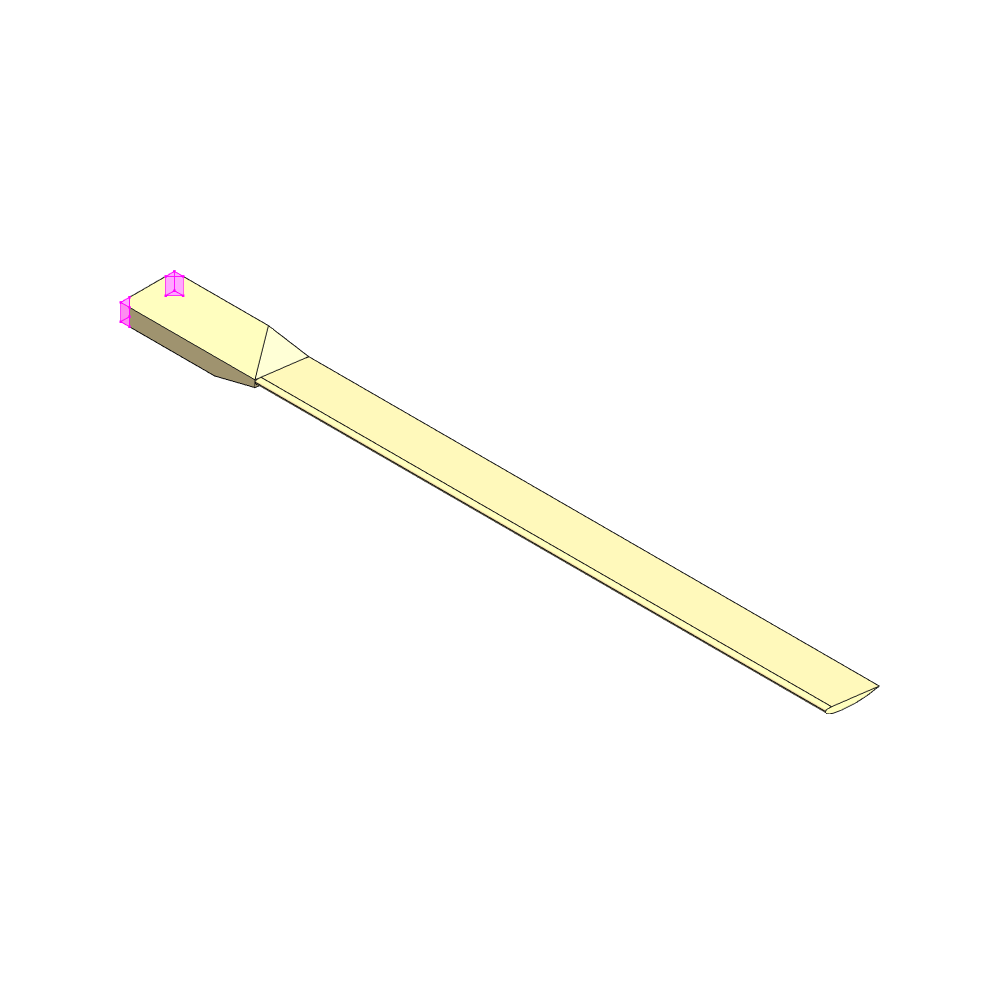 View: Perspective upwind side
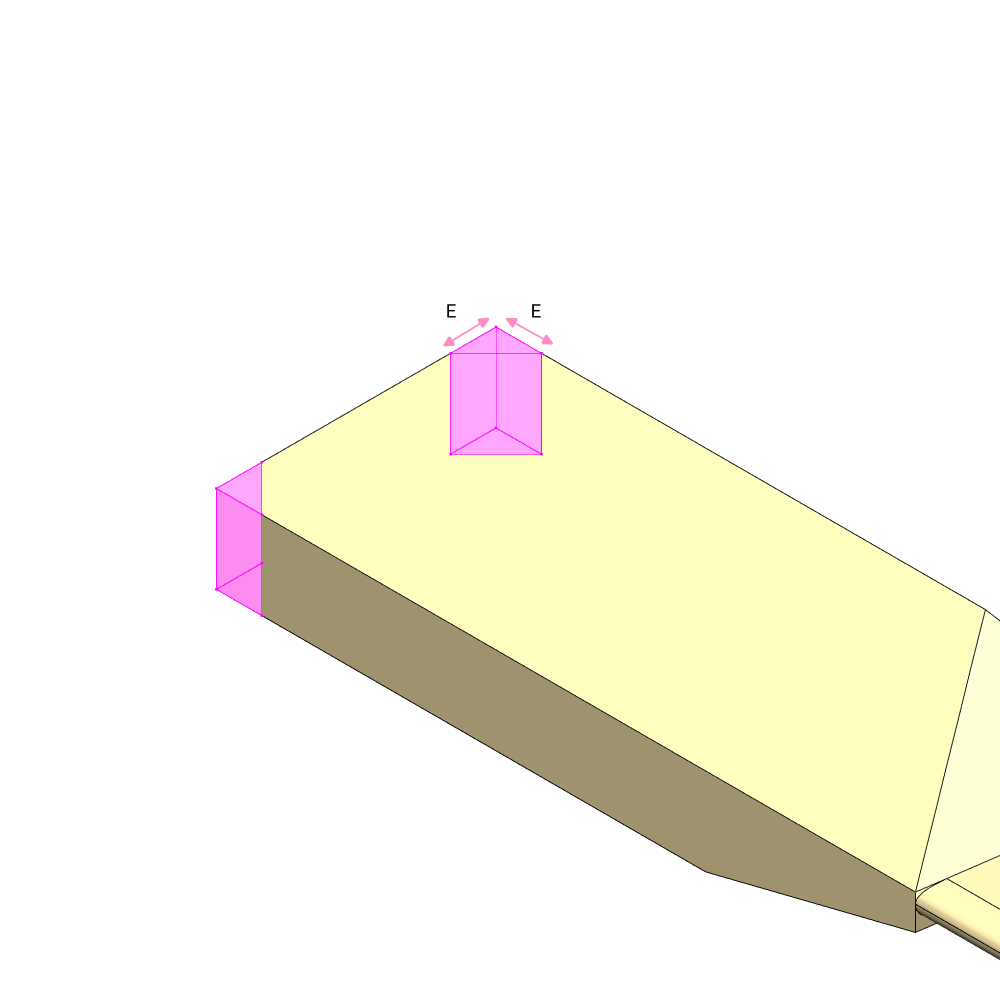 View: Perspective blade root
 View: Perspective blade root
 View: Perspective upwind side
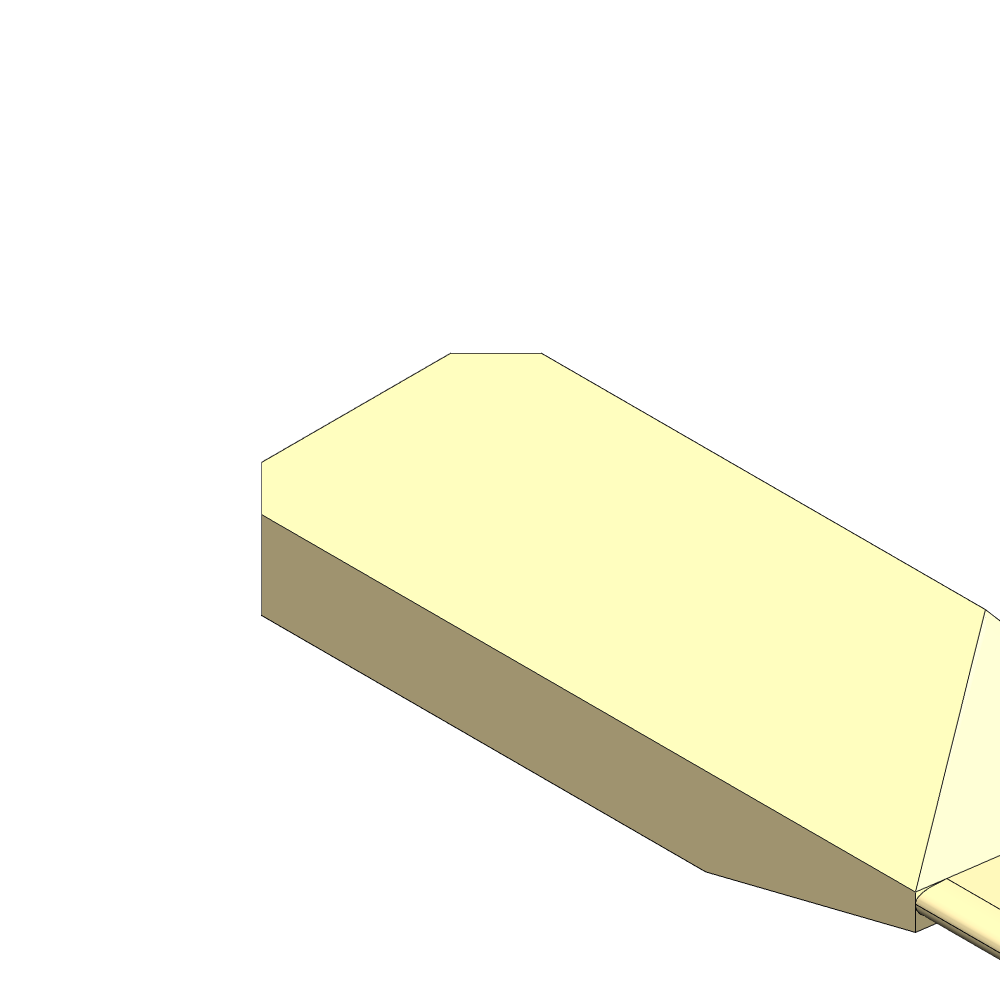
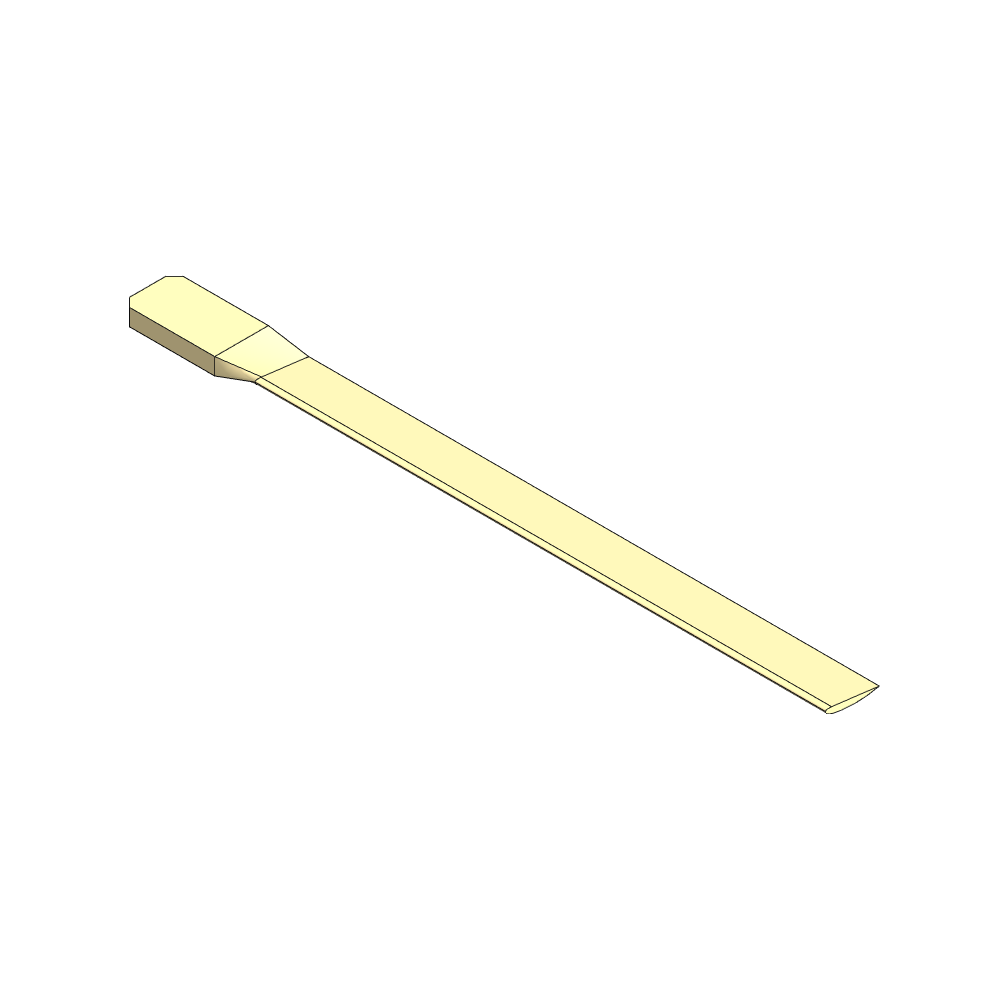
6. Create changeover from airfoil shape to root
 View: Perspective upwind side
 View: Perspective upwind side
7. Drill root holes
Uses the Rotor Front Mounting Plate as a template to drill the holes in the root.
8. Surface treatement
Use sand paper to smoothen the surface. Start with graining 80, then 150, then 240, then 320. Moistening the surface with a sponge or rag. The remaining wood fibre will stand up. Wait till the surface is dry. Sand it one more time with graining 320.
Apply boiled linseed oil with a brush or sponge. Wait 20 to 30 min. Clean off the surface of remaining oil with a rag. Repead the process at least two more times.