lilal
lilalOverview
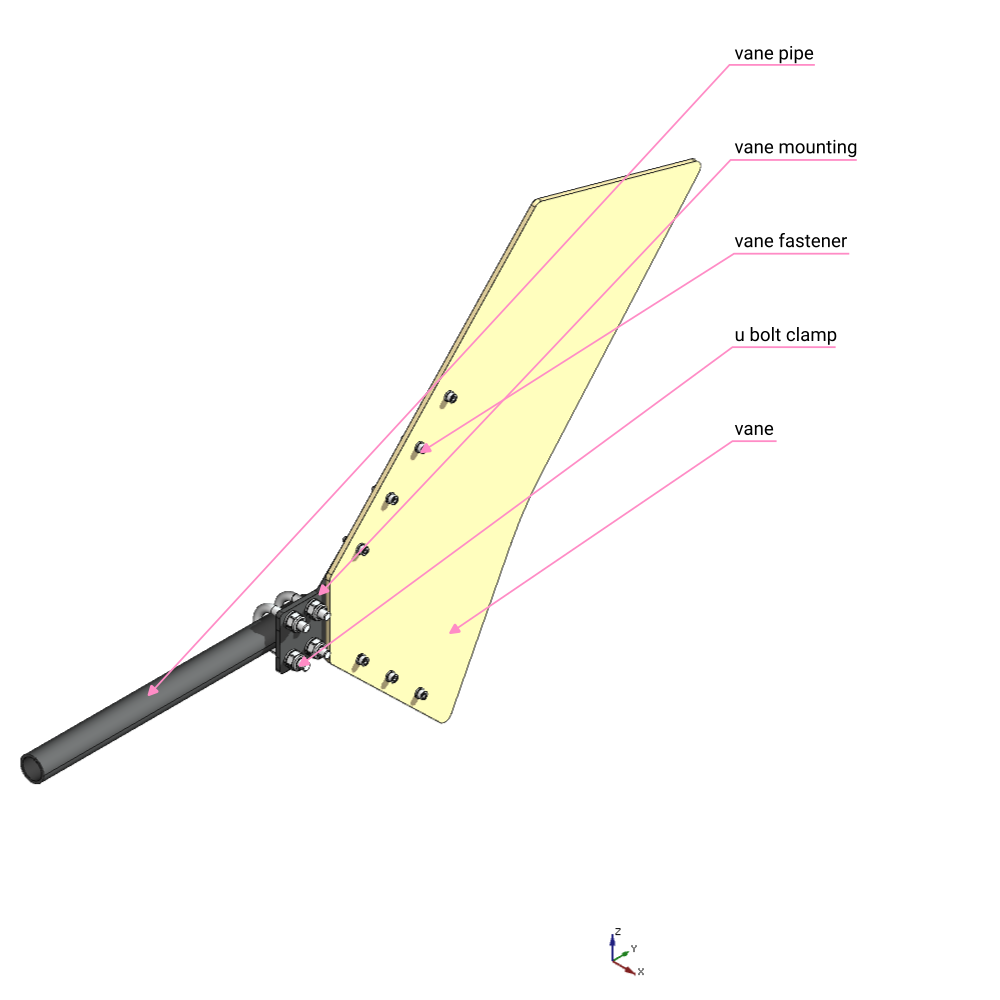
In this section we construct the Vane and paint all the parts. The final assembly of the Wind Vane is done here.
Materials
See pos. 6 in the BOM, not all materials listed there may be required at this point.
Build
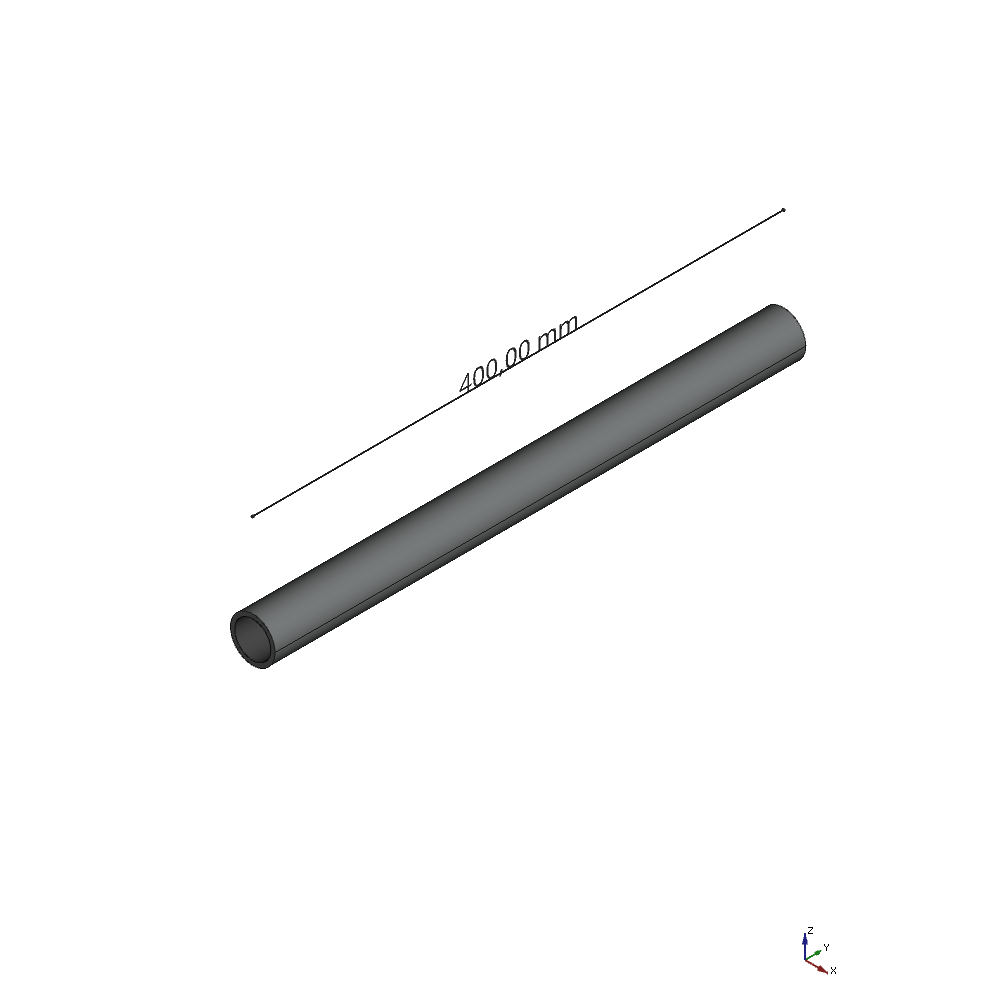
1. Cut the Vane Pipe
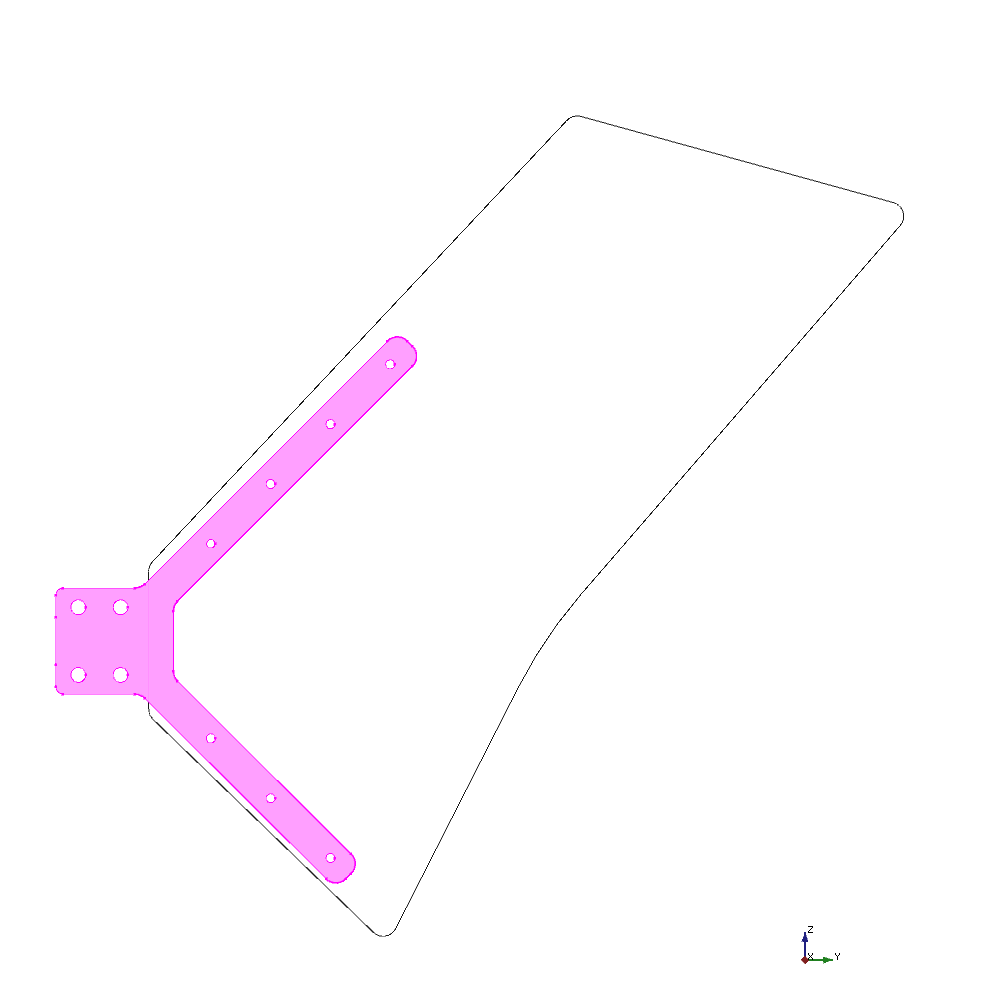
2. Cut out the Vane
The Vane can be cut either by hand or with a laser cutter, we provide a DXF file as a template here. The template needs to be scaled by 1,7.

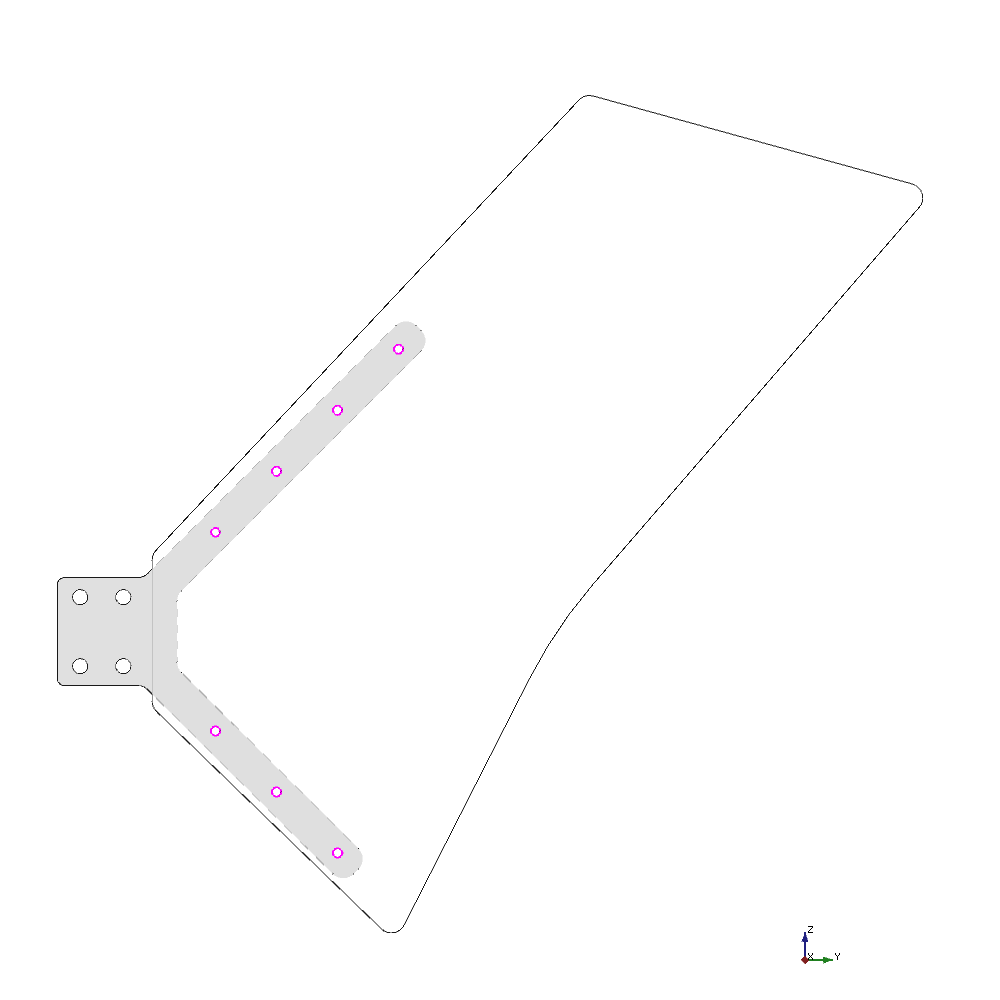
3. Add mounting holes to the Vane
Use the Vane Mounting as a template.
Drill the mounting holes with a 6mm wood drill bit.