lilal
lilalOverview
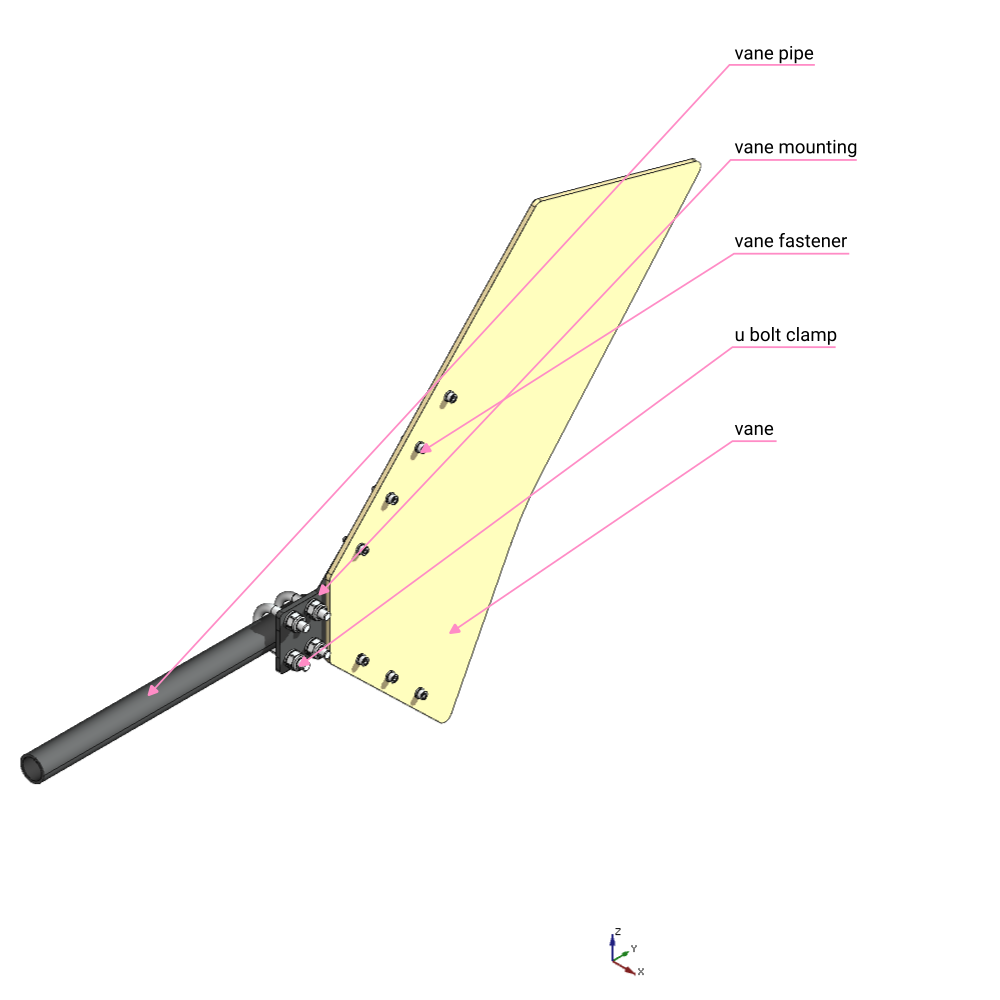
short introduction + rendering with arrows
Materials needed
| No. | Name | Units | TsDC-ID | Reference |
|---|---|---|---|---|
| x | x | x | x | x |
Tools needed
| No. | Name | |
|---|---|---|
| x | x |
Build
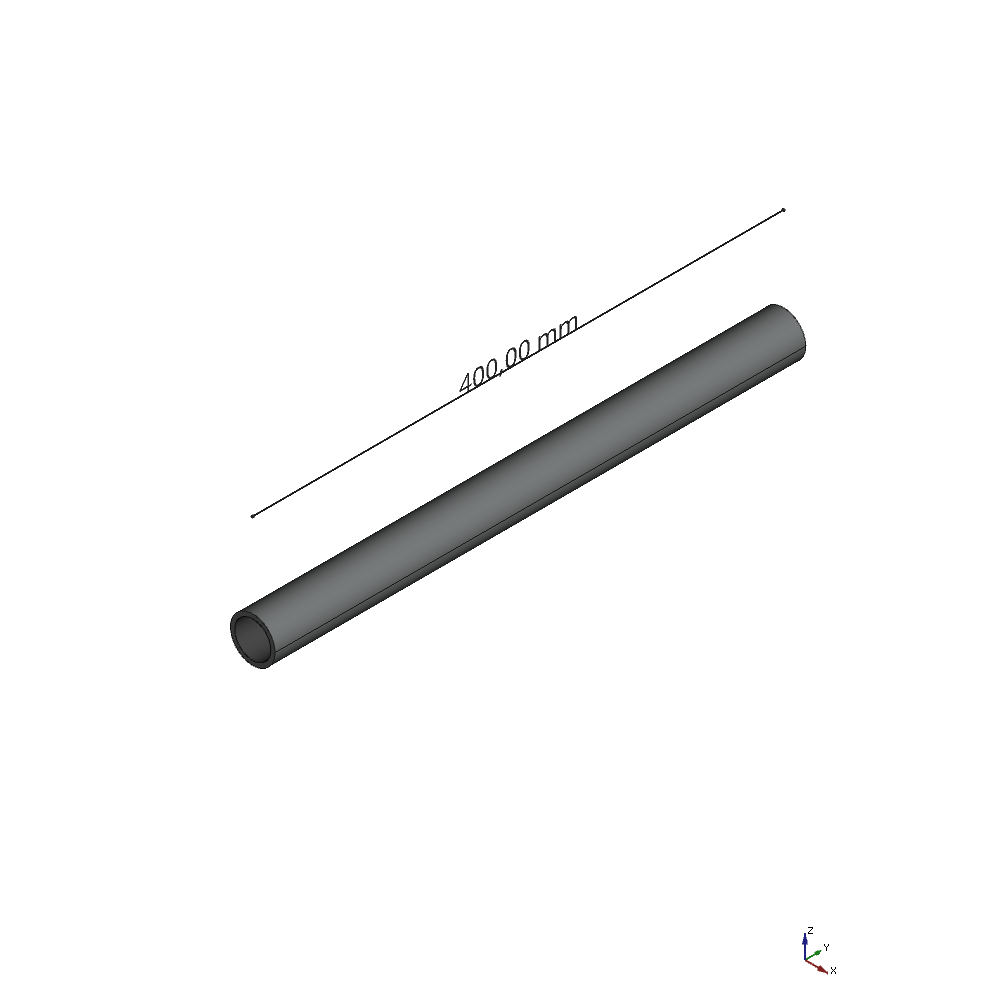
1. Cut the Vane Pipe
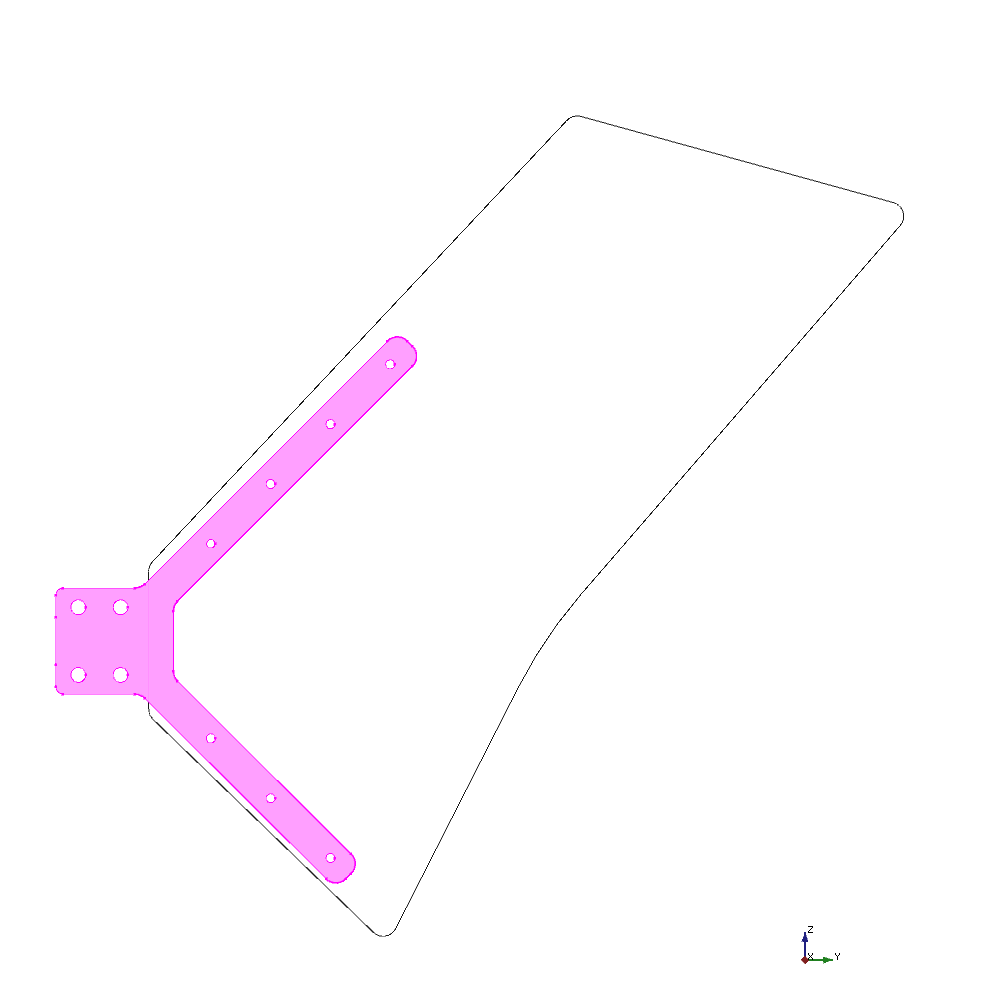
2. Cut out the Vane

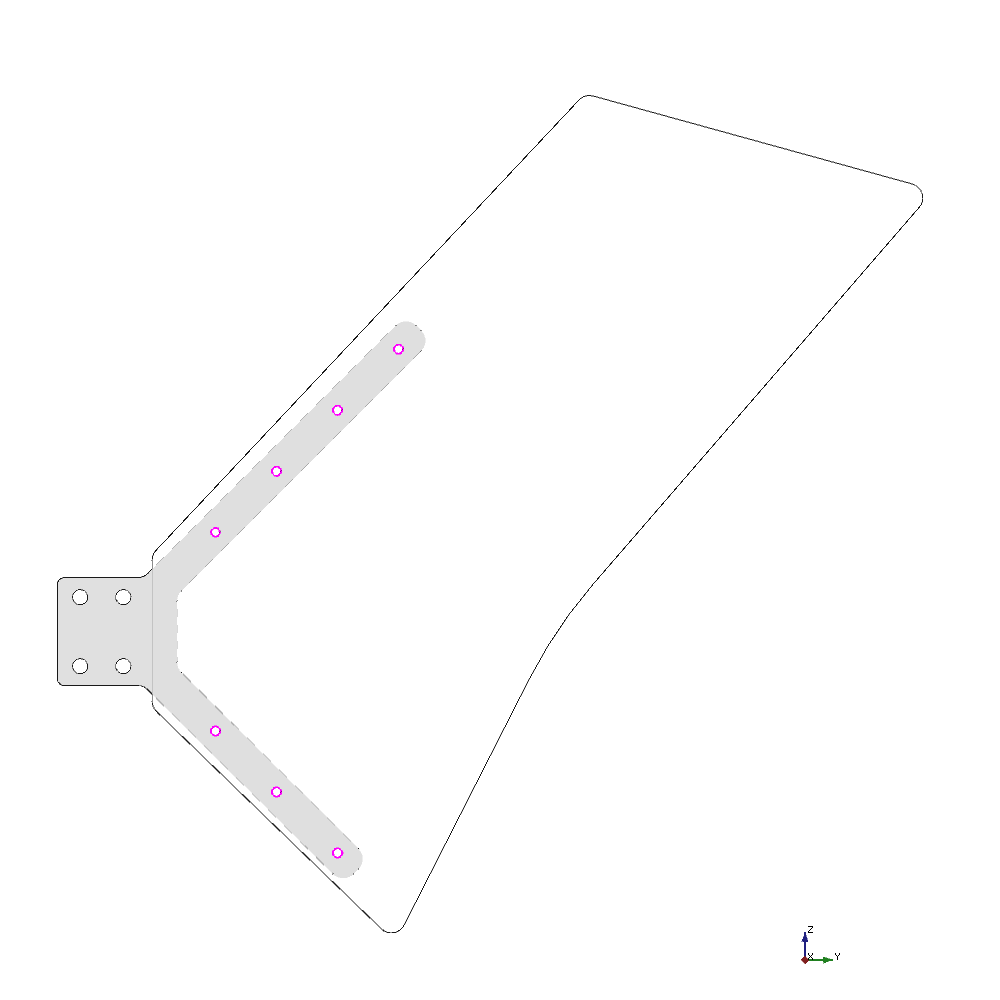
3. Add mounting holes to the Vane
Use the Vane Mounting as a template
Drill the mounting holes with a 6mm wood drill bit