 Iman
Iman- Overview
-
Assembly
- 1. Nacelle - Alt.Stator
- 2. Shaft
-
3. Alternator Rotor
- Place the Taper Bush Hub
- Mount on the Taper Bush Hub
- Place the Taper Bush
- Loosly tighten the Taper Bush Set Screw
- Place the Upwind Magnet Disk onto the Shaft
- Tighten the Taper Bush Setscrews
- Add the Disk Fasteners
- Add the Spacer Sleeves
- Add Downwind Magnet Disk
- Tighten the Alternator Stator
- Measure the airgap
- Alternator is ready to be used
- 4. Rotor
- 5. Windvane
- Cable
Overview
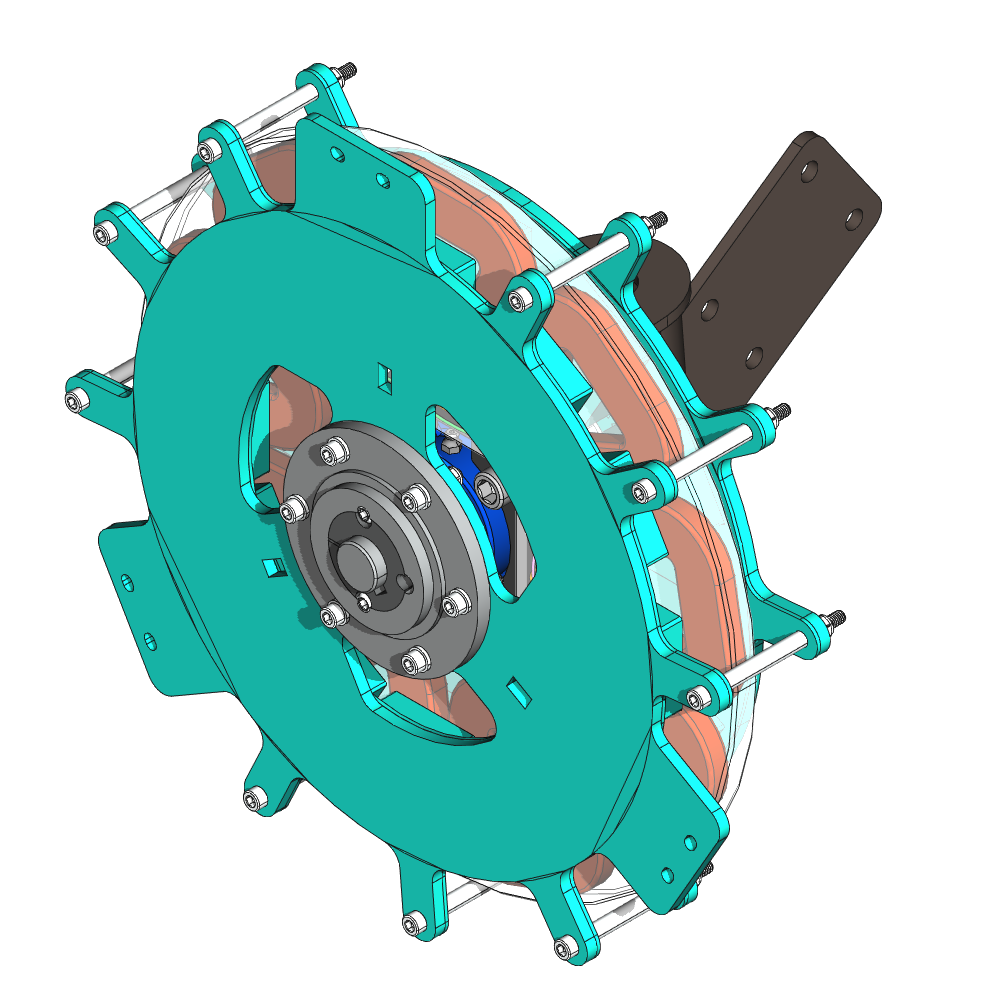
In this chapter we will focus on how to put all parts together. We also call it the wedding - a polyamouros one you can say. Nacelle, Alternator, Rotor and the Wind Vane are mounted together. Ét voila, the windkit is ready to produce energy. We'll start with the Nacelle and the Alternator Stator.
Assembly
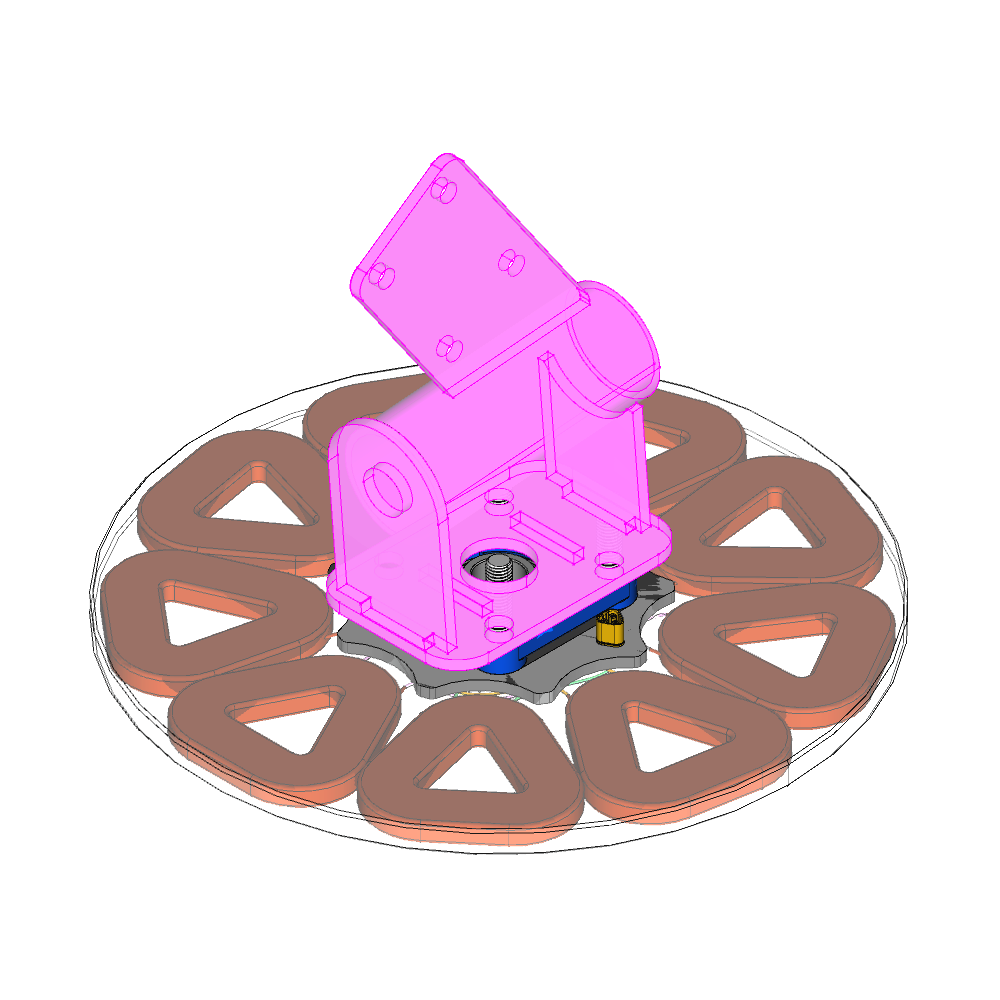
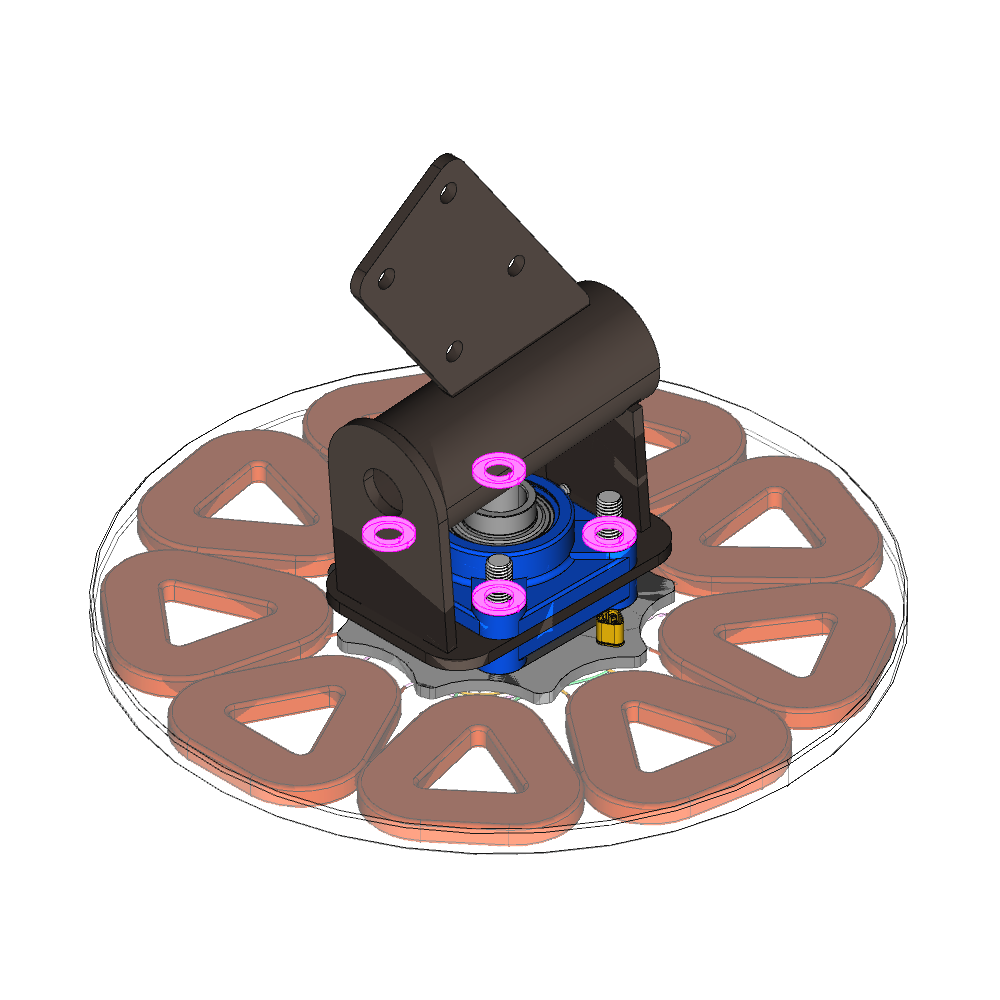
1. Nacelle - Alt.Stator
Place the Alternator Stator front facing down
Place Bolts underneath
4x M12x60-Screw without washers
Place first Housing Bearing
Mounting side up 1x UCF205
Take care of the grease nipple
Place Nacelle
Place second Housing Bearing
1xUCF205 Mounting side down

Tighten slightly the Nuts
4x M12-Washer 4x M12-Nut

2. Shaft
Place the Nacelle on a piece of 2" pipe for the next steps.
Place the Shaft
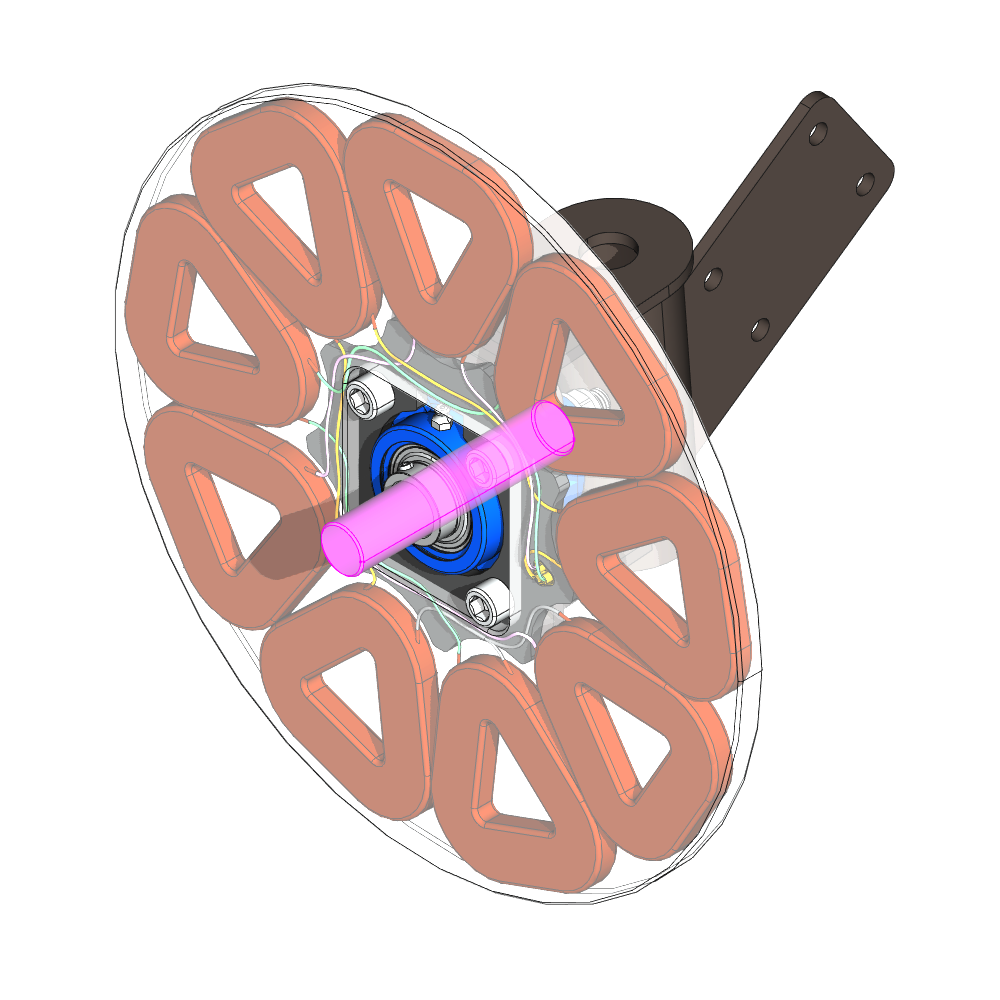
Tigthen the nuts
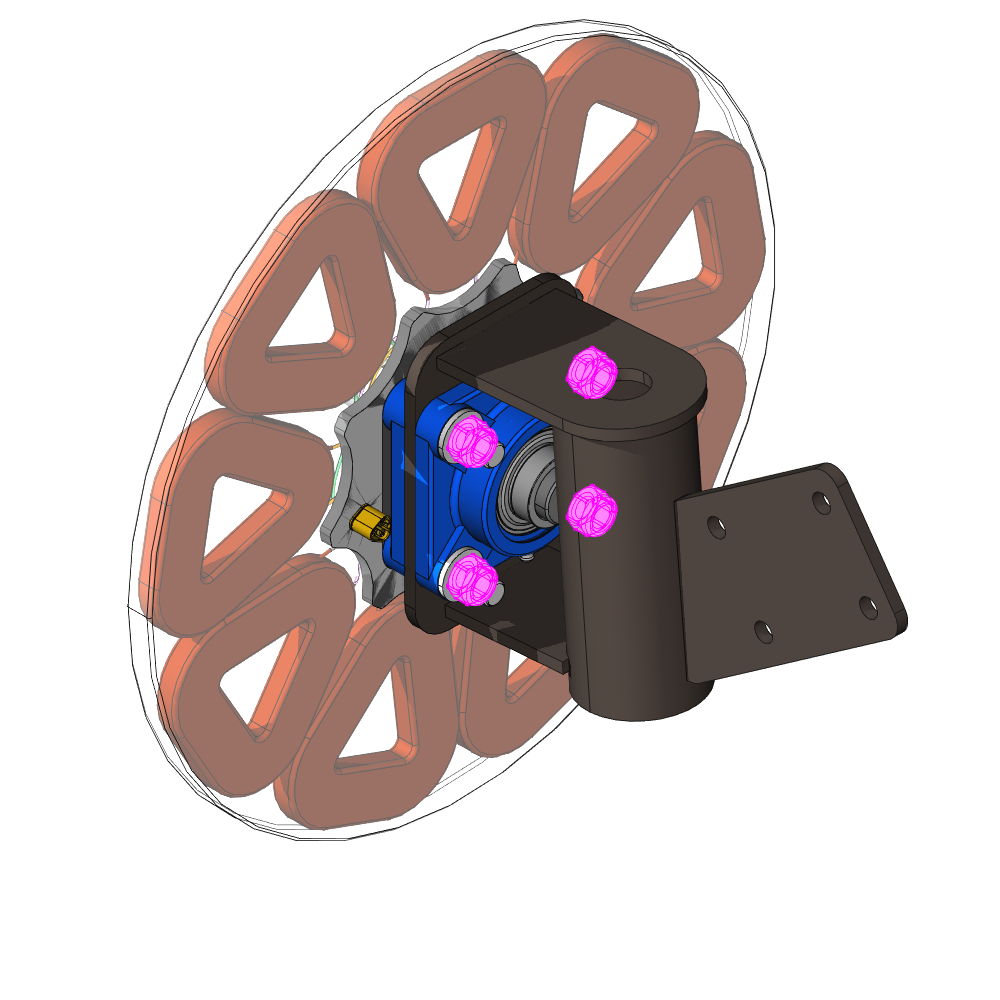
Tigthen the setscews of bearing
There are 2 setscrews per bearing, tighten them one after the other.
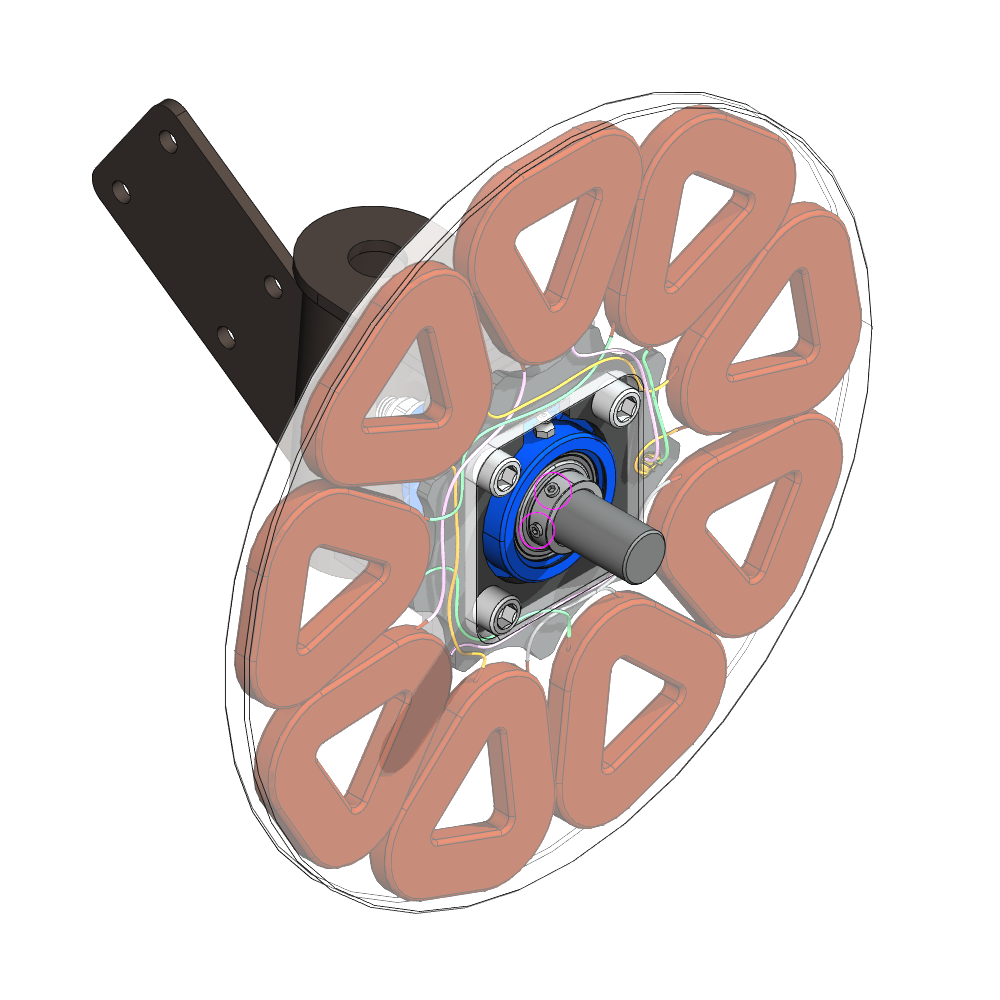
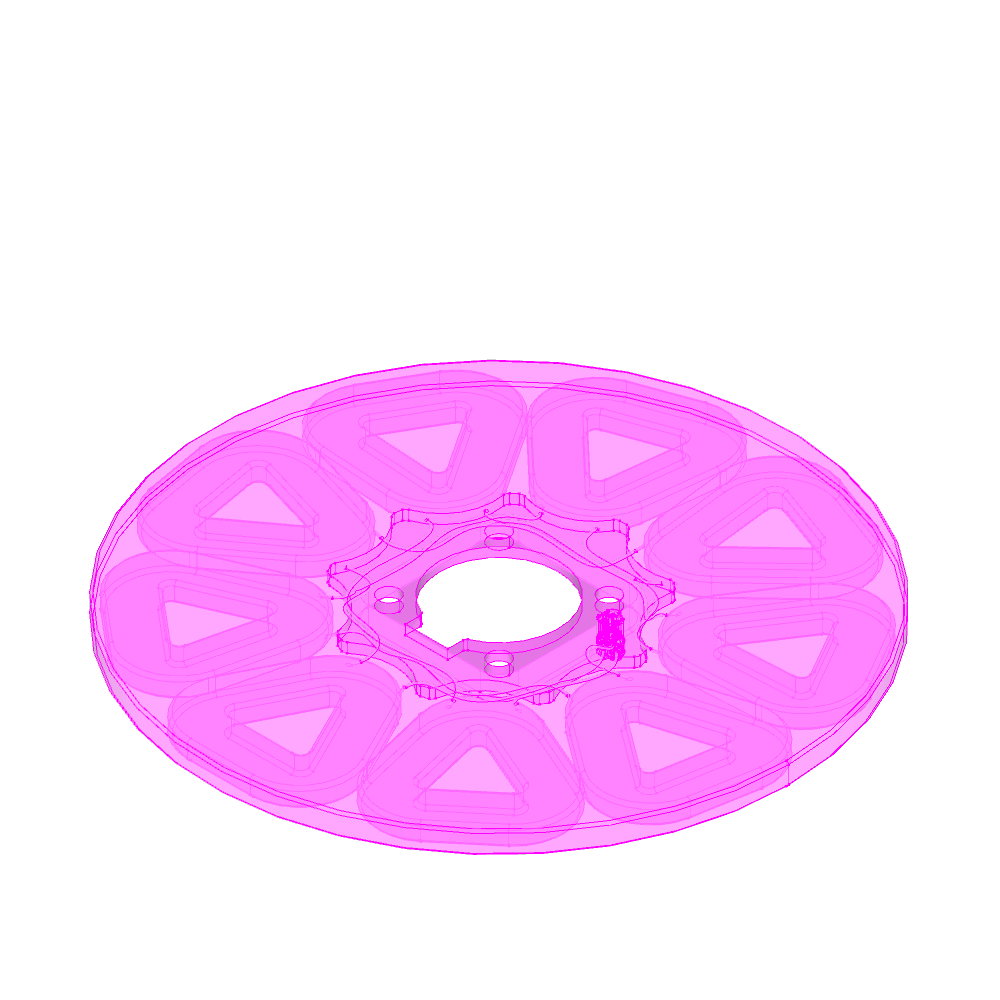
3. Alternator Rotor
We start by preparing and mounting the painted Upwind Magnet Disk.
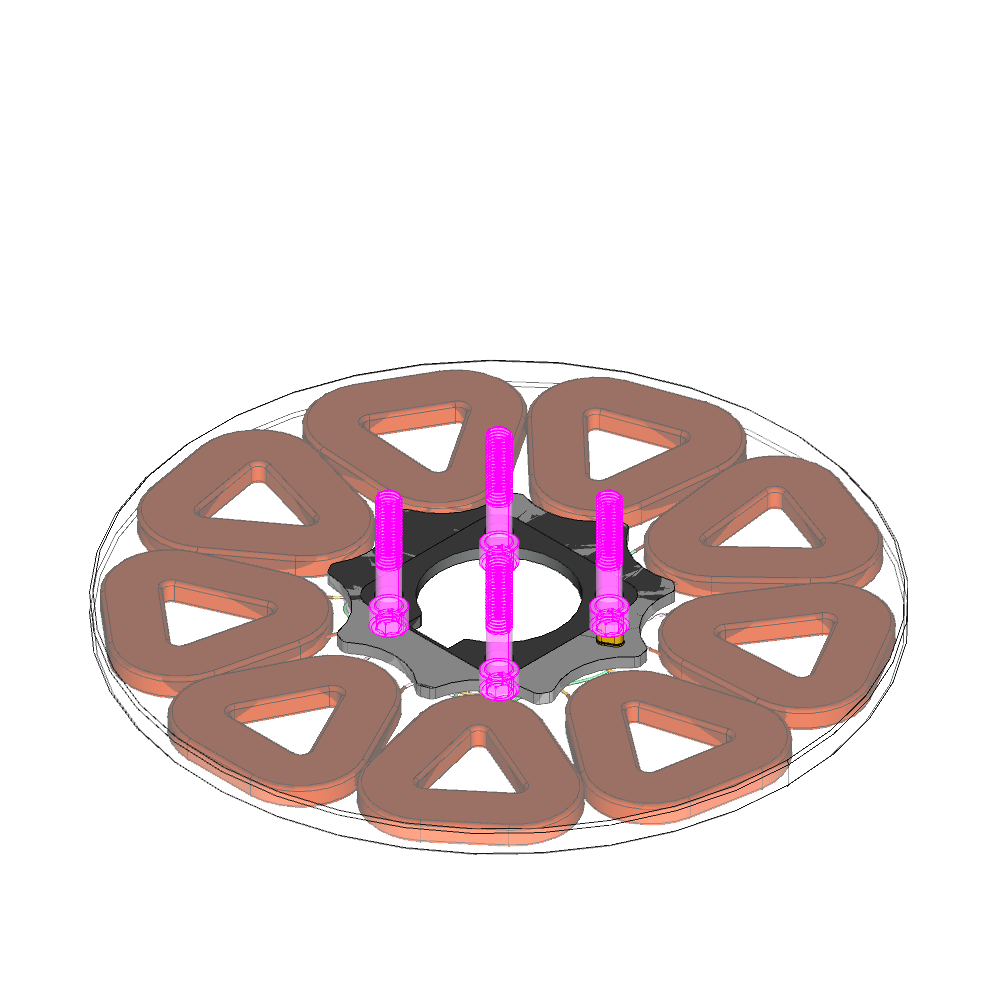
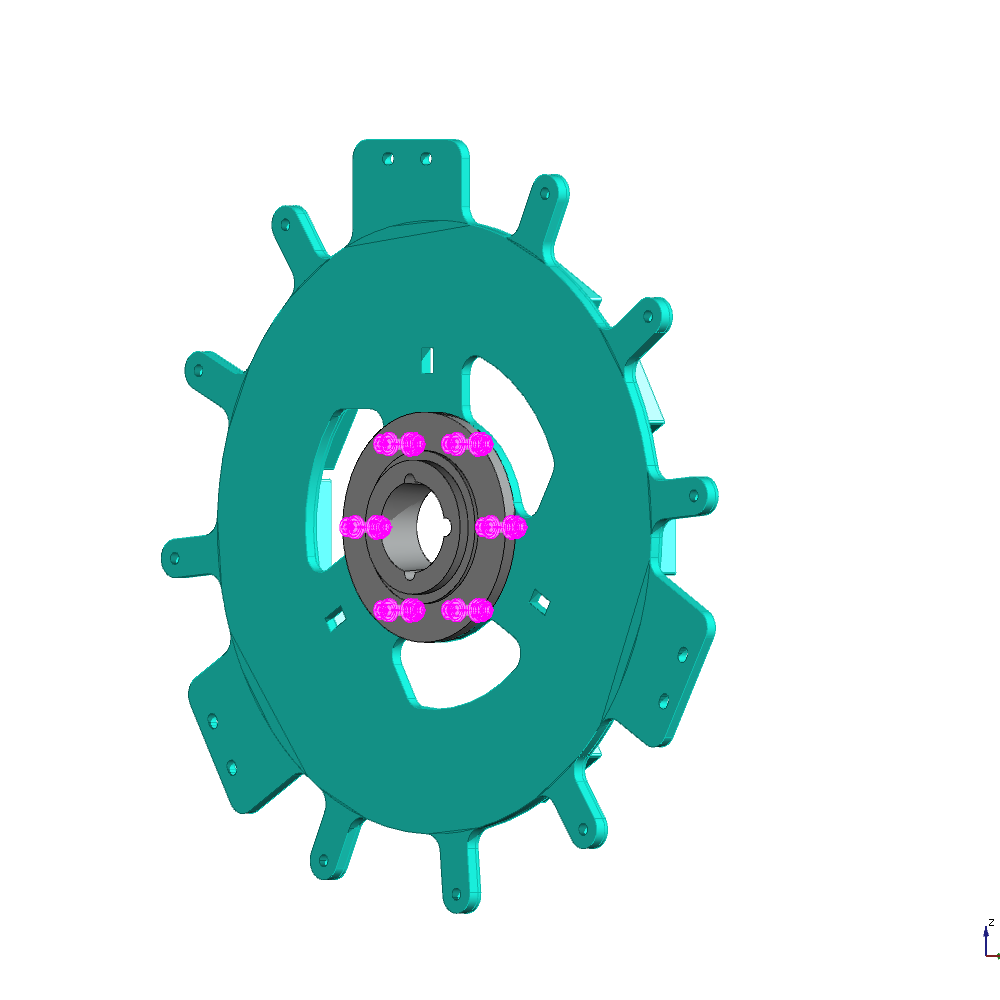
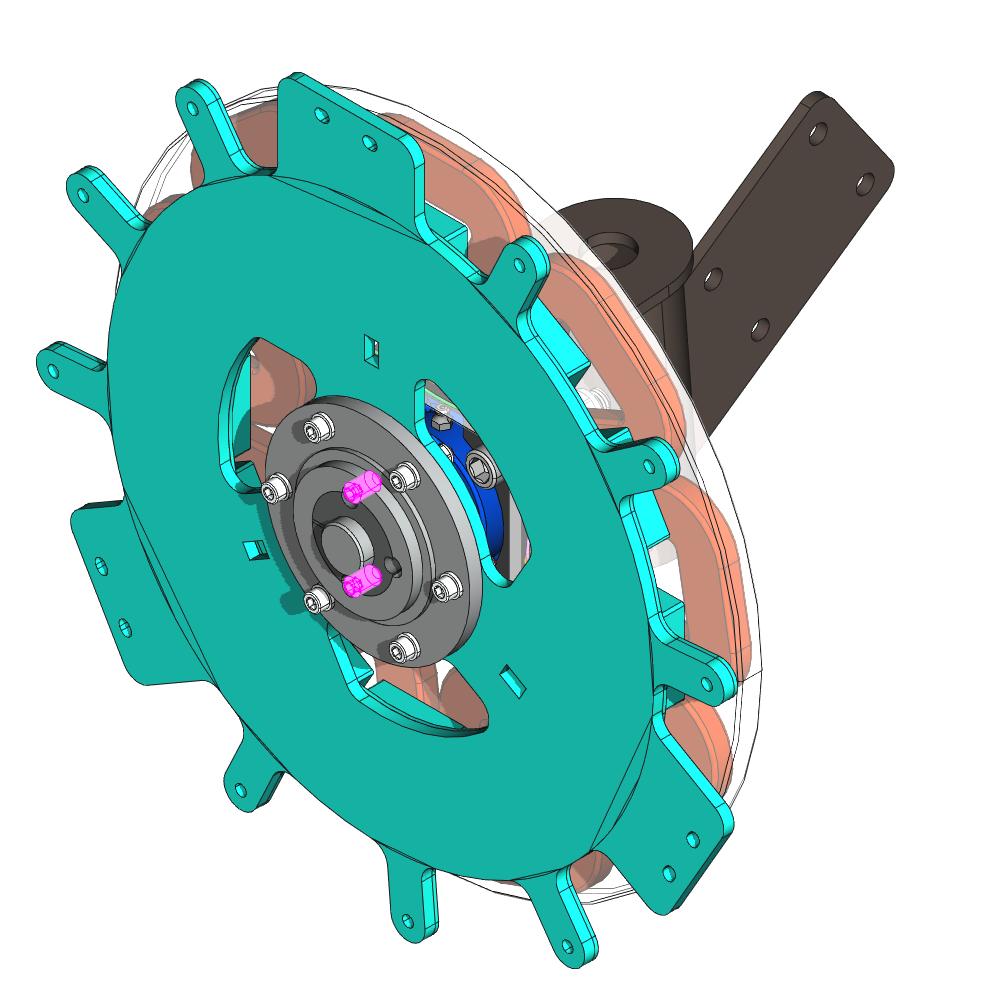
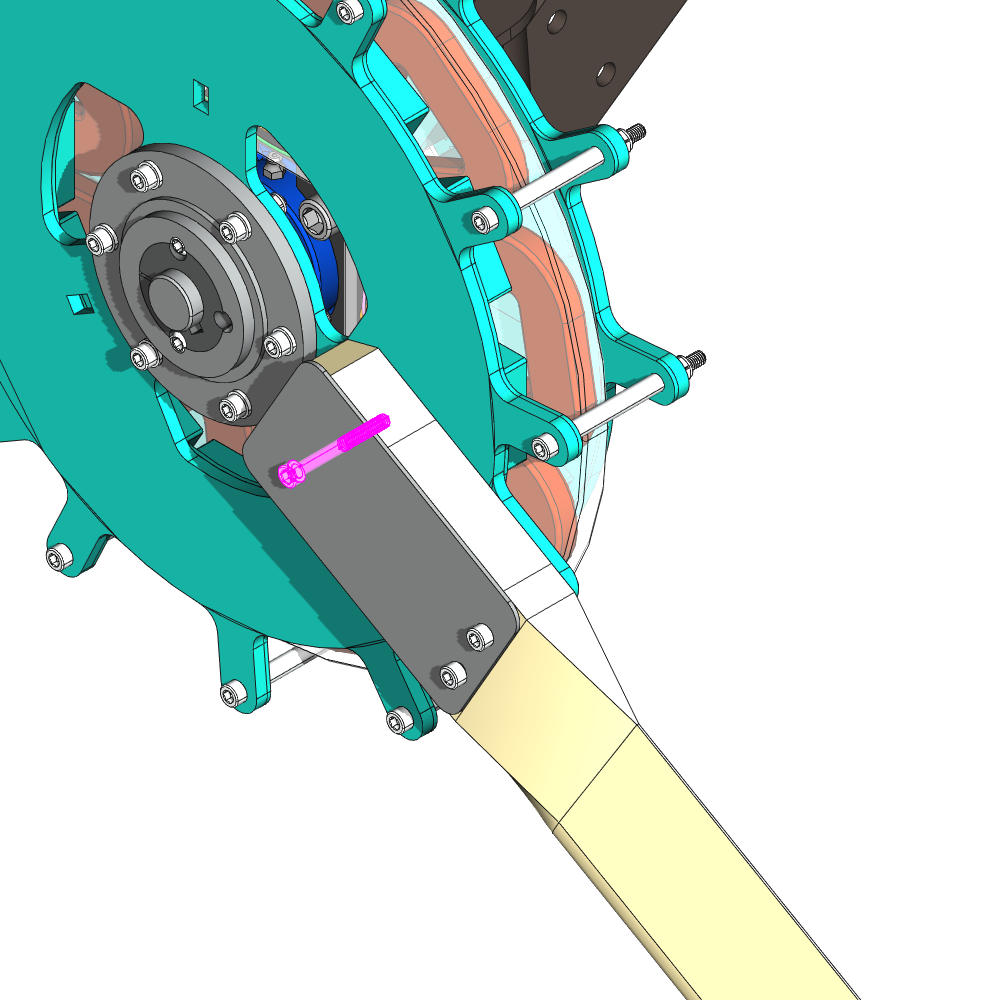
Place the Taper Bush Hub
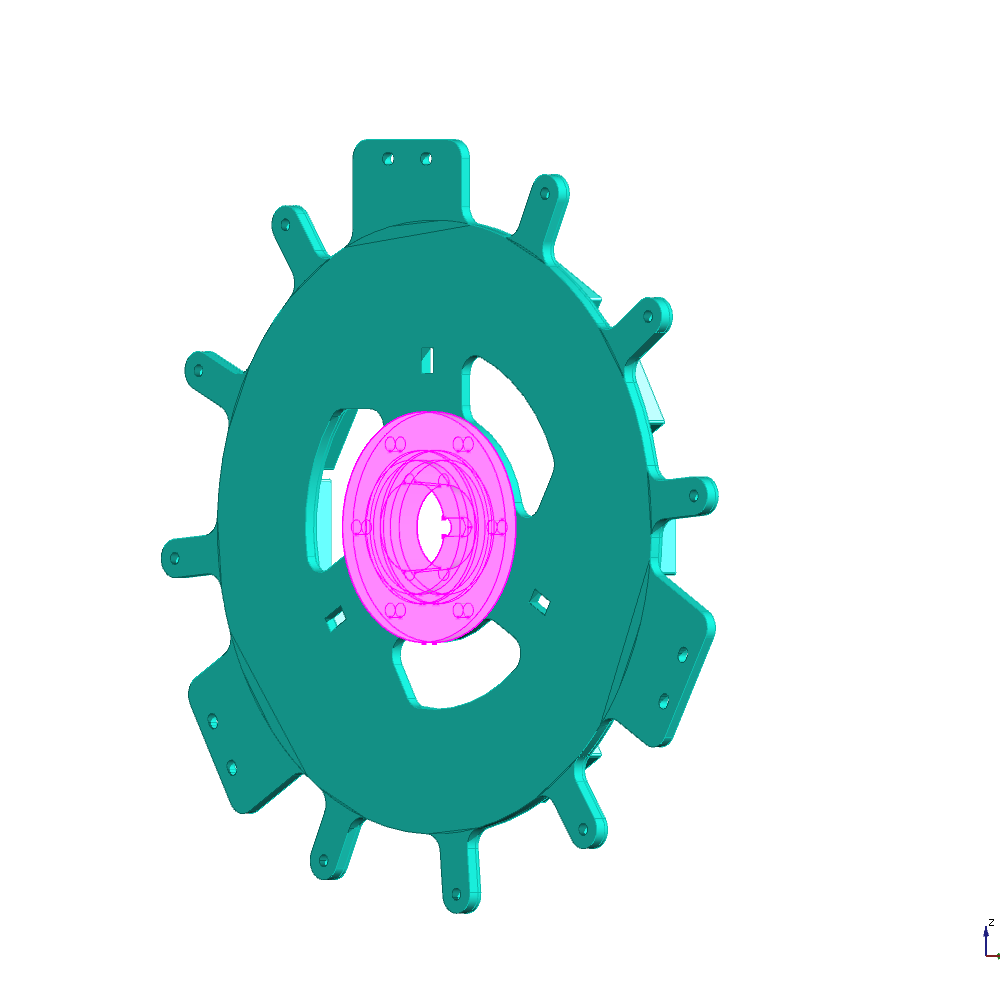
Mount on the Taper Bush Hub
6 x M6x25-Screw
6 x M6x25-Washer
6 x M6x25-Nut
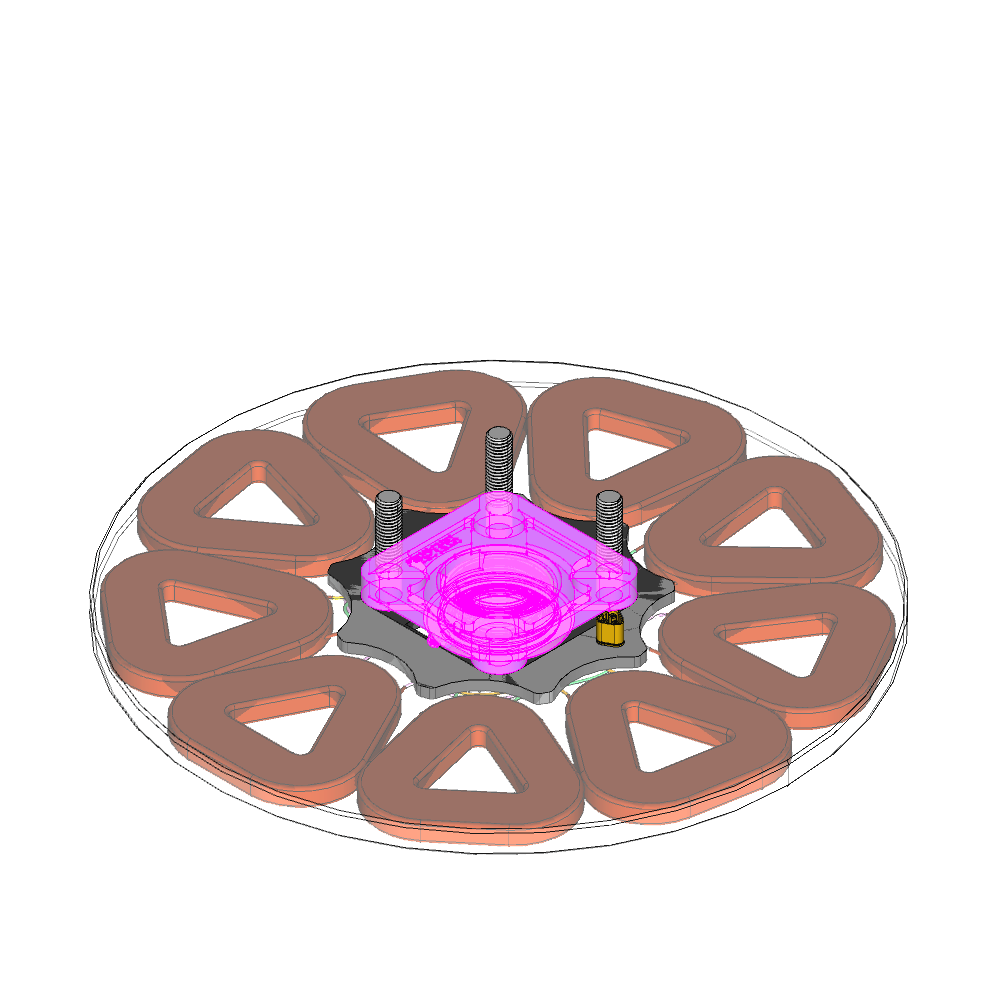
Place the Taper Bush
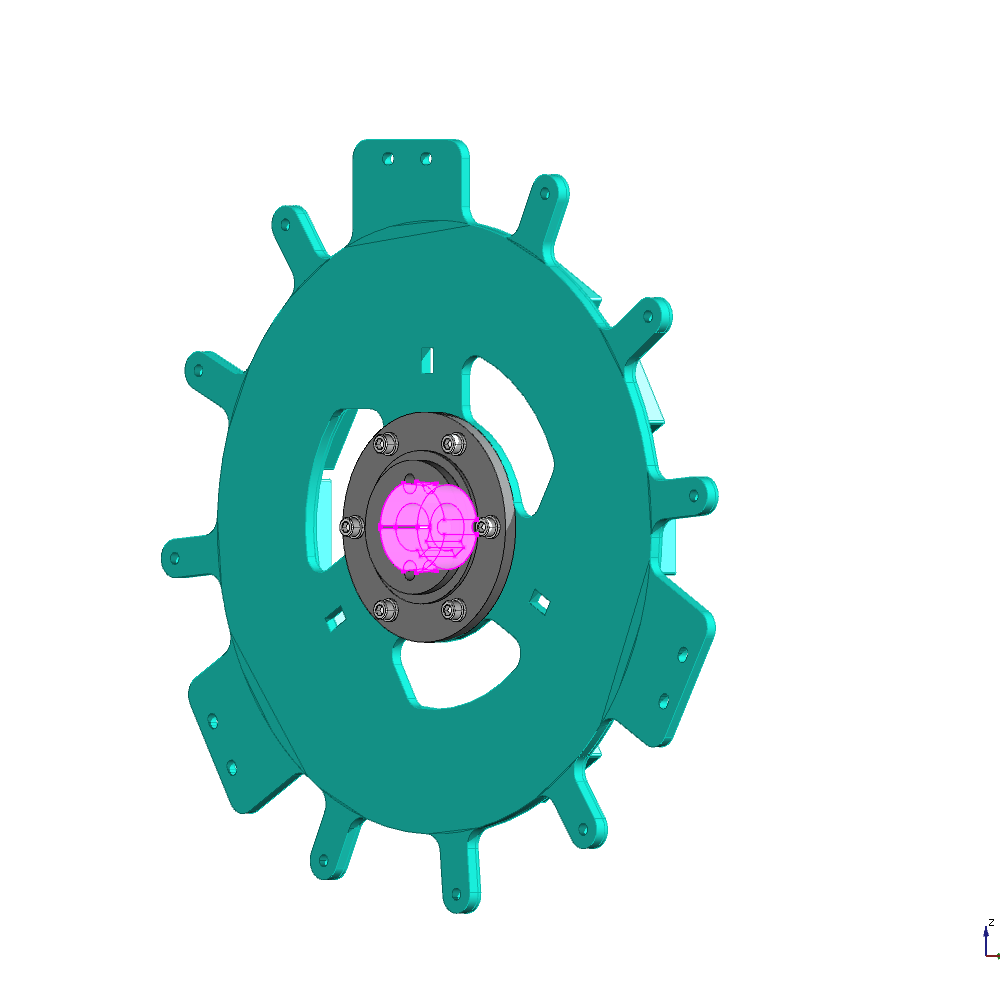
Loosly tighten the Taper Bush Set Screw
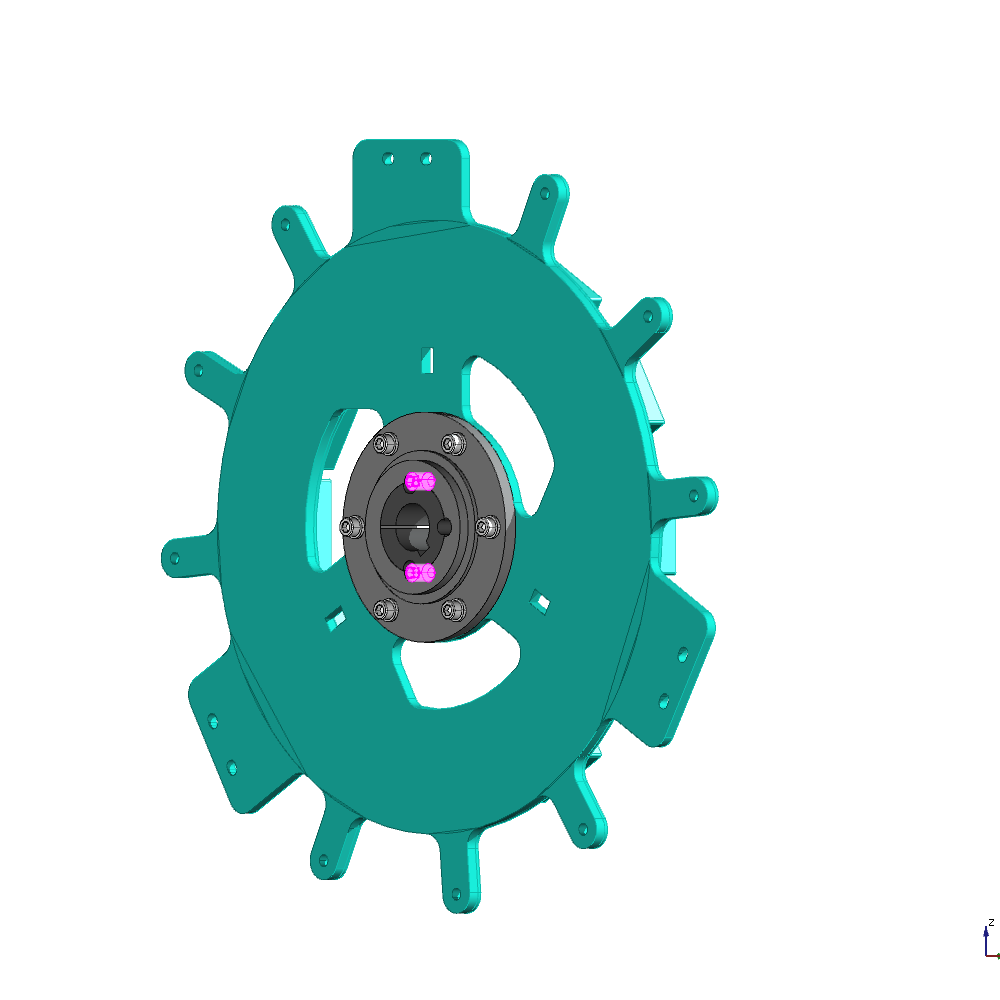
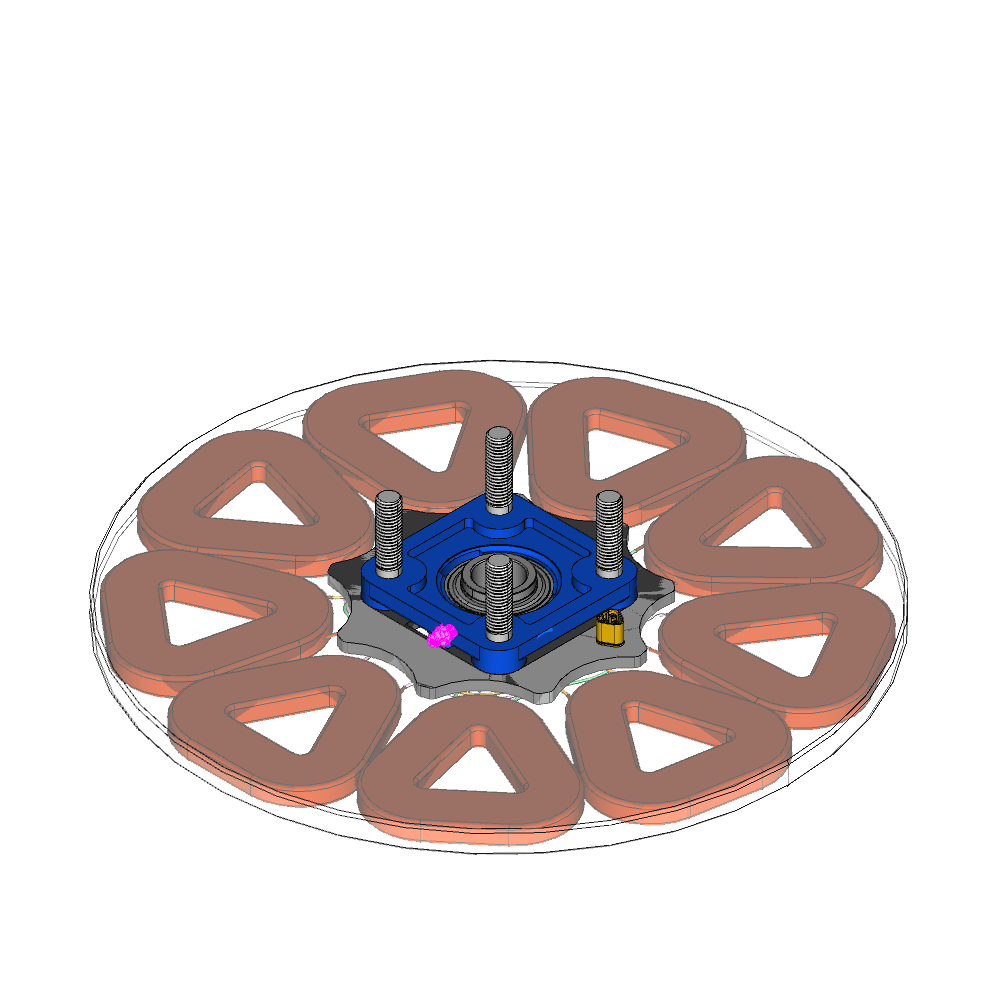
Place the Upwind Magnet Disk onto the Shaft
Tighten the Taper Bush Setscrews
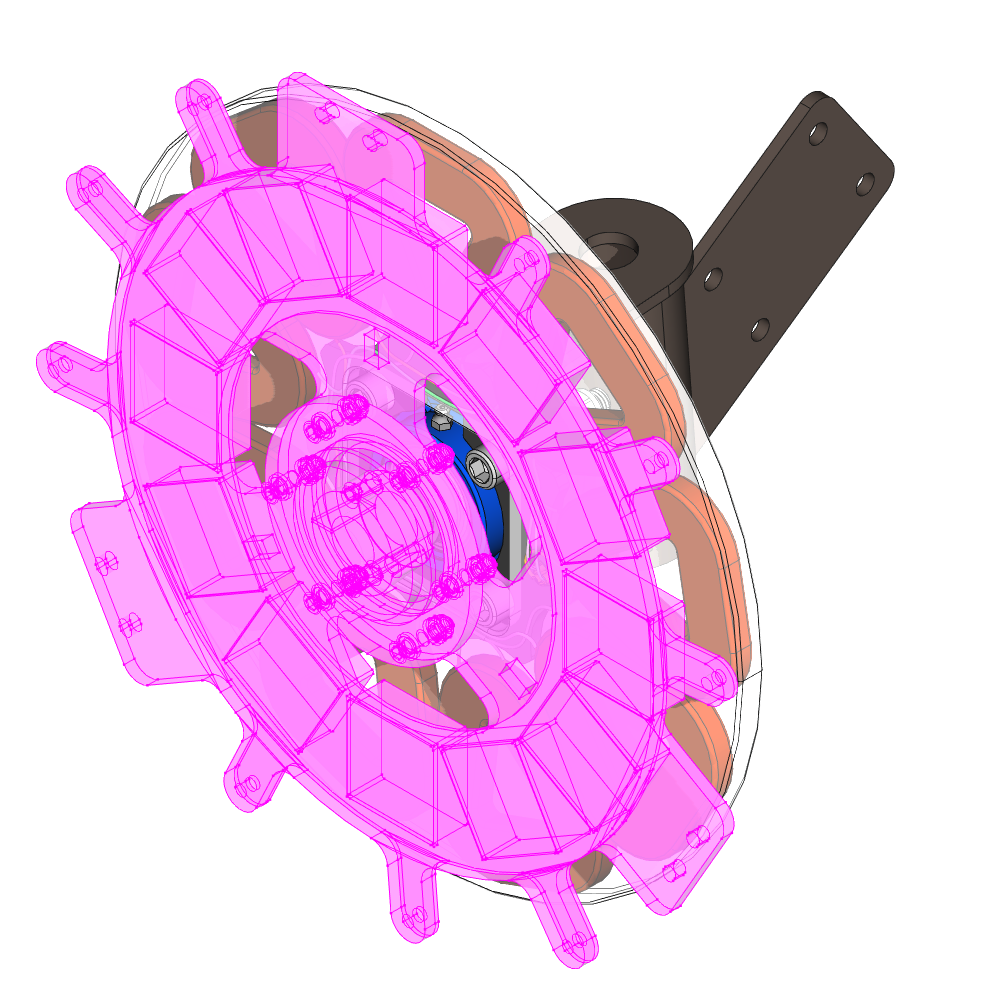
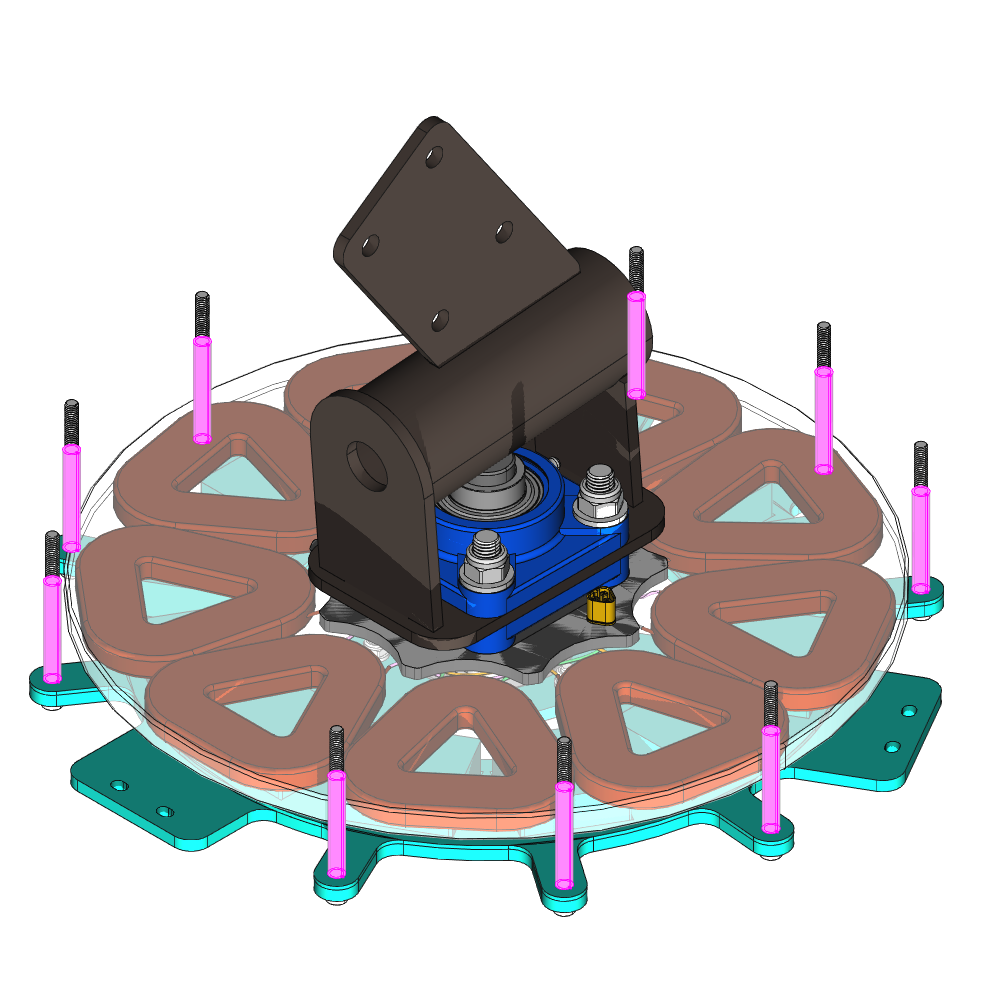
Add the Disk Fasteners
To do this, turn the assembly upside down and insert the screws from underneath.
9x M6x85-Screw Stainless Steel
Place a few pieces of wood underneath to hold the screws in place.
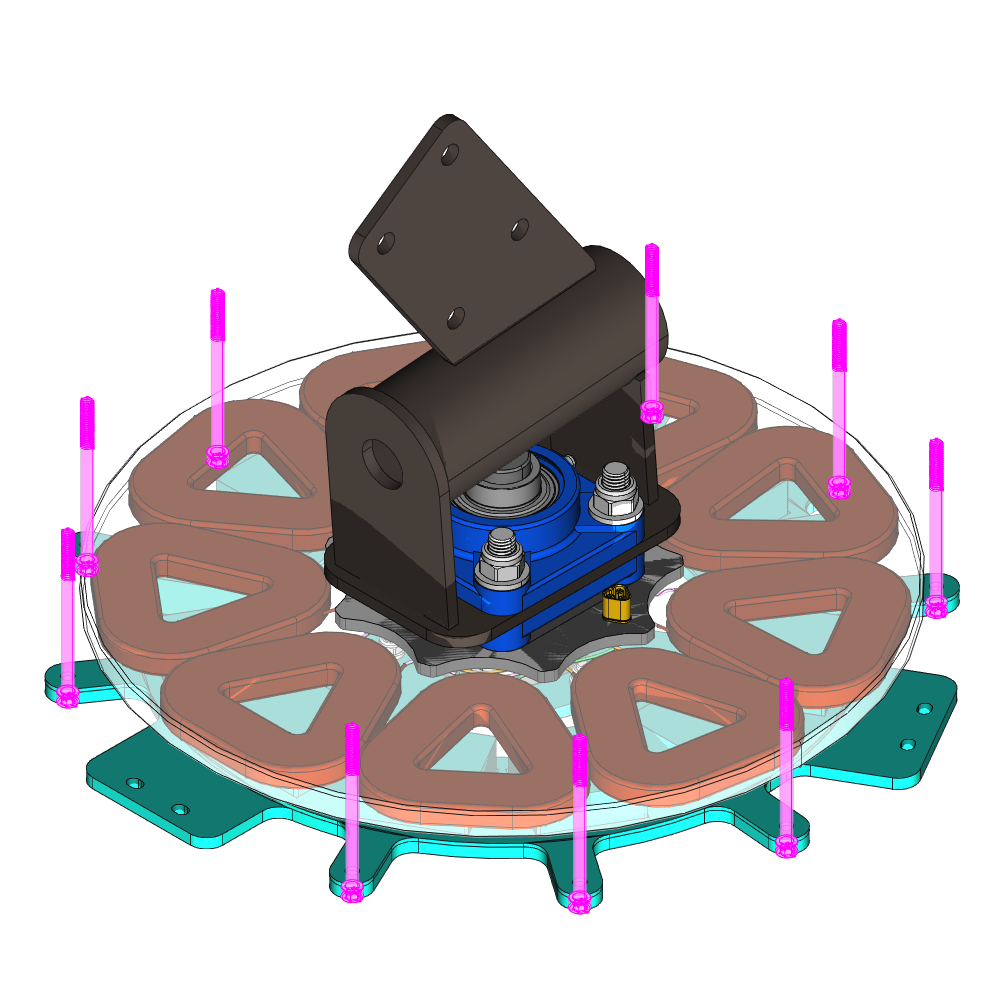
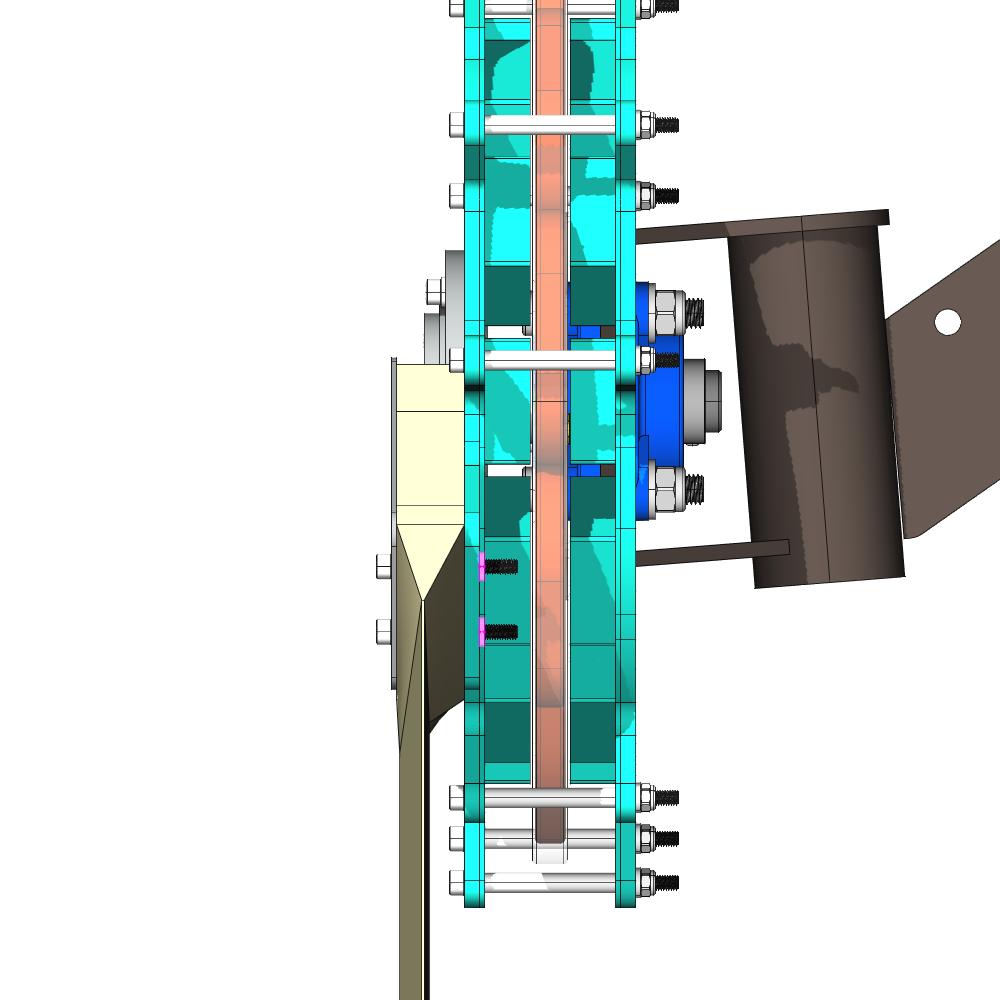
Add the Spacer Sleeves
9x Stainless steel sleeves 8x6x1 mm (up to M6), 50mm Length
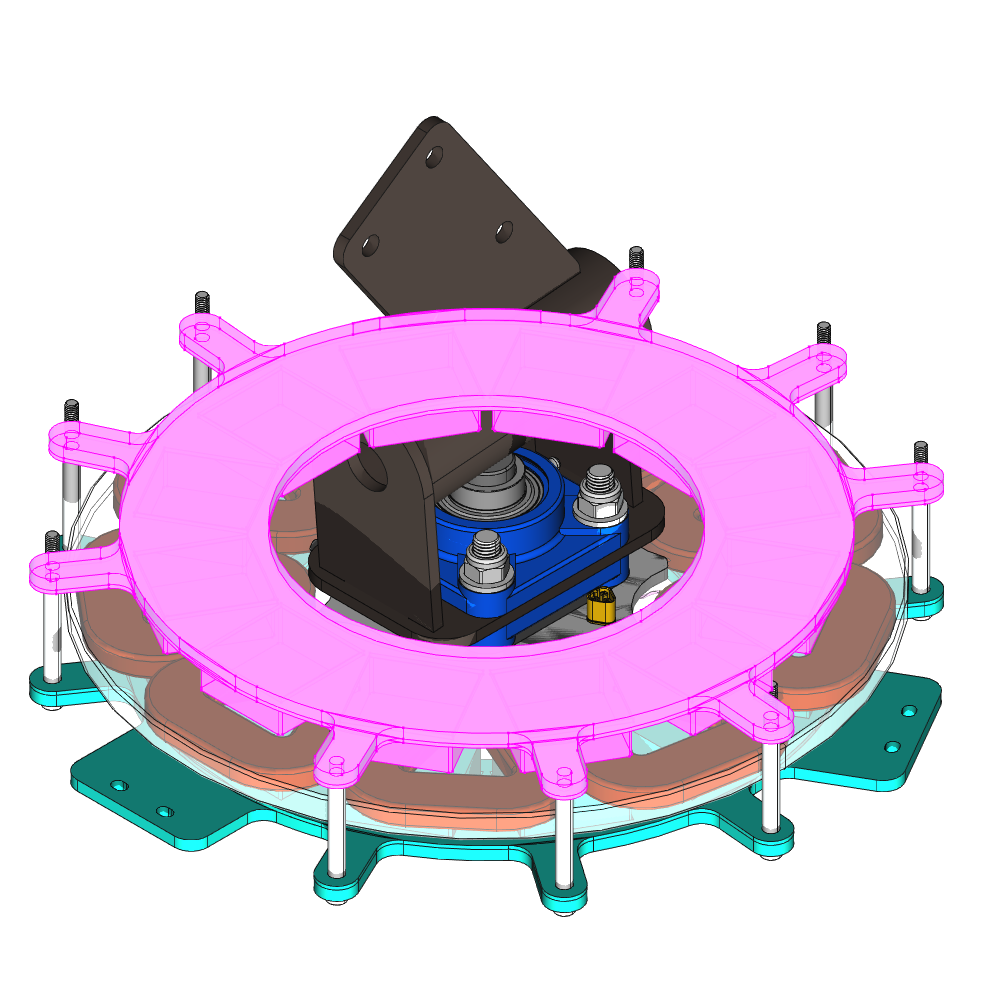
Add Downwind Magnet Disk
Important: Place some wood pices between the stator and the rotor to prevent damage due to the strong magnetic forces!
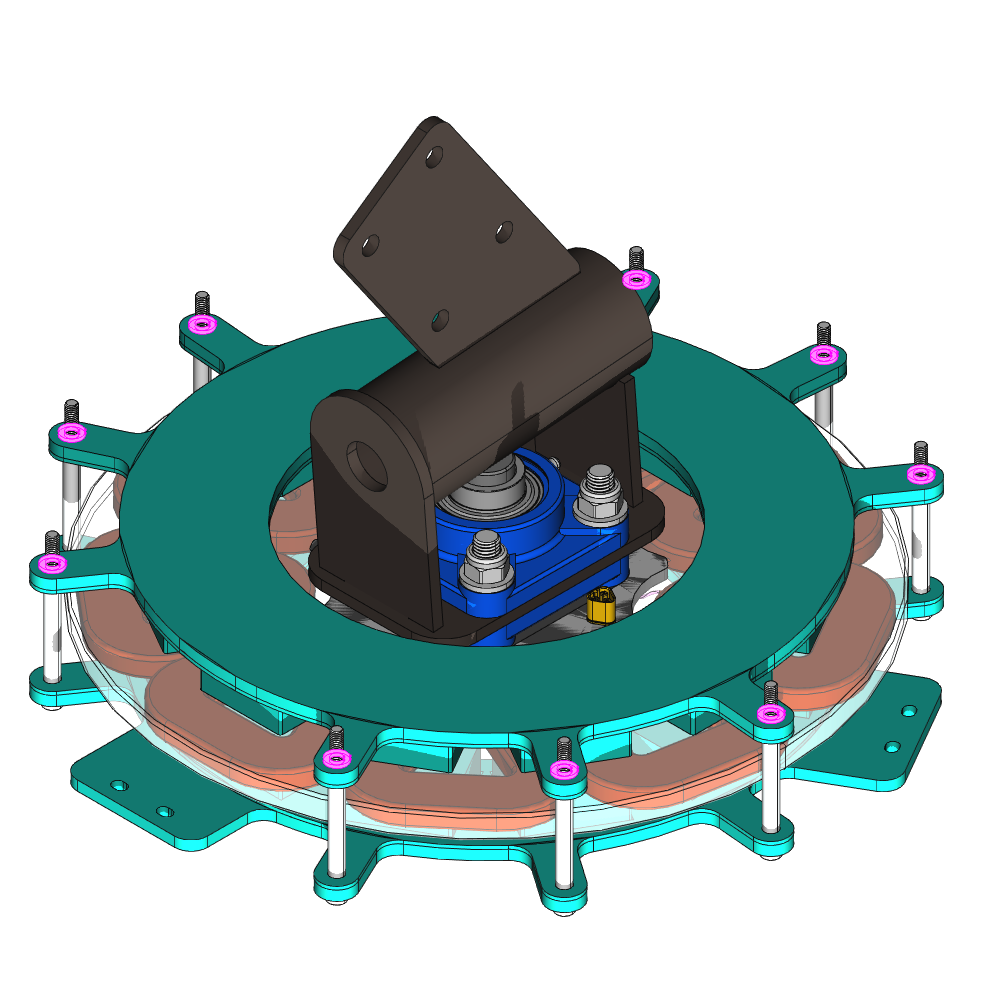
Tighten the Alternator Stator
9x M6-Washer
9x M6-Nut

Measure the airgap
Measure the airgap -> if too large, disassemble and take out washers, add shim washers (DIN 988) to adjust -> iterate
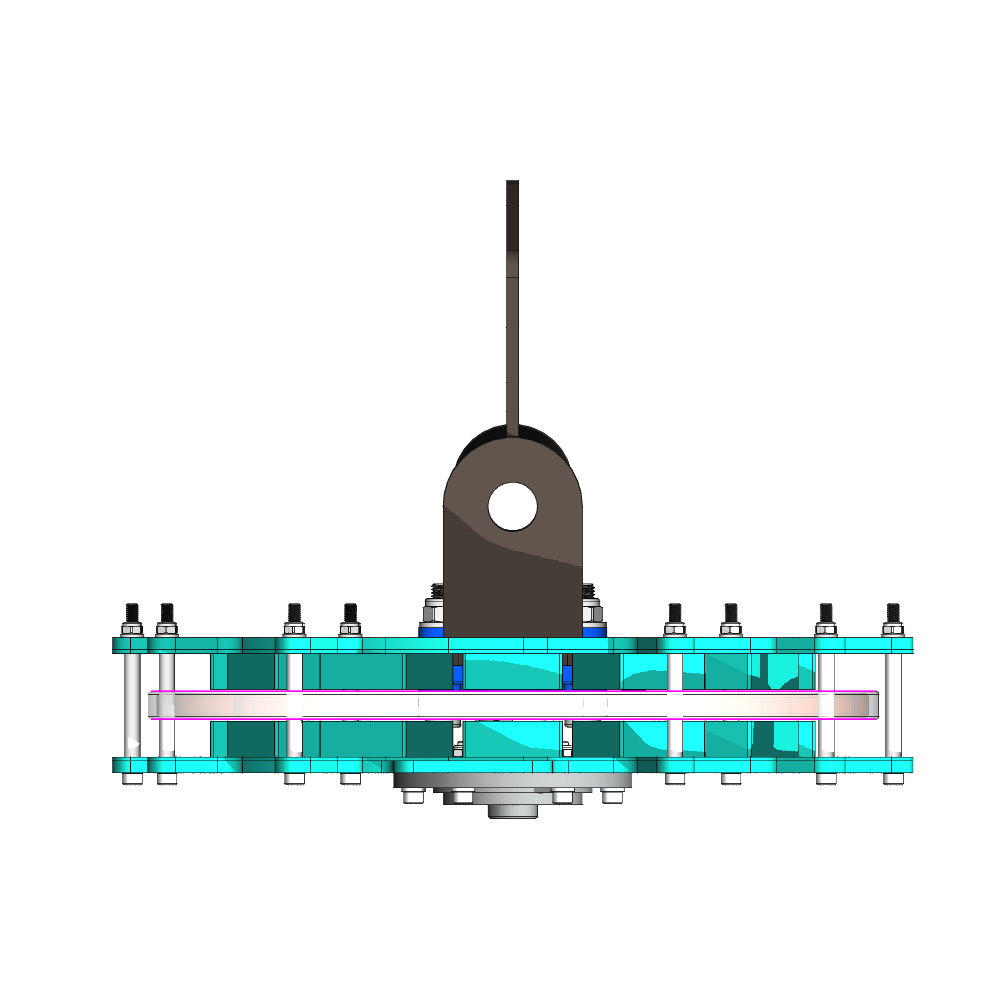
Alternator is ready to be used
4. Rotor
Place the first Rotor Blade
Also place the Rotor Front Mounting Plate
Attach the Rotor Blade with the Rotor Blade Fasteners
 The inner screw will have a special nut, the Rotor Blade Fastener Slot Nut. The slot nut is placed in the rectangular hole.

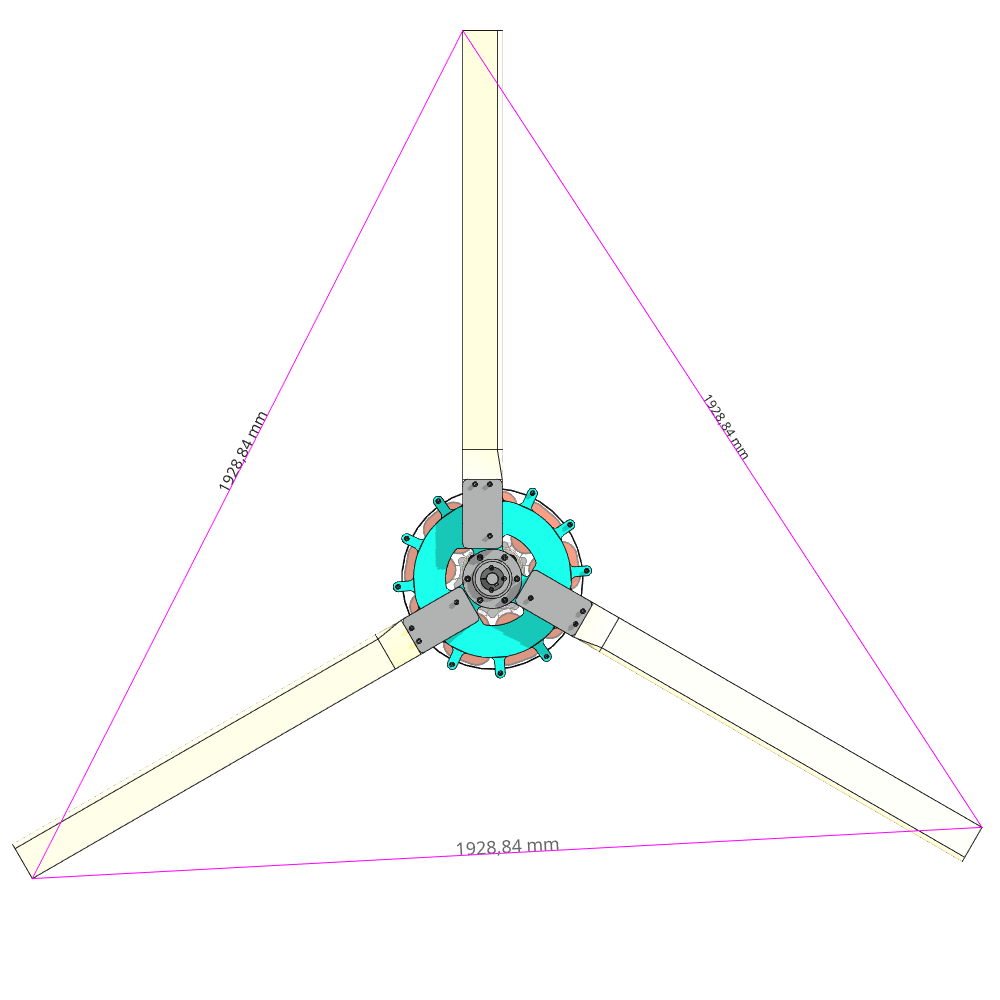
All Rotor Blades assembled
Repeat the last steps with the two other blades
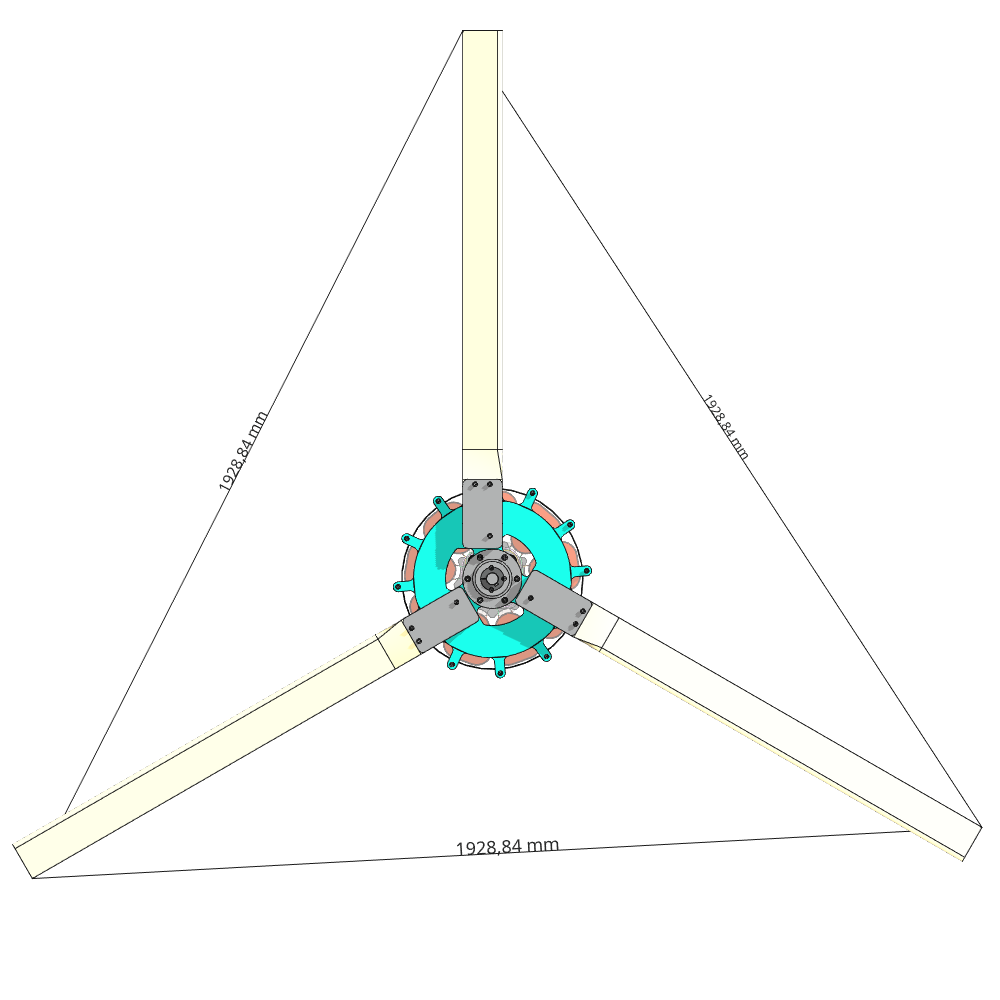
Measure and center the blades
Measure and write down the distance of one tip of the blade to another. After the first measurement, adjust the blades by unscrewing the outer blade fasteners, move the blade and re-tighten the fasteners. Repeat this process until you have a satisfying result of all three blade tips beeing at a distance of plus minus 2 mm to each other.
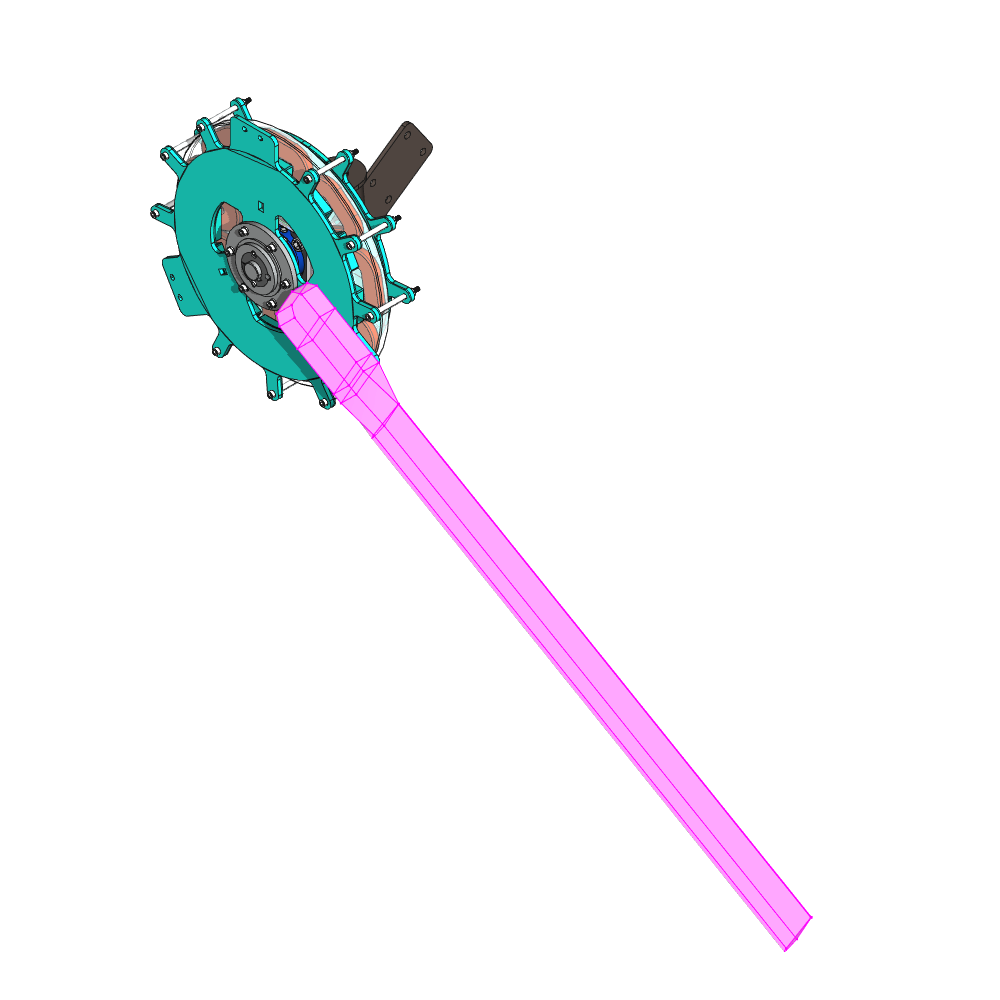
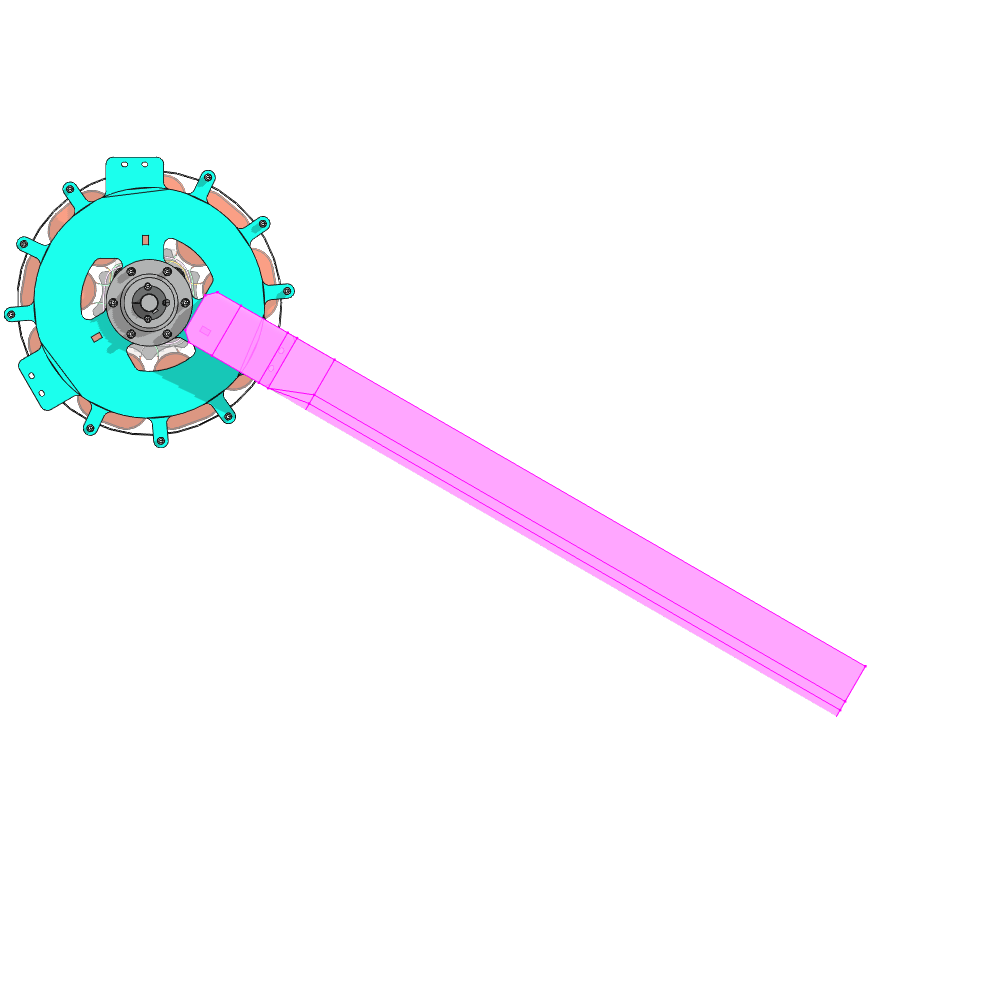
5. Windvane
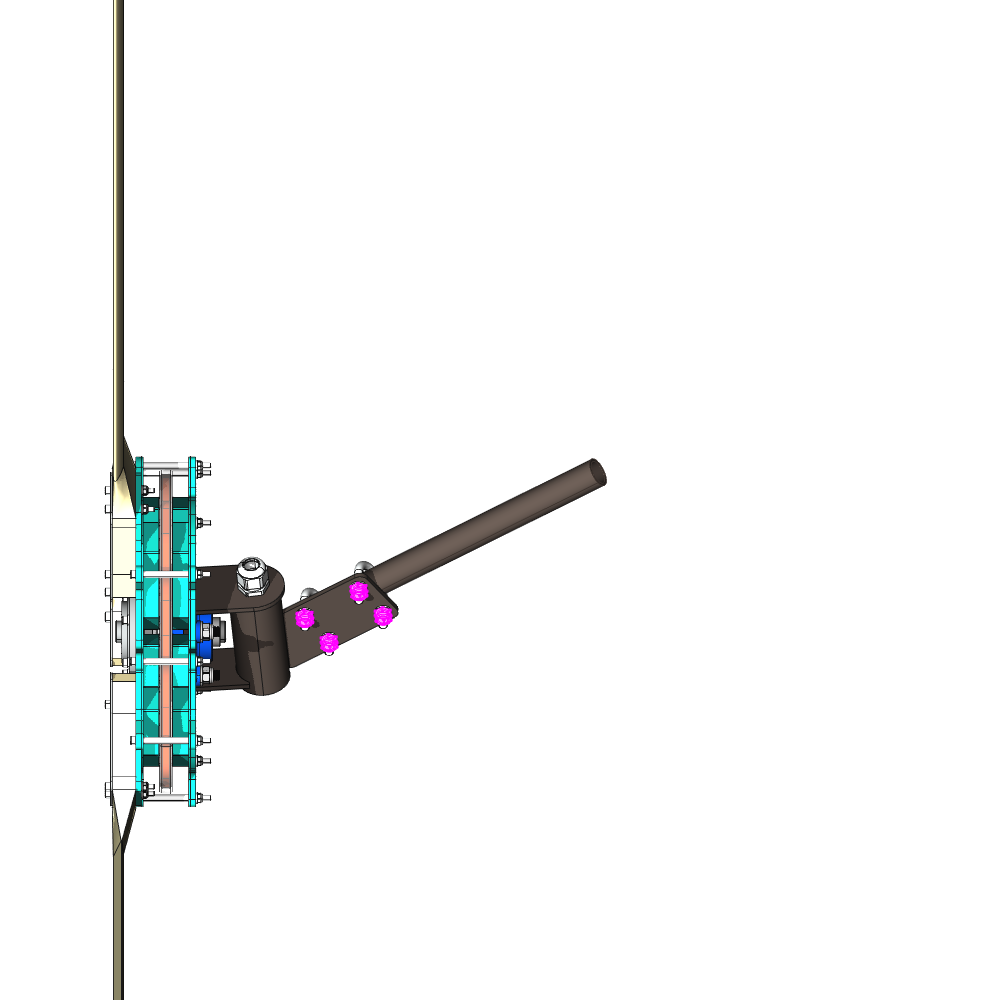
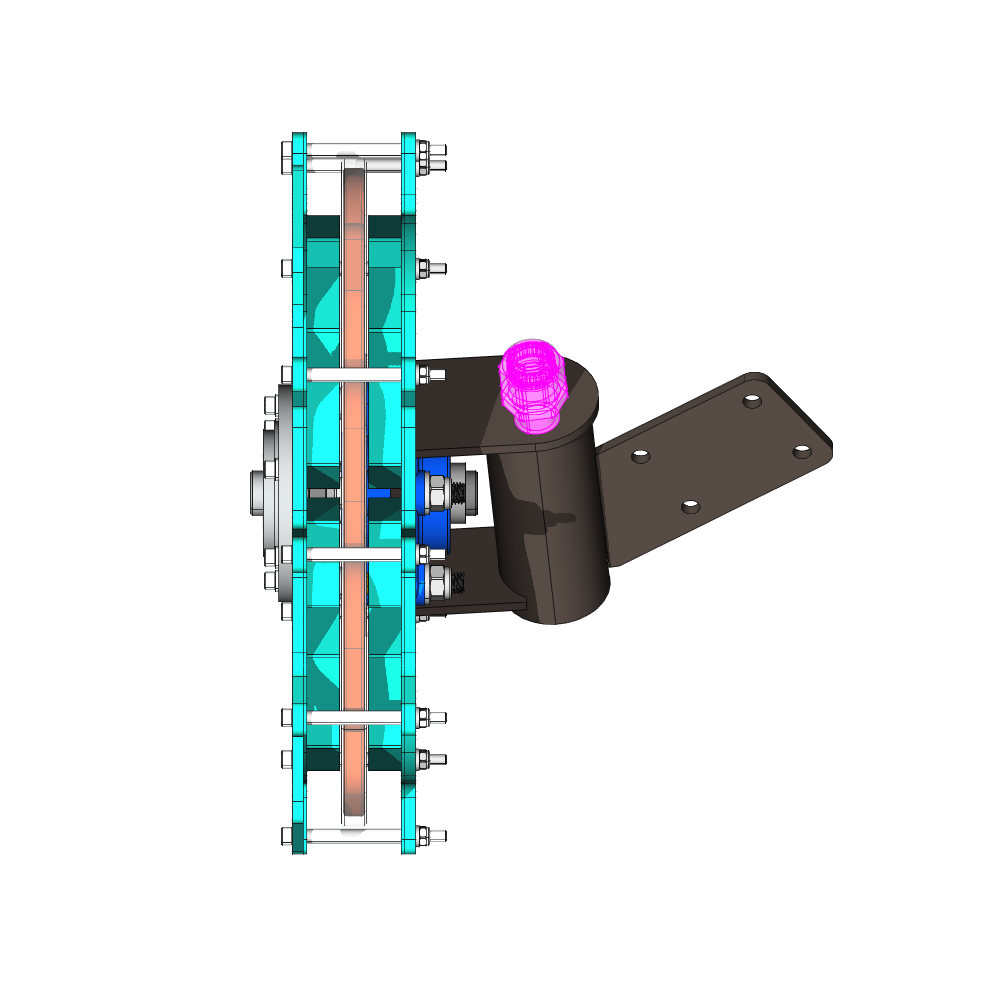
Place the Vane Pipe
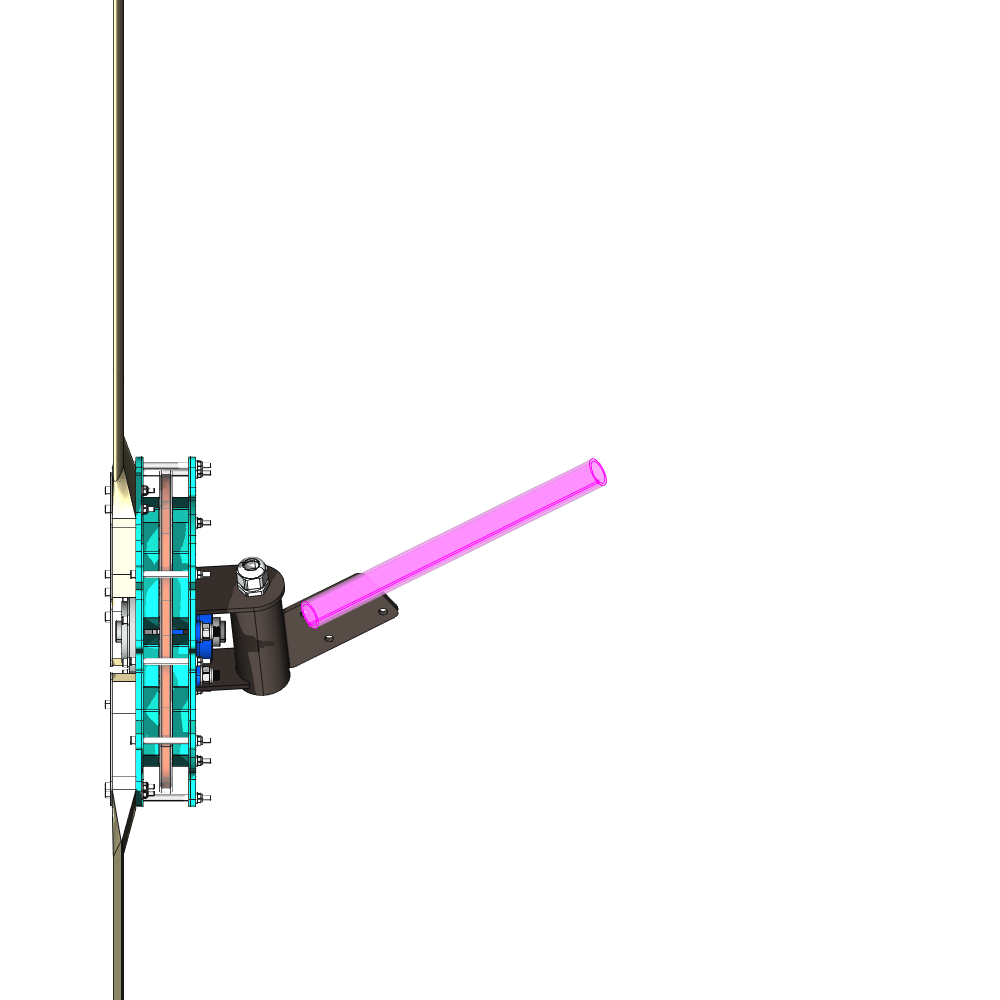
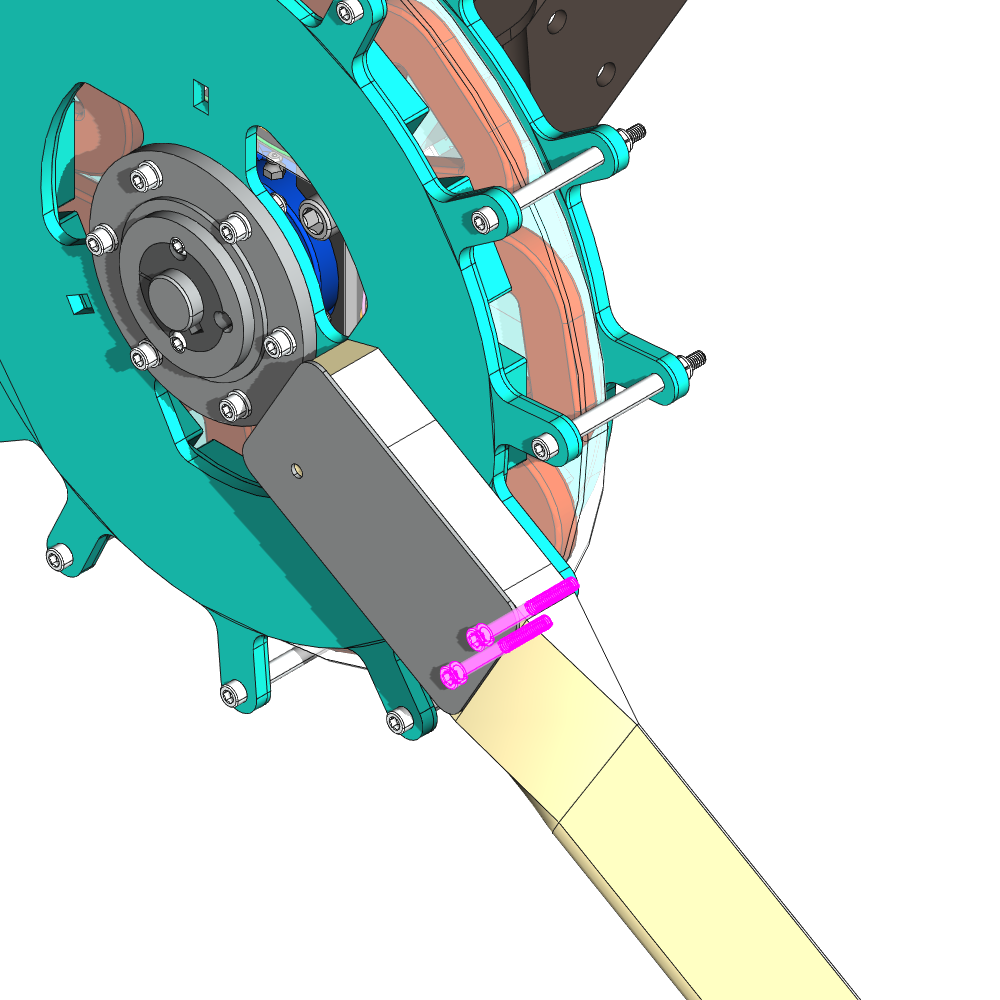
Attach the Vane Pipe with the U Bolt Clamp


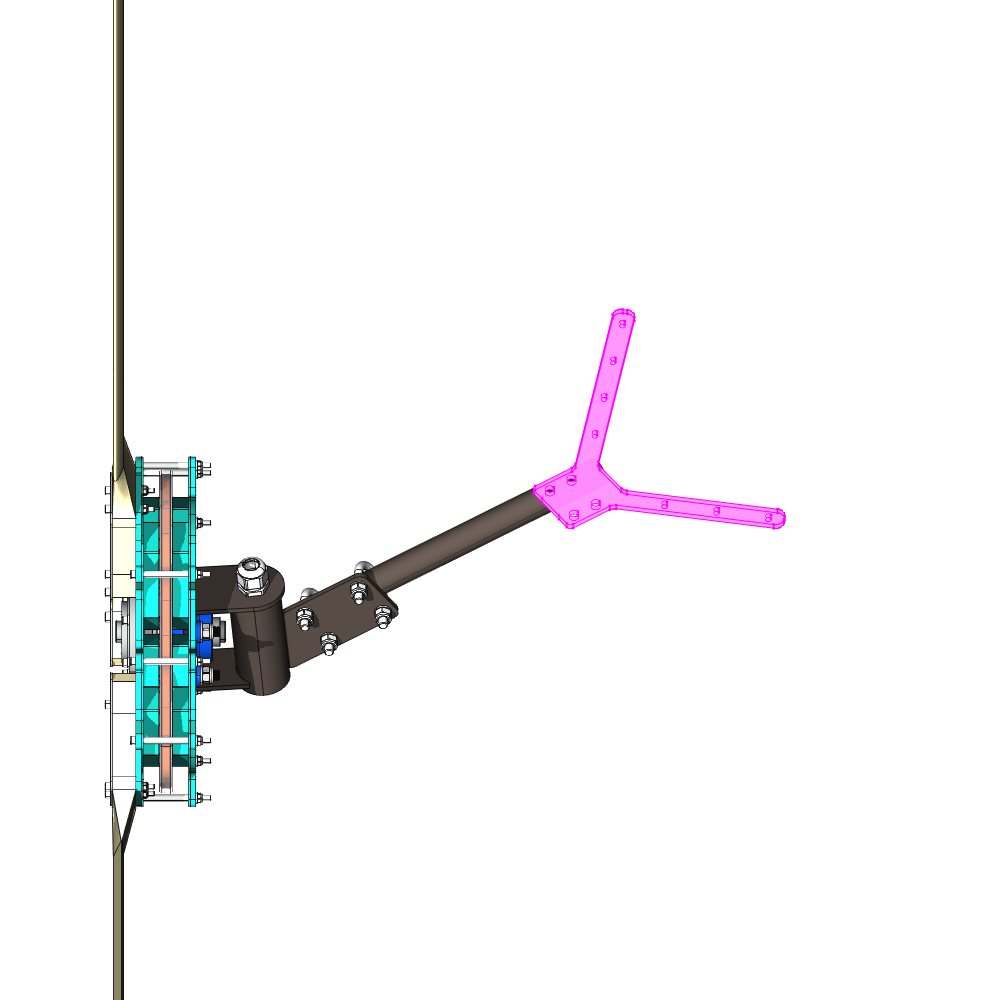
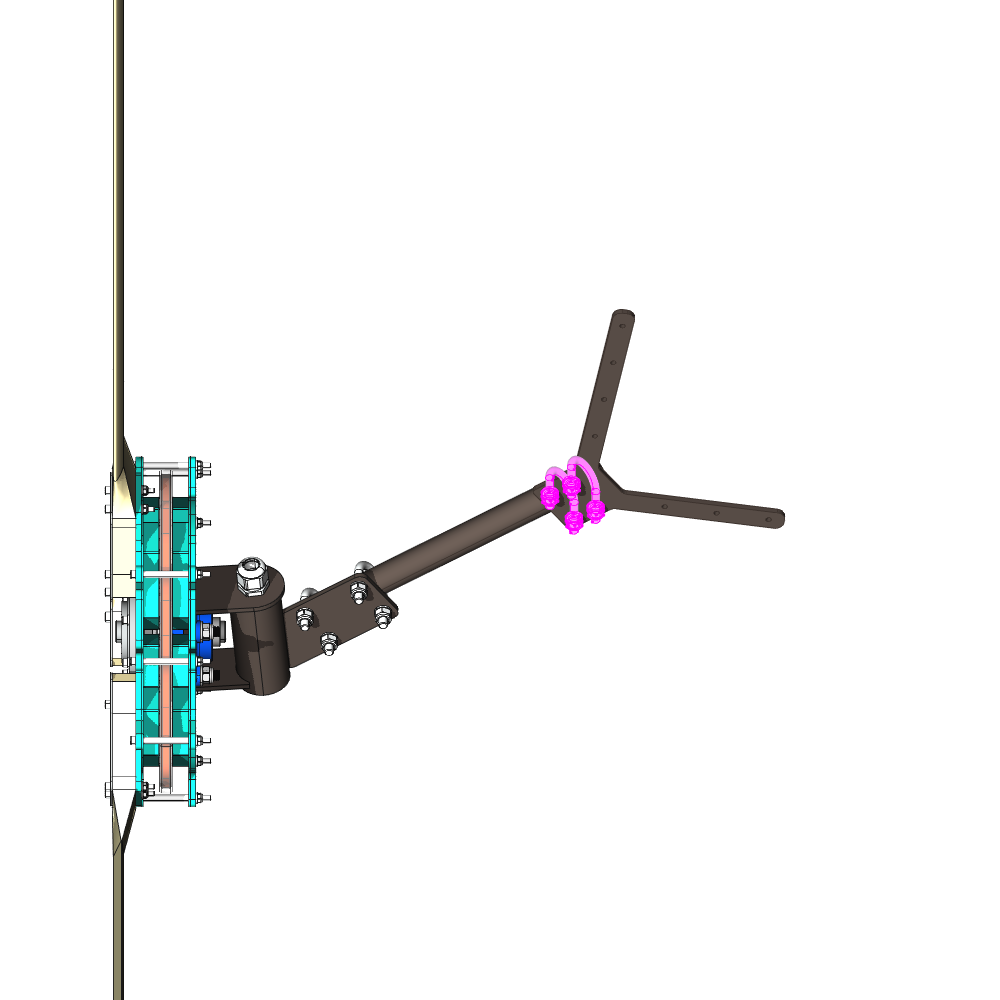
Attach Vane Mounting
Place the Vane Mounting upright and attach it to the U Bolt Clamps
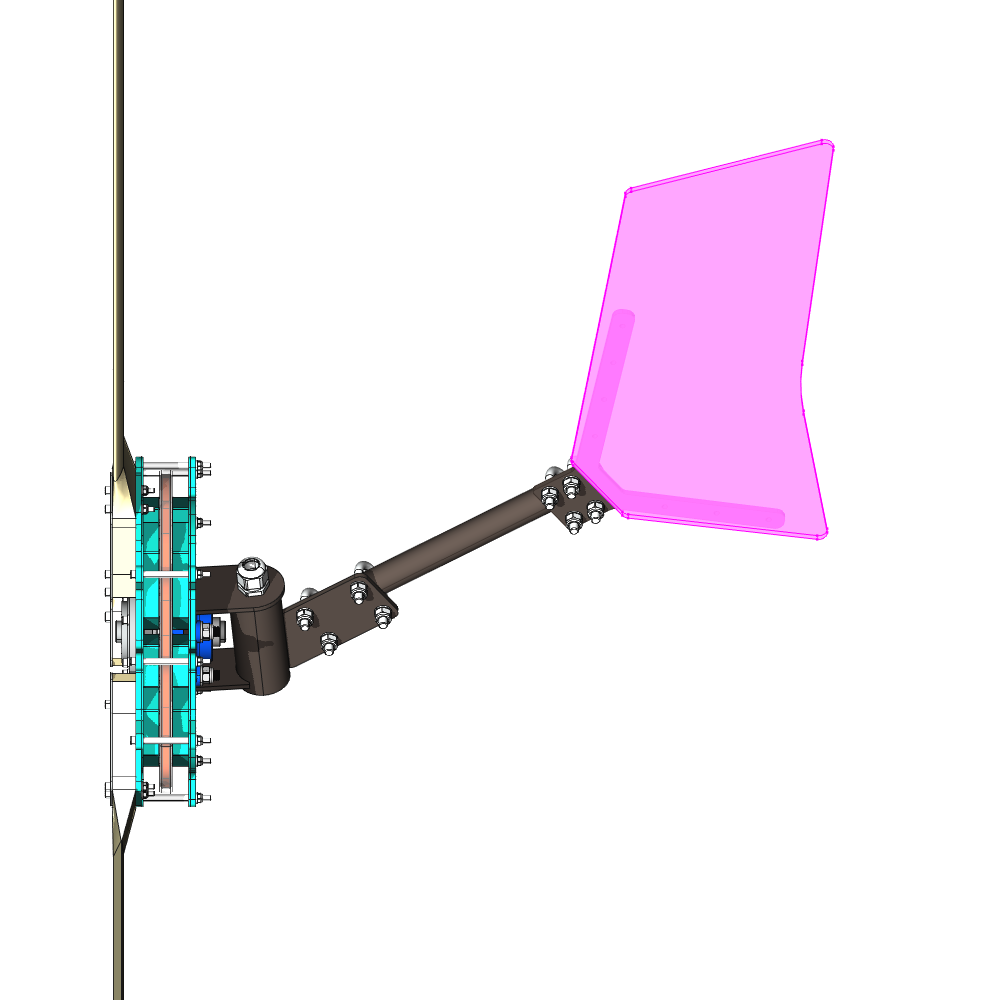
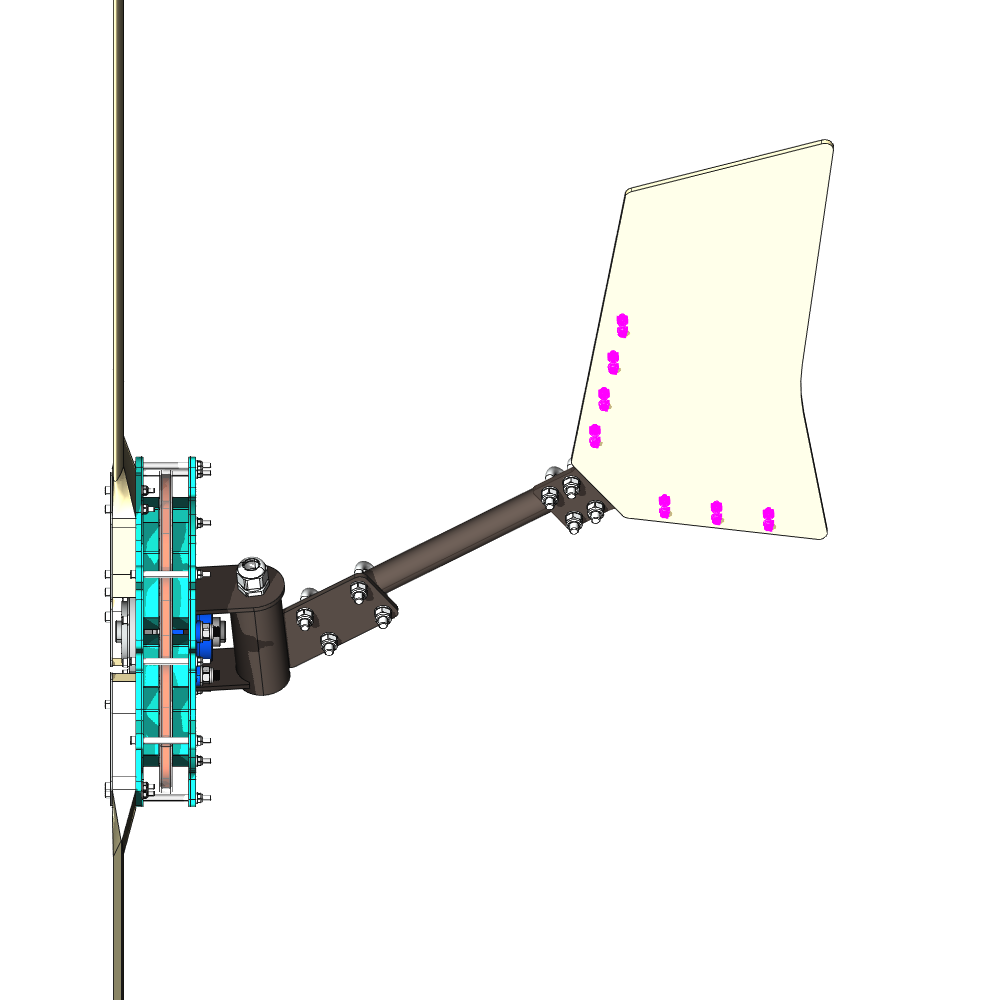
Place and Mount the Vane
Use the Vane Fastener to attach the Vane
Cable
Attach the Cable Gland
Install the Cable
Install the cable with the generator plug trough the tower and the cable gland. Connect the plug to the generator. Tighten the cable gland.